Pages

Thursday, December 25, 2014

T-shirt Quilt Class: Part 2

Note: I've had this post written for almost a month.  I've just been waiting for Christmas so these can all be gifted!

As part of my t-shirt quilt class I offer my longarming services at a discount for taking my class.  All of my students took me up on this offer.  So during our first Saturday class I spent quite a bit of time figuring measurements and telling the ladies how many yards of backing fabric and batting to buy.  My normal quilt intake is that I quilt in the order that I receive the quilts.  When I received all the quilts on the same day I stuck with that same way of doing things.
Scroll through to see all the different t-shirt quilts that were made and how they look after they were quilted. Enjoy!
Close up of the quilting.

Finished quilting.


Close up of the quilting.  I actually really liked the quote on this tshirt.


Finished Manhattan High quilt.

I loved the colors on this quilt.  It was bright and beautiful.  I'm still looking for some of the purple border fabric for myself.  She said she bought the last of it at JoAnn's and she wasn't kidding!--This picture doesn't want to move to hang out with its like pictures so here it rests.

Finished Riley Co. HS quilt.  He was very involved in sports.


On this Riley Co. HS quilt I put different sporting balls in the sashing.  Here's a baseball I drew freehand.


The basketball I freehanded in the sashing.

Football.

This says Falcons. I wrote it with block lettering freehand with my quilting machine.  


The finished Pi Beta quilt.  

This quilt had some creative blocks to get all the tshirts included.  

A close up of the previous picture.  There are actually 3 shirts that make this block up and we appliqued the K-State Proud shirt to the shadow border to make it have the wavy look.

I'm really proud of this shirt.  My quilting machine didn't balk once and going through 3 layers of interfacing, 4 layers of  tshirt material and a layer of satin letter material all at once on the opening of the shirt.

This is the front side to a two-sided quilt.  There are over 30 shirts on the front and another 30+ on the back.  The vertical sashings are made with old jeans.  The make of this quilt made this tshirt for her daughter.  They adopted her when she was about 10 or 11.  One of her first requests was that her mom make her a tshirt quilt.  So this year is the 10th anniversary of her adoption so her mom who had been saving tshirts and jeans all these years made the daughter her tshirt quilt.  

Here's the backside of the humongous tshirt quilt.  I worried a little about the tshirts lining up and quilting through the denim but it was smooth as a whistle.  

Saturday, November 22, 2014

T-Shirt Quilt Class Part 1

This fall I was lucky to teach a t-shirt quilt class through a local community organization, UFM.  I was talking with the director about quilting classes that would do well and we some how got around to t-shirt quilts.  I've made several t-shirt quilts throughout the years and recently started making them for others.  When you're sewing for others efficiency becomes essential.  I decided I had enough practice making them that I could teach others how to make a t-shirt quilt class. Note: I only remembered to take photos at the last class so I sprinkled them throughout the post even though they don't technically line up with each topic in each paragraph.
Meg working on putting the sashing onto her t-shirts.
I set my class up into 3 sessions. The first session was only 1 hour on a Wednesday night.  This class was specifically to cover what the students would need to bring to class on the two Saturday sessions we would be holding and to demonstrate what we would be covering the first session.  I had handouts and materials all there so everyone could see exactly what was going to be needed.  The most expensive too that students were going to need for the class was a 16.5"x16.5" square ruler to cut out their t-shirts.  They cost $35 at our local fabric/crafting store in town.  Luckily, the day before class my brilliant husband decided he could make them a lot cheaper than that so he went to the Home Depot and purchased some thick clear acrylic and made one on his table saw here at home.  At class I offered for those who were interested he would make them one as well.  Everyone took me up on that offer.  His only cost $10.  They don't have the nifty measuring lines but for our class we didn't need them.
Barbie working on her t-shirt quilt.  This was Barbie's first time sewing.  She did an awesome job!
Our first Saturday class was an all day class where you worked until you were finished.  We cut off the arms and sides of our shirts, ironed on lightweight stabilizer and then cut out our shirts with our new nifty 16.5" square ruler.  Most ladies had between 9-16 shirts.  I had one very ambitious lady who had over 60 shirts!  (A little more on her quilt in my next post.)  Students brought their irons, ironing boards and cutting supplies and worked hard.  Most everyone was finished before 4PM.  No sewing required!
There was lots & lots of ironing throughout our classes.
This was a mother-daughter team, Bonnie and Shelly.  Their teamwork worked great. They brought only one set of
all the supplies and it worked out that while one was sewing the other was ironing or setting
up for their next row.
The following Saturday we met again to piece our t-shirt quilts together.  After answering the question multiple times, "Are you sure we are going to get these done today?"  I think I finally had them convinced that we would.  And we did!  With all of the prep work out of the way we started sewing on our sashing between the t-shirts and then joined them into rows of t-shirts.  We then connected the rows with sashing and added our borders.  These were some hard working and determined ladies in my class.  I helped by ironing and cutting as necessary.  My biggest job throughout all the classes was doing the math for fabric amounts and such.
Everyone finished the piecing of their quilts on the day.  My student, Diane who had the 60+ t-shirts finished the front side of her quilt, using 30 t-shirts on it.  I would say that's pretty darn good work!  Next time I'll show you how their quilts looked after I quilted them.

Our mother-daughter team, Shelly and Bonnie, showing the t-shirt quilt Bonnie pieced.

Our mother-daughter team, Shelly and Bonnie, showing the quilt that Shelly pieced.

Barbie's quilt pieced at the end of a long day. This is a gift for her son for Christmas.  We figured he wouldn't be
surfing quilting blogs and run into his quilt so he went ahead and put it in here.  :)

Friday, October 17, 2014

Fall is Everywhere!

Halloween is quickly approaching.  Most years it buzzes as a blur on our way to Christmas.  This year having stepped back from working full time has allowed me to breathe and enjoy the beautiful season that fall truly is (I'm trying to forgive it for be the season before winter which I dread).  A couple of weeks ago one of the boys at school asked me if I'd decorated my house for Halloween.  I told him I had not, to which he responded, "Well, you really need to.  It's time, ya know."  So I went home that night and drug out all the fall decorations I had and got to work.  I also have been busy making some new things to put out around the house.
I had seen this awesome Halloween quilt on Pinterest back in the spring.  I decided I need to make one for myself.  I've blogged about it before in a previous post but now that the Halloween season is here I thought I'd post one more picture.  I finished this quilt in July.  The only thing I "saved" for October was the binding.  Binding and I are mostly like oil and water.  We don't mix.
I worked on the binding while watching Royals games at my brother's house.  My niece is working on her sewing with me.  It's never to young to start them sewing!
I'm artfully displaying my chevron Halloween quilt.
I found these slim wall hangings in monthly designs. I did the 4th of July one just in the nick of time and it stayed up the rest of the summer.  I finished my own version of a Halloween wall hanging based very loosely on the November one.  I did the embroidery that says Trick or Treat by hand.  I quilted this on my longarm machine.  I used a basic all over stipple because I didn't want to draw away from the pretty design.
My wall hanging on the longarm frame getting quilted.
This slim wall hanging is in my dining room.
I then decided I needed my version of the trifets/table toppers I've seen around.  Last weekend I had a 20% off coupon to JoAnns along with all their Halloween and Thanksgiving fabric already being 40% off.  So I bought some fabric and whipped one of these up.
My hexagon table topper used to display my bargain find ceramic jack-o-lantern.
The Halloween side of my hexagon table topper.
The Thanksgiving side of my hexagon table topper.
On Labor Day the local quilt shop in Chapman, KS has a big one day sale where everything in the store is 40% off.  I went a little crazy.  One of my buys was this Elenor Burns patterns that I'd been admiring that was a log cabin jack-o-lantern.  I picked it up along with the similar wreath pattern for Christmas a a few extra wide backings for some quilts I have in the works.  I quilted this project on my longarm using spirals on the orange jack-o-lantern and a free motion spiderweb design on the black.  It's hard to tell in this photo but the background of the jack-o-lantern border is spiderwebs.  I also hid a few spiders in amongst the spiderweb quilting.
My log cabin jack-o-lantern.
I hope if holiday sewing brings you joy you've been able to slip in some time for a few projects.  Happy Halloween!

Monday, September 22, 2014

Something Old, Something New

One of the reasons I love longarm quilting is the variety of quilts I get to quilt for others.  I have done small projects, large projects, new projects, projects that have been in the works for years.  Each quilt is beautiful and tells its own story.  It's fun when I take in a quilt to hear from the maker why they made their quilt and what it is going to be used for or to whom it is going to be given.  I love a good story so it always makes me happy when someone is finish up a quilt.
The quilt I'm sharing today came to me from a good friend, Carol, who I met 10+ years ago on our state bicycle ride, Biking Across Kansas.  Carol lived in the town next to mine so our paths would cross frequently over the years with bicycling and friends.  Carol is the fun loving gal everyone wants to hang out with because she has great stories and genuinely cares about you.
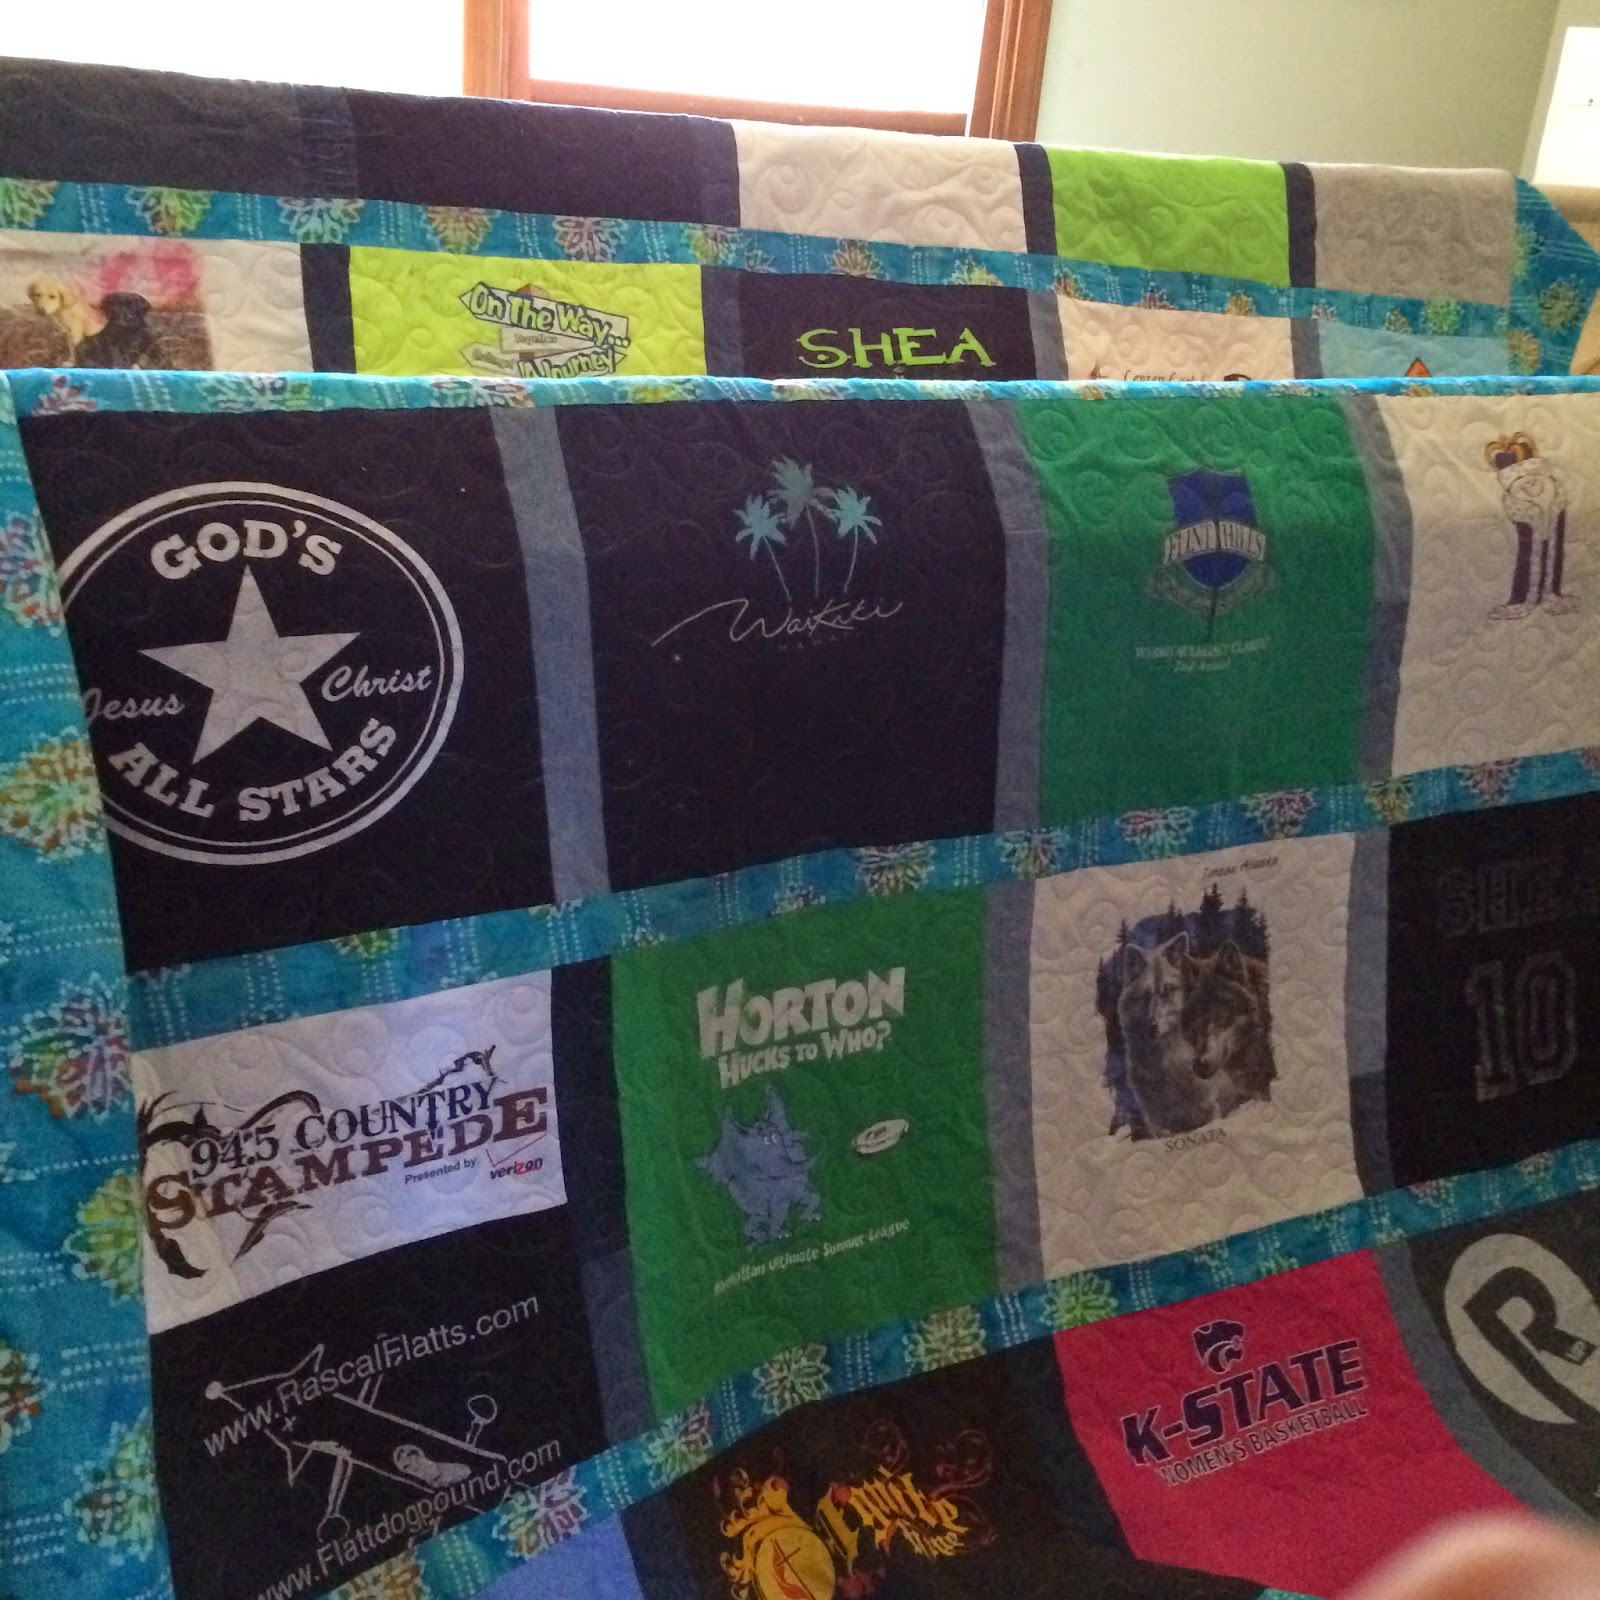
When Carol contacted me she told me about her quilt.  She had found an old quilt top in an antique store in a little town, Weston, Missouri, across the river from my hometown.  She thought it was beautiful and brought it home.  It needed a few repairs but who doesn't have many years of good living. It was small squares (approximately 2"X 2") of various fabric pieced together by hand. She wanted it quilted and thought it would make a good gift or look cute laid across a sofa or bed.  She was right this is going to look gorgeous where ever it is displayed.  On a different note if you happen to come across an old quilt like this in the future keep me in mind! I'm looking for my own special antique store find.
A variety of the various fabrics that made up this quilt
I brought it home and repaired the large gaping holes where the seams had come undone. Some were a much looser weave which caused the hand stitch to come out and need some repairs. The fabrics were a hodge podge of choices from different decades. The fabric itself had held together well and it was in good condition.  Although the quilt had originally been hand pieced I machine sewed the gaps back together with my machine.  The original piecer apparently had my impatience with hand sewing and had several places where she had gathers in the fabric from trying to match all the seams.  I left the original gathers in the quilt as it was part of what made it unique.

A close up of the quilting pattern I chose for this particular quilt.  
When I was ready to quilt I decided to use a plain white backing as that to me seemed the most authentic color backing choice that would have been used had this quilt been finished during its early years.  I did take some time in choosing a pattern to quilt on the quilt.  I knew I was going to pick a pantogram from my Pantovision software. The pattern I chose was due to to the fact that this quilt was old and even though I repair some seams the rest of the seams would benefit from the additional stability offered by a dense quilting pattern.  I chose the pattern and made it small enough that on nearly every seam it is crossed twice by quilting stitches and in some places it is crossed a third time.  This added stability will help the quilt handle use and provide needed structure.  Often times people think that machine quilting an old top takes away from all the hand work the original person did and that old tops should only be hand quilted.  My quick off handed remark always is that if the original piecer had wanted it hand quilted she would have got that done in her lifetime.  Since she didn't it's up to me to finish the best way I know how.  But the reasons I mentioned before about the machine quilting help preserve the quilt for more generations to enjoy.  

The finished quilt.  For whatever reason the lighting wasn't the greatest and it is a little washed out in the picture.  The above photos do a better job of showing off the bright colorfulness of this quilt.  
I finished this quilt for Carol by adding the binding and hand sewing it down using a blind stitch on the back.  This past weekend it was used as a wedding gift.  Hopefully the new couple will love the something old passed down to them on their new journey through life together!

Tuesday, September 16, 2014

Quilting Field Trip

This summer I packed myself up and took a quilting field trip.  We live approximately two hours from Lincoln, NE, home of the University of Nebraska-Lincoln.  There they have the International Quilt Study Center and Museum.  I had been planning on going for several summers and one morning I woke up early in July and decided this was the day.
When I got their I was excited.  I paid my entry fee and hit the elevator.  The first exhibit I went to happened to be the one I found most interesting.  It was called Modern Marvels.  It was all about quilts made from kits from 1915 to 1950.  In my nativity I believed that quilt kits were a relatively new phenomenon and were from the the times of the modern quilt revival at the bicentennial.  I was wrong!  Something I'm always a sucker for in a quilt shop has been marketed to ladies for the last century in magazines.  I believe I took a picture of every quilt they had on display in the quilt kit display.
They also had a log cabin quilt exhibit going on along with a toy sewing machine exhibit.  They were both interesting but I fell in love with the quilt kits exhibit. So enjoy the photos below I took of the quilts.  I didn't put all my pictures in this post.  Just almost all of them.
Ombre before ombre was cool.

Snowflakes on a green background.

Look at those itty bitty stitches!

This is what a quilt kit looked like when it was mailed to you.  Now days they make you cut your own fabric in a kit.

Around the world.

From 1932.  

I could have spent all day looking at this quilt.

A close up of the scalloped border with the hot pink binding.  I also like the touch of hot pink on each flower petal.

This one was called daisy chain from 1936.

A close up of the delicate and fine stitching.

Another example of a quilt kit for a lone star quilt.


A close up of the double wedding ring ombre quilt.

Sunday, August 31, 2014

Chevrons! Chevrons! Chevrons!

By now you would think everyone would be over chevrons.  But it hasn't seemed to slow down.  Which is fine by me.  I don't have any cute clothes with a chevron pattern but I finally found a quilt pattern that is easy to make a chevron quilt.  Most chevron quilt patterns seem to like to use the half square triangle method for putting together a chevron quilt.  But I don't like them enough to make a couple hundred of them to piece a chevron quilt together.  Then I stumbled upon a picture of a stunning Halloween quilt on Pinterest.  It was a blog post by The Little Fabric Shop that used rectangles to piece a chevron quilt.  Much more up my alley!  Here is the link if you'd like to see the tutorial:  http://thelittlefabricshop.blogspot.com/2012/10/halloween-chevron-quilt-tutorial.html

My friend Andrea is having a baby soon.  She wanted to learn to quilt and somewhere along the line we came up with the idea that I could teach her how to quilt and make a quilt for her baby at the same time.  What is more heartfelt than quilt that you handmade for your precious baby?  So this summer we got to work.  I bought the fabric for the quilt at our local quilt shop.  She is having a little boy so she is doing the room in grey, turquoise and light blue and is using elephants as a theme.  I had a great time shopping!  I found this cute retro looking elephant print first.  It had the light grey background with the elephants.  I wasn't sure about the green but I thought what the heck!  I really hadn't had any luck finding any elephants up to that point so I decided I couldn't be too picky.  I then picked out my other fabrics and brought them home.  

The elephant fabric that was the inspiration for this quilt.
A closer view of some of the other fabrics we used.
 Andrea came over in mid-July and we spent the entire day sewing!  We cut our strips, laid them out, pieced them, cut them into their patches and resewed them together all the while chatting and catching up.  It was a full day of sewing!  We started around 9AM and finished at about 7ish that night.  We took some breaks in there and we had one little goof there at the end that we ended up ripping out. (I was getting in a hurry and I accidentally had Andrea sew the last row of chevrons opposite of what they should be so ripped it out.)  It was so much fun getting to have a sew day and catching up with Andrea.
Andrea working hard piecing her elephant baby quilt for her soon to arrive new son.
Andrea at the end of a long day holding up her finished quilt.  
I did the quilting for the elephant quilt on my longarm.  I used the focus elephant fabric for the backing and also for the binding since I had some leftover.  I had some leftover because I miscalculated on how much fabric I was going to need and didn't take in to consideration that the elephants were a directional print.  (I really shouldn't be telling all my secrets!)  I really loved this quilt and I had it hanging in my quilt studio until this week when I had to take it down and give it to Andrea.  That little boy is going to be arriving soon and he's going to need his quilt more than I am.  
Here's the finished quilt hanging in my quilt studio.  It looked like it belonged in there and really brightened my day.
Since the inspiration for Andrea's quilt was a Halloween quilt I decided that I really needed a chevron quilt with Halloween fabrics just like the tutorial. I had collected a few Halloween prints on my trips to quilt shops while on the Row by Row quilt challenge that has been going on this summer at quilt shops around the nation.  Then my aunt gave me two different Halloween prints that she had bought the month before my cousin was born in 1987.  I know this because the receipt was still in the bag!  Once I had those there was no stopping me and I quickly bought the rest of my fabrics and got started.  I had learned quite a bit from the baby quilt and I used that knowledge to make my quilt a little bit wider.  I also decided I wanted to  make it square as I had never done that before.
Here's my quilt before I added the borders.  I really like how bright it is and orange isn't a color I usually use.
After I finished I wanted a small black border to go around the outside of the quilt to kind of frame it.  I went to another local quilt shop and found the perfect black star fabric to use to frame it.  But I also found a beautiful lime green fabric and decided I needed it to make a very small border around the quilt before adding a little bit larger black border.  Buying fabric is indeed a slippery slope.  

Here's a close up of the two borders I added.  Most of the times I use borders to finish making my quilts big enough.  This is one time I think the borders really finished the quilt.
 Then I needed a backing fabric.  I thought I just wanted a black marble for the back.  I was wrong.  When I went to my longarm guild meeting in Wichita Dustan came along to bike.  He then graciously went along as I stopped at the Wichita quilt shops to peruse fabric and pick up my Row by Row patterns.  It's nice when he comes along because he navigates for me and I can just drive. It's also very nice because when I find fabric I like he's supportive of my habit.  But the best part of all is he does my quilting math!  Which in this case turned out to be a blessing because I would have been a 1/2 yard short of my backing fabric and 2 hours away from the quilt shop I had purchased it.  When I saw this jack-o-lantern fabric I knew I had to have it and use it for my Halloween quilt.
A close up of the backing fabric. They are pretty small.
 With my backing fabric in hand I was ready to longarm my quilt.  I used some orange Glide thread I bought back in the spring at MQS.  I decided to go with some ruler work quilting the echoes of the chevrons 1/4"  from the seams.  I then I did my first stitch in the ditch between the black and lime green border.  It turned out fine but I think if I'm going to do that I am still going to need a little more practice. I then added swirls in the black border using black thread.
You can see the quilting of the swirls, stitch in the ditch between the black and lime green border and my ruler work on the chevrons.
My finished quilt.
I've decided I'm not done with chevron quilts.  JoAnn's has a lot of Thanksgiving fabric and I have enough Christmas fabric in my stash for several quilts.  I'm also thinking it would be fun to make a two colored chevron quilt with one colored/print fabric and the other a solid white.  I usually don't consider myself a modern quilter even though I love modern quilts but if I keep making chevron quilts that might change!