Pages

Showing posts with label Practice. Show all posts

Sunday, August 31, 2014

Chevrons! Chevrons! Chevrons!

By now you would think everyone would be over chevrons.  But it hasn't seemed to slow down.  Which is fine by me.  I don't have any cute clothes with a chevron pattern but I finally found a quilt pattern that is easy to make a chevron quilt.  Most chevron quilt patterns seem to like to use the half square triangle method for putting together a chevron quilt.  But I don't like them enough to make a couple hundred of them to piece a chevron quilt together.  Then I stumbled upon a picture of a stunning Halloween quilt on Pinterest.  It was a blog post by The Little Fabric Shop that used rectangles to piece a chevron quilt.  Much more up my alley!  Here is the link if you'd like to see the tutorial:  http://thelittlefabricshop.blogspot.com/2012/10/halloween-chevron-quilt-tutorial.html

My friend Andrea is having a baby soon.  She wanted to learn to quilt and somewhere along the line we came up with the idea that I could teach her how to quilt and make a quilt for her baby at the same time.  What is more heartfelt than quilt that you handmade for your precious baby?  So this summer we got to work.  I bought the fabric for the quilt at our local quilt shop.  She is having a little boy so she is doing the room in grey, turquoise and light blue and is using elephants as a theme.  I had a great time shopping!  I found this cute retro looking elephant print first.  It had the light grey background with the elephants.  I wasn't sure about the green but I thought what the heck!  I really hadn't had any luck finding any elephants up to that point so I decided I couldn't be too picky.  I then picked out my other fabrics and brought them home.  

The elephant fabric that was the inspiration for this quilt.
A closer view of some of the other fabrics we used.
 Andrea came over in mid-July and we spent the entire day sewing!  We cut our strips, laid them out, pieced them, cut them into their patches and resewed them together all the while chatting and catching up.  It was a full day of sewing!  We started around 9AM and finished at about 7ish that night.  We took some breaks in there and we had one little goof there at the end that we ended up ripping out. (I was getting in a hurry and I accidentally had Andrea sew the last row of chevrons opposite of what they should be so ripped it out.)  It was so much fun getting to have a sew day and catching up with Andrea.
Andrea working hard piecing her elephant baby quilt for her soon to arrive new son.
Andrea at the end of a long day holding up her finished quilt.  
I did the quilting for the elephant quilt on my longarm.  I used the focus elephant fabric for the backing and also for the binding since I had some leftover.  I had some leftover because I miscalculated on how much fabric I was going to need and didn't take in to consideration that the elephants were a directional print.  (I really shouldn't be telling all my secrets!)  I really loved this quilt and I had it hanging in my quilt studio until this week when I had to take it down and give it to Andrea.  That little boy is going to be arriving soon and he's going to need his quilt more than I am.  
Here's the finished quilt hanging in my quilt studio.  It looked like it belonged in there and really brightened my day.
Since the inspiration for Andrea's quilt was a Halloween quilt I decided that I really needed a chevron quilt with Halloween fabrics just like the tutorial. I had collected a few Halloween prints on my trips to quilt shops while on the Row by Row quilt challenge that has been going on this summer at quilt shops around the nation.  Then my aunt gave me two different Halloween prints that she had bought the month before my cousin was born in 1987.  I know this because the receipt was still in the bag!  Once I had those there was no stopping me and I quickly bought the rest of my fabrics and got started.  I had learned quite a bit from the baby quilt and I used that knowledge to make my quilt a little bit wider.  I also decided I wanted to  make it square as I had never done that before.
Here's my quilt before I added the borders.  I really like how bright it is and orange isn't a color I usually use.
After I finished I wanted a small black border to go around the outside of the quilt to kind of frame it.  I went to another local quilt shop and found the perfect black star fabric to use to frame it.  But I also found a beautiful lime green fabric and decided I needed it to make a very small border around the quilt before adding a little bit larger black border.  Buying fabric is indeed a slippery slope.  

Here's a close up of the two borders I added.  Most of the times I use borders to finish making my quilts big enough.  This is one time I think the borders really finished the quilt.
 Then I needed a backing fabric.  I thought I just wanted a black marble for the back.  I was wrong.  When I went to my longarm guild meeting in Wichita Dustan came along to bike.  He then graciously went along as I stopped at the Wichita quilt shops to peruse fabric and pick up my Row by Row patterns.  It's nice when he comes along because he navigates for me and I can just drive. It's also very nice because when I find fabric I like he's supportive of my habit.  But the best part of all is he does my quilting math!  Which in this case turned out to be a blessing because I would have been a 1/2 yard short of my backing fabric and 2 hours away from the quilt shop I had purchased it.  When I saw this jack-o-lantern fabric I knew I had to have it and use it for my Halloween quilt.
A close up of the backing fabric. They are pretty small.
 With my backing fabric in hand I was ready to longarm my quilt.  I used some orange Glide thread I bought back in the spring at MQS.  I decided to go with some ruler work quilting the echoes of the chevrons 1/4"  from the seams.  I then I did my first stitch in the ditch between the black and lime green border.  It turned out fine but I think if I'm going to do that I am still going to need a little more practice. I then added swirls in the black border using black thread.
You can see the quilting of the swirls, stitch in the ditch between the black and lime green border and my ruler work on the chevrons.
My finished quilt.
I've decided I'm not done with chevron quilts.  JoAnn's has a lot of Thanksgiving fabric and I have enough Christmas fabric in my stash for several quilts.  I'm also thinking it would be fun to make a two colored chevron quilt with one colored/print fabric and the other a solid white.  I usually don't consider myself a modern quilter even though I love modern quilts but if I keep making chevron quilts that might change!

Tuesday, April 29, 2014

Go Cats!

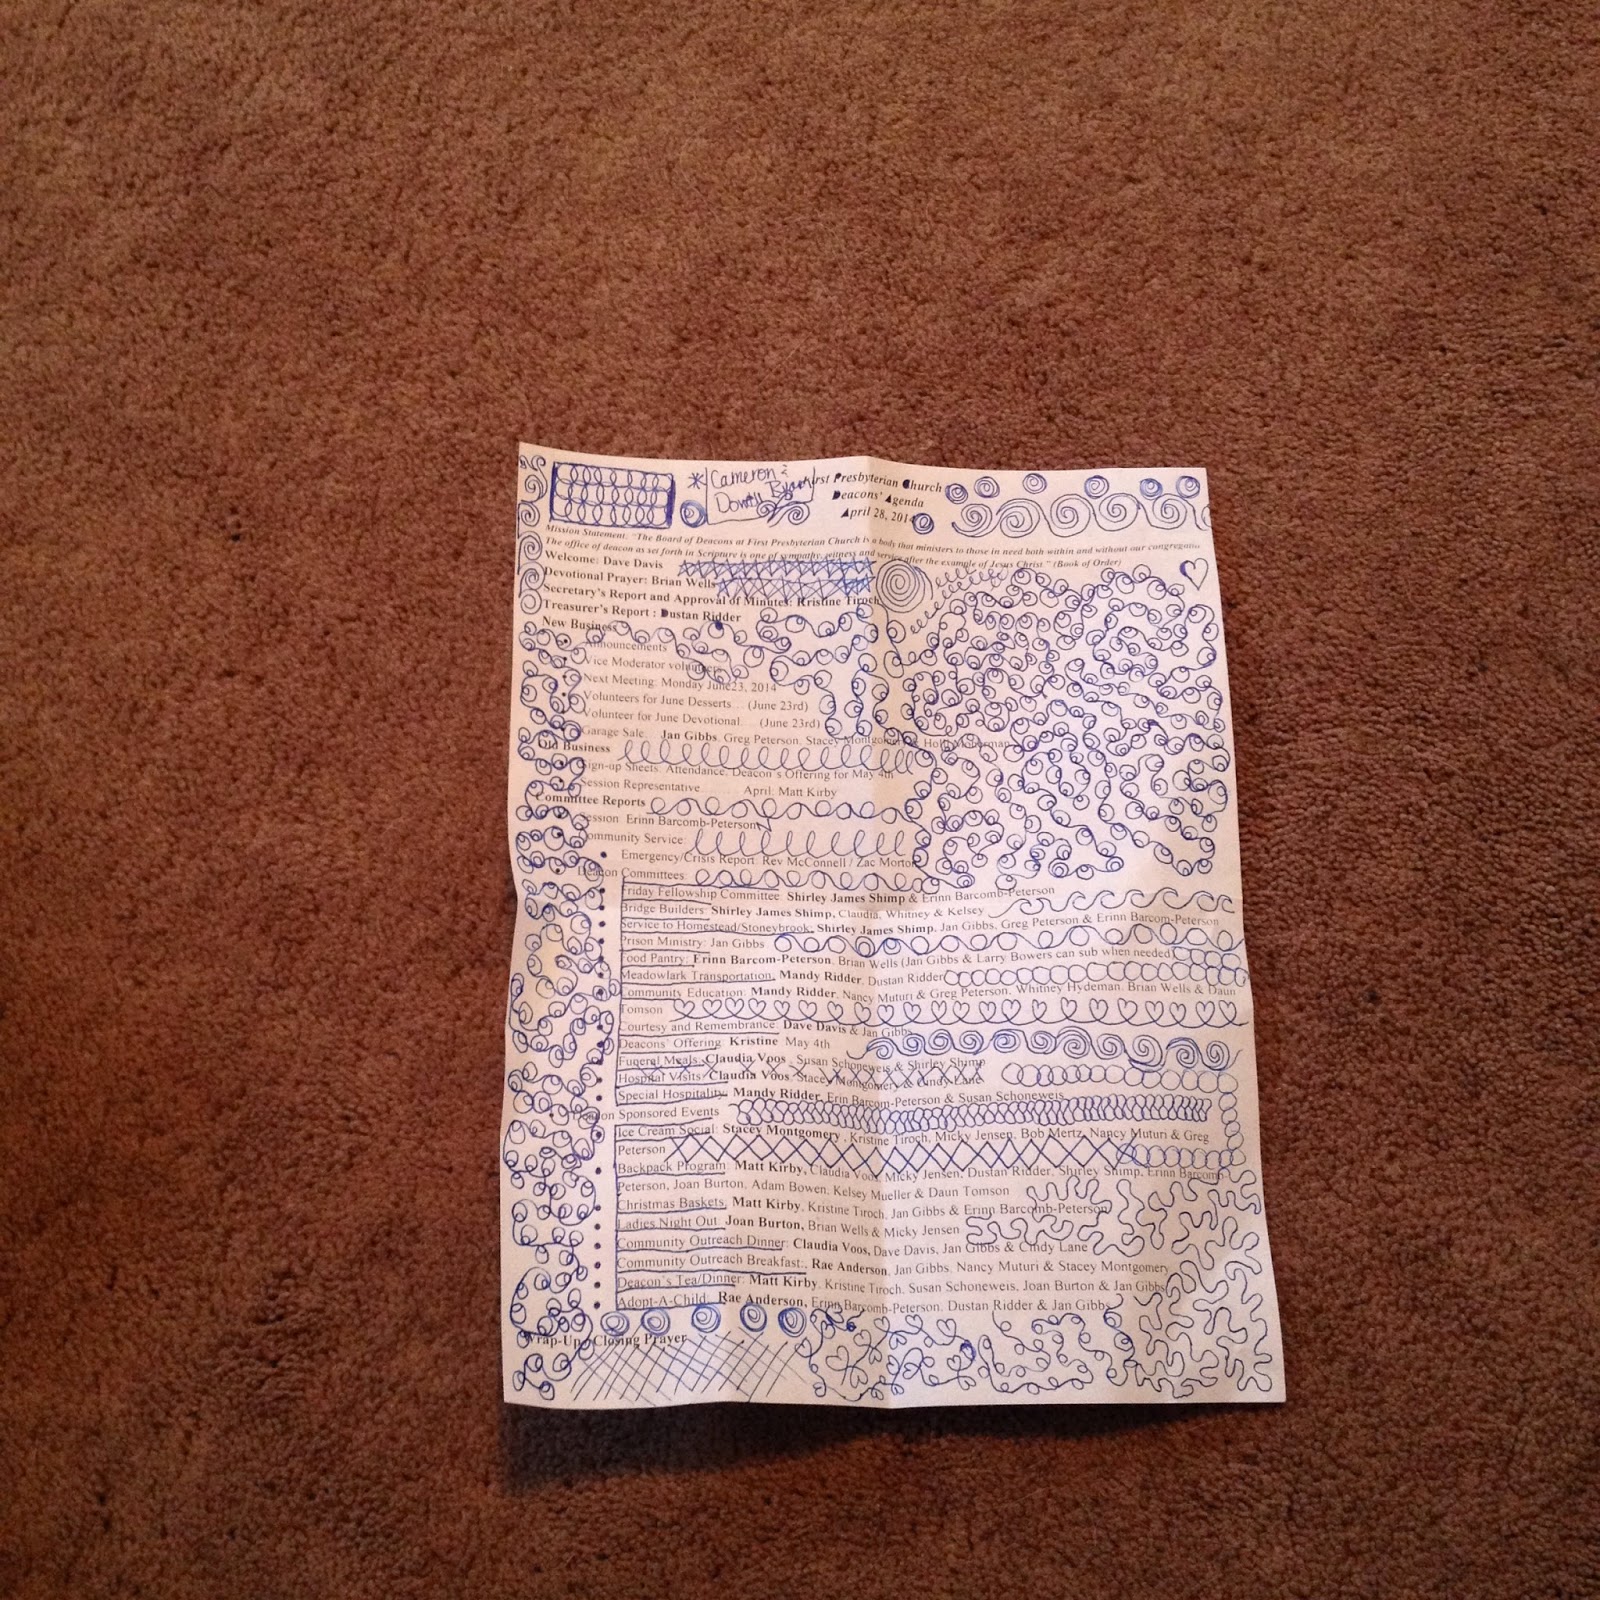
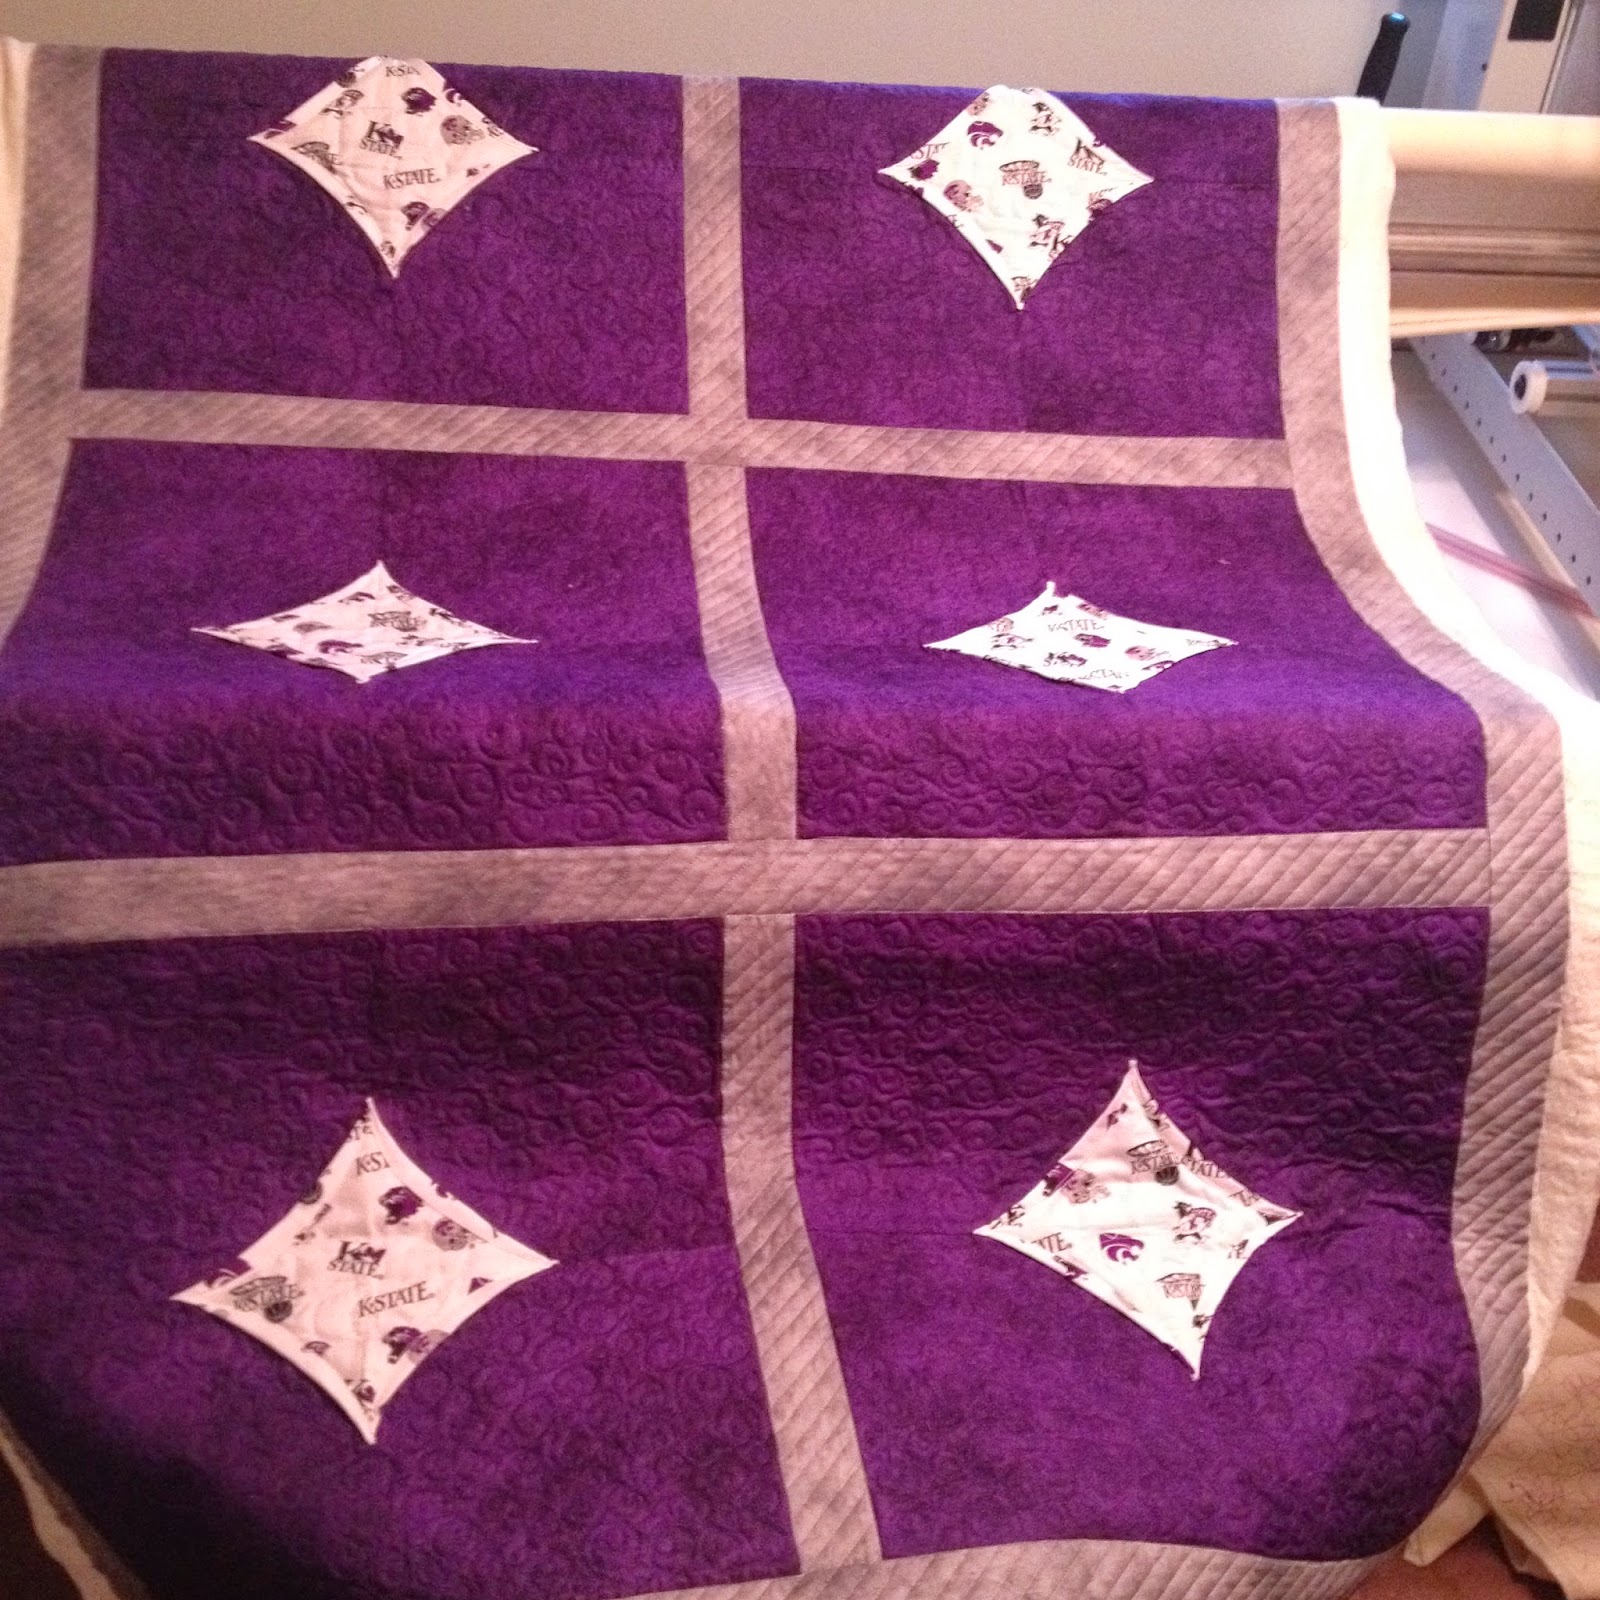
This past weekend I spent working on my husband's aunt Lisa's K-State Wildcat quilt.  Since Lisa is getting the auntie discount I felt a little more brave to try out my free-motion/custom stuff on her.  I've been in love with these bubble inside of bubbles I'd been seeing and decided why not just go for it?  While I had not practiced the bubble design on an actual piece of material I had doodled it a lot in my free time (or faculty meetings).  In all honesty I do believe my doodling habit has led to my longarming career.  Who knew countless hours of drawing meaningless doodles in my planner and calendar would lead to actual paying jobs as a longarmer?  
An example of my prolific doodling from an agenda from our church's deacons meeting last night.
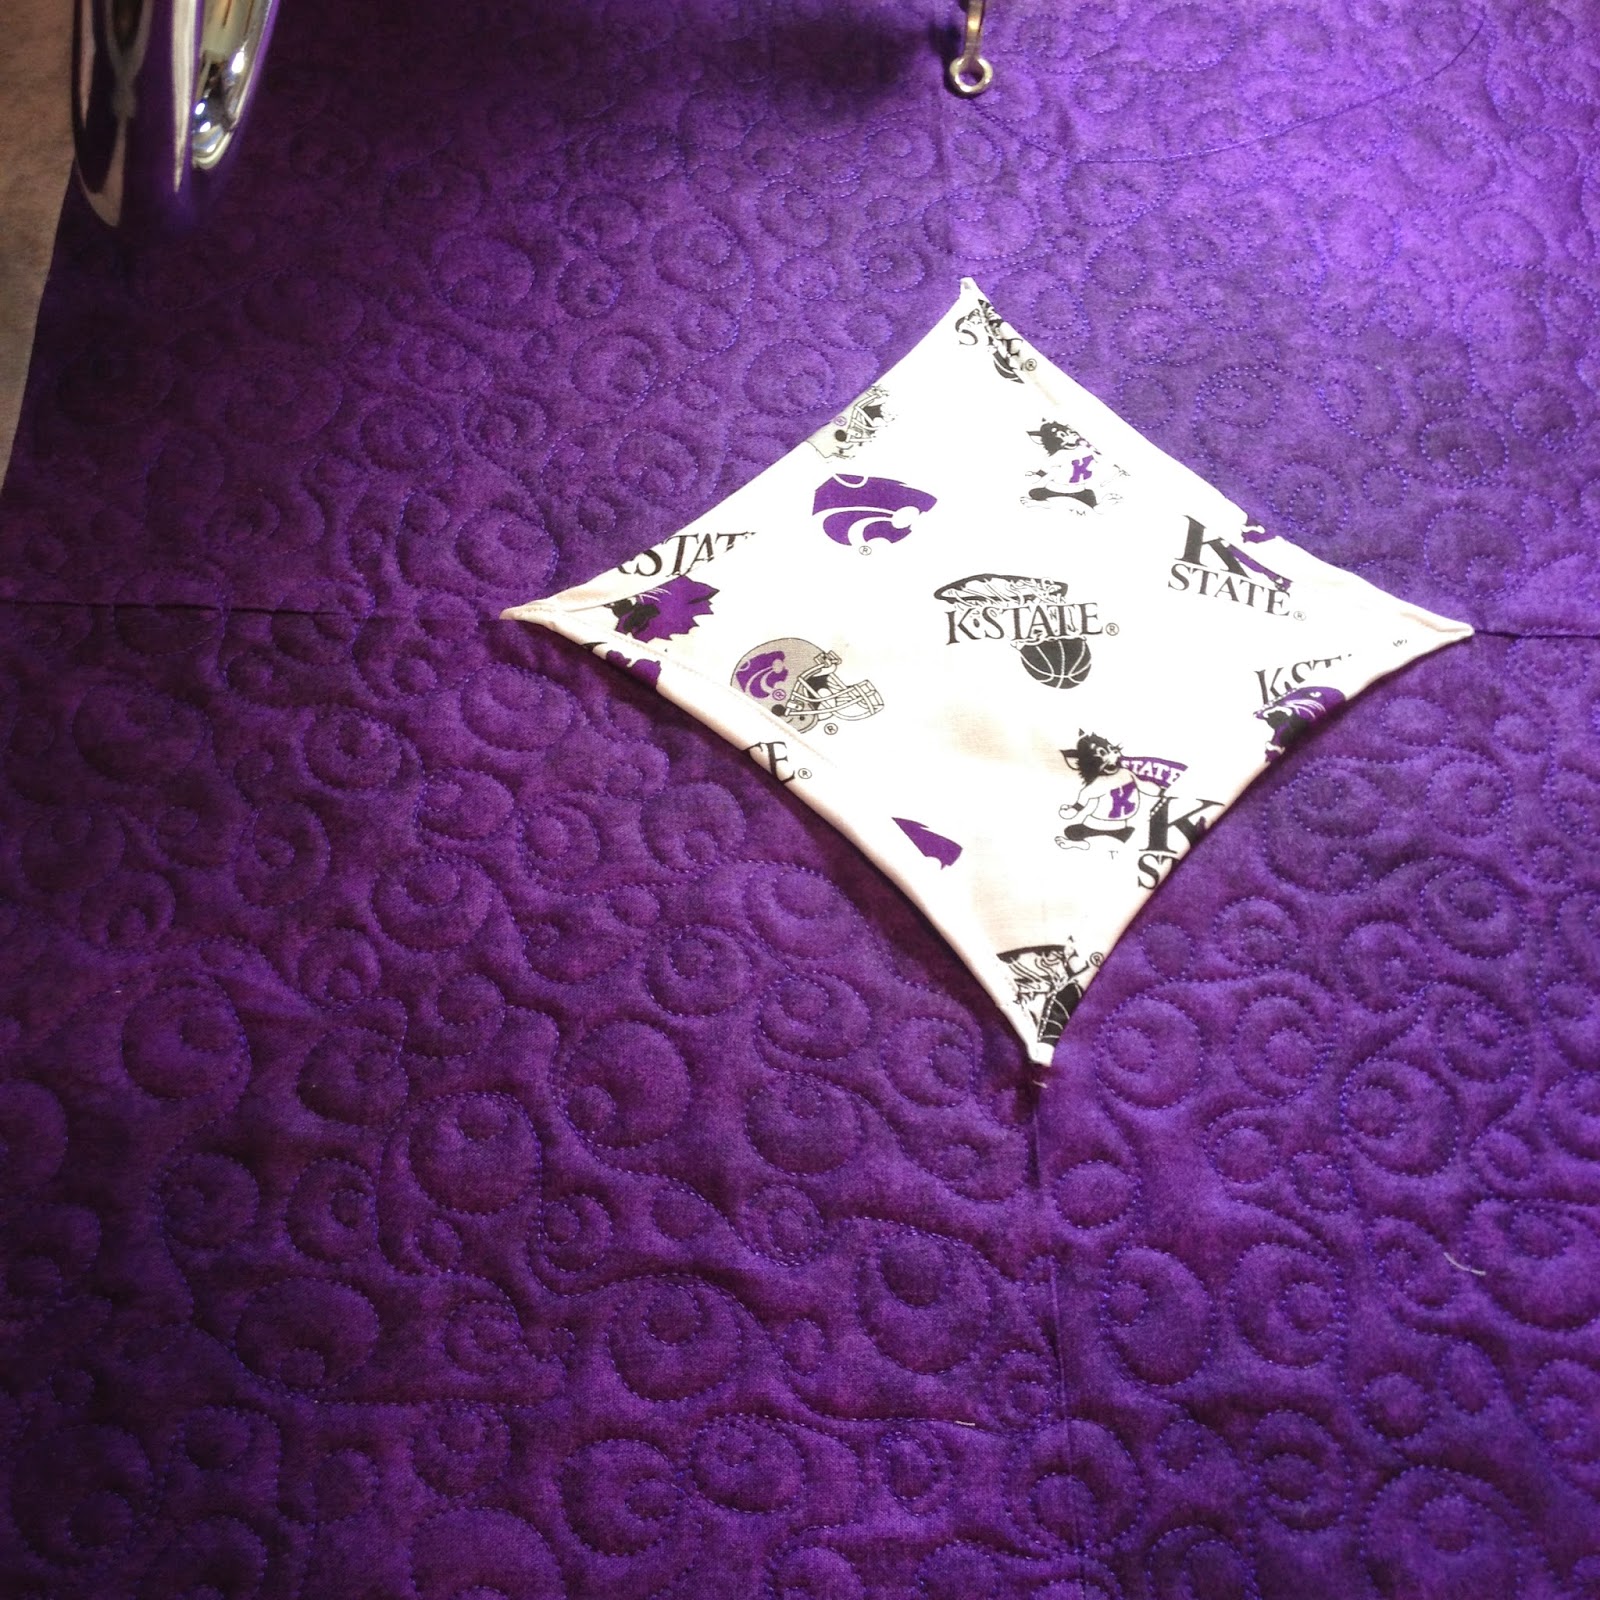
So I went to work filling in each purple background with purple colored bubbles. 
The bubble pattern from the front.
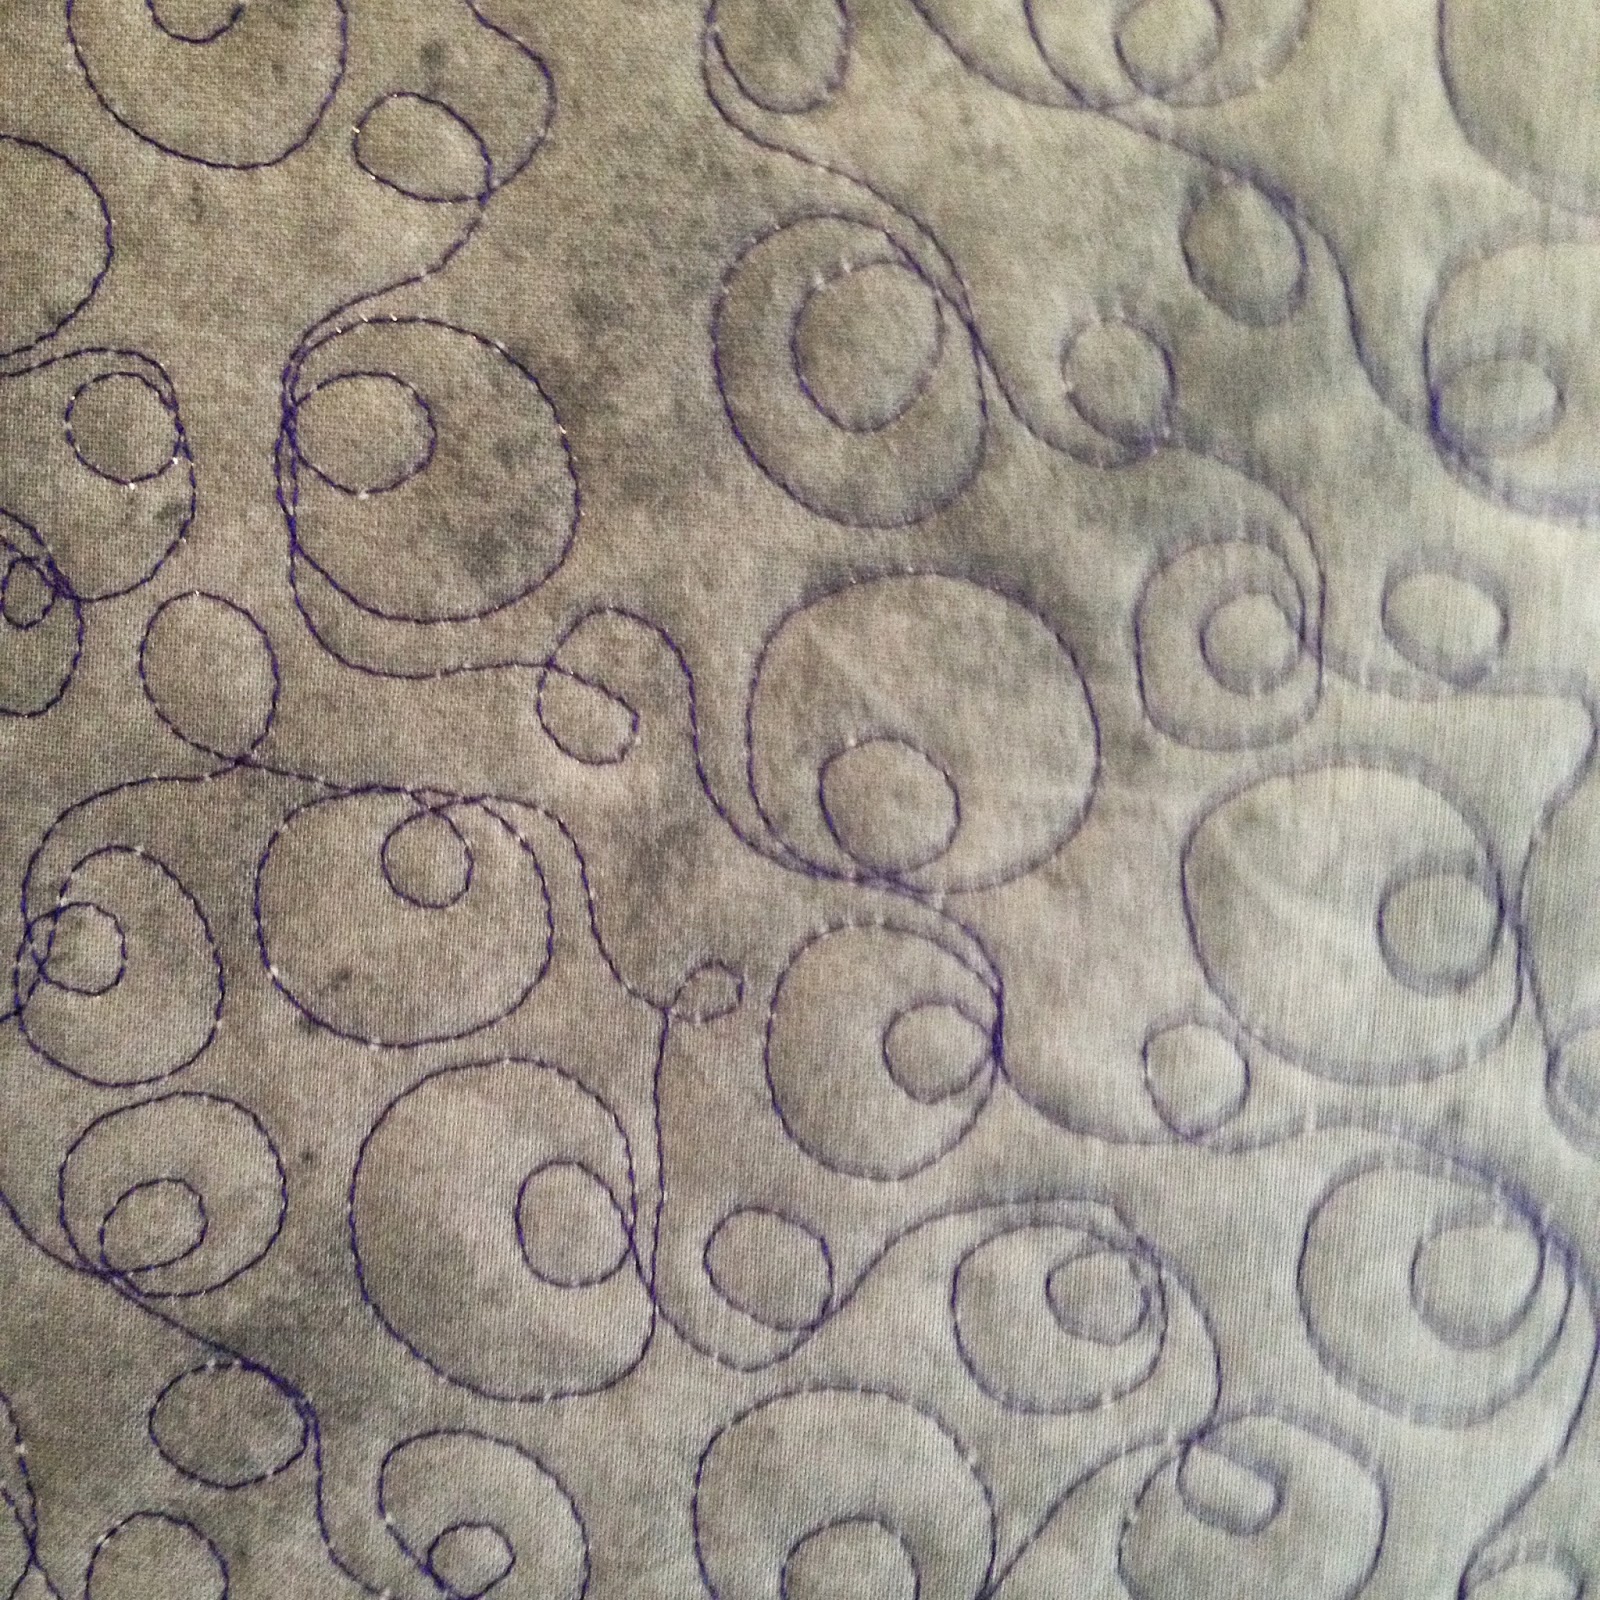
The bubble pattern from the back.
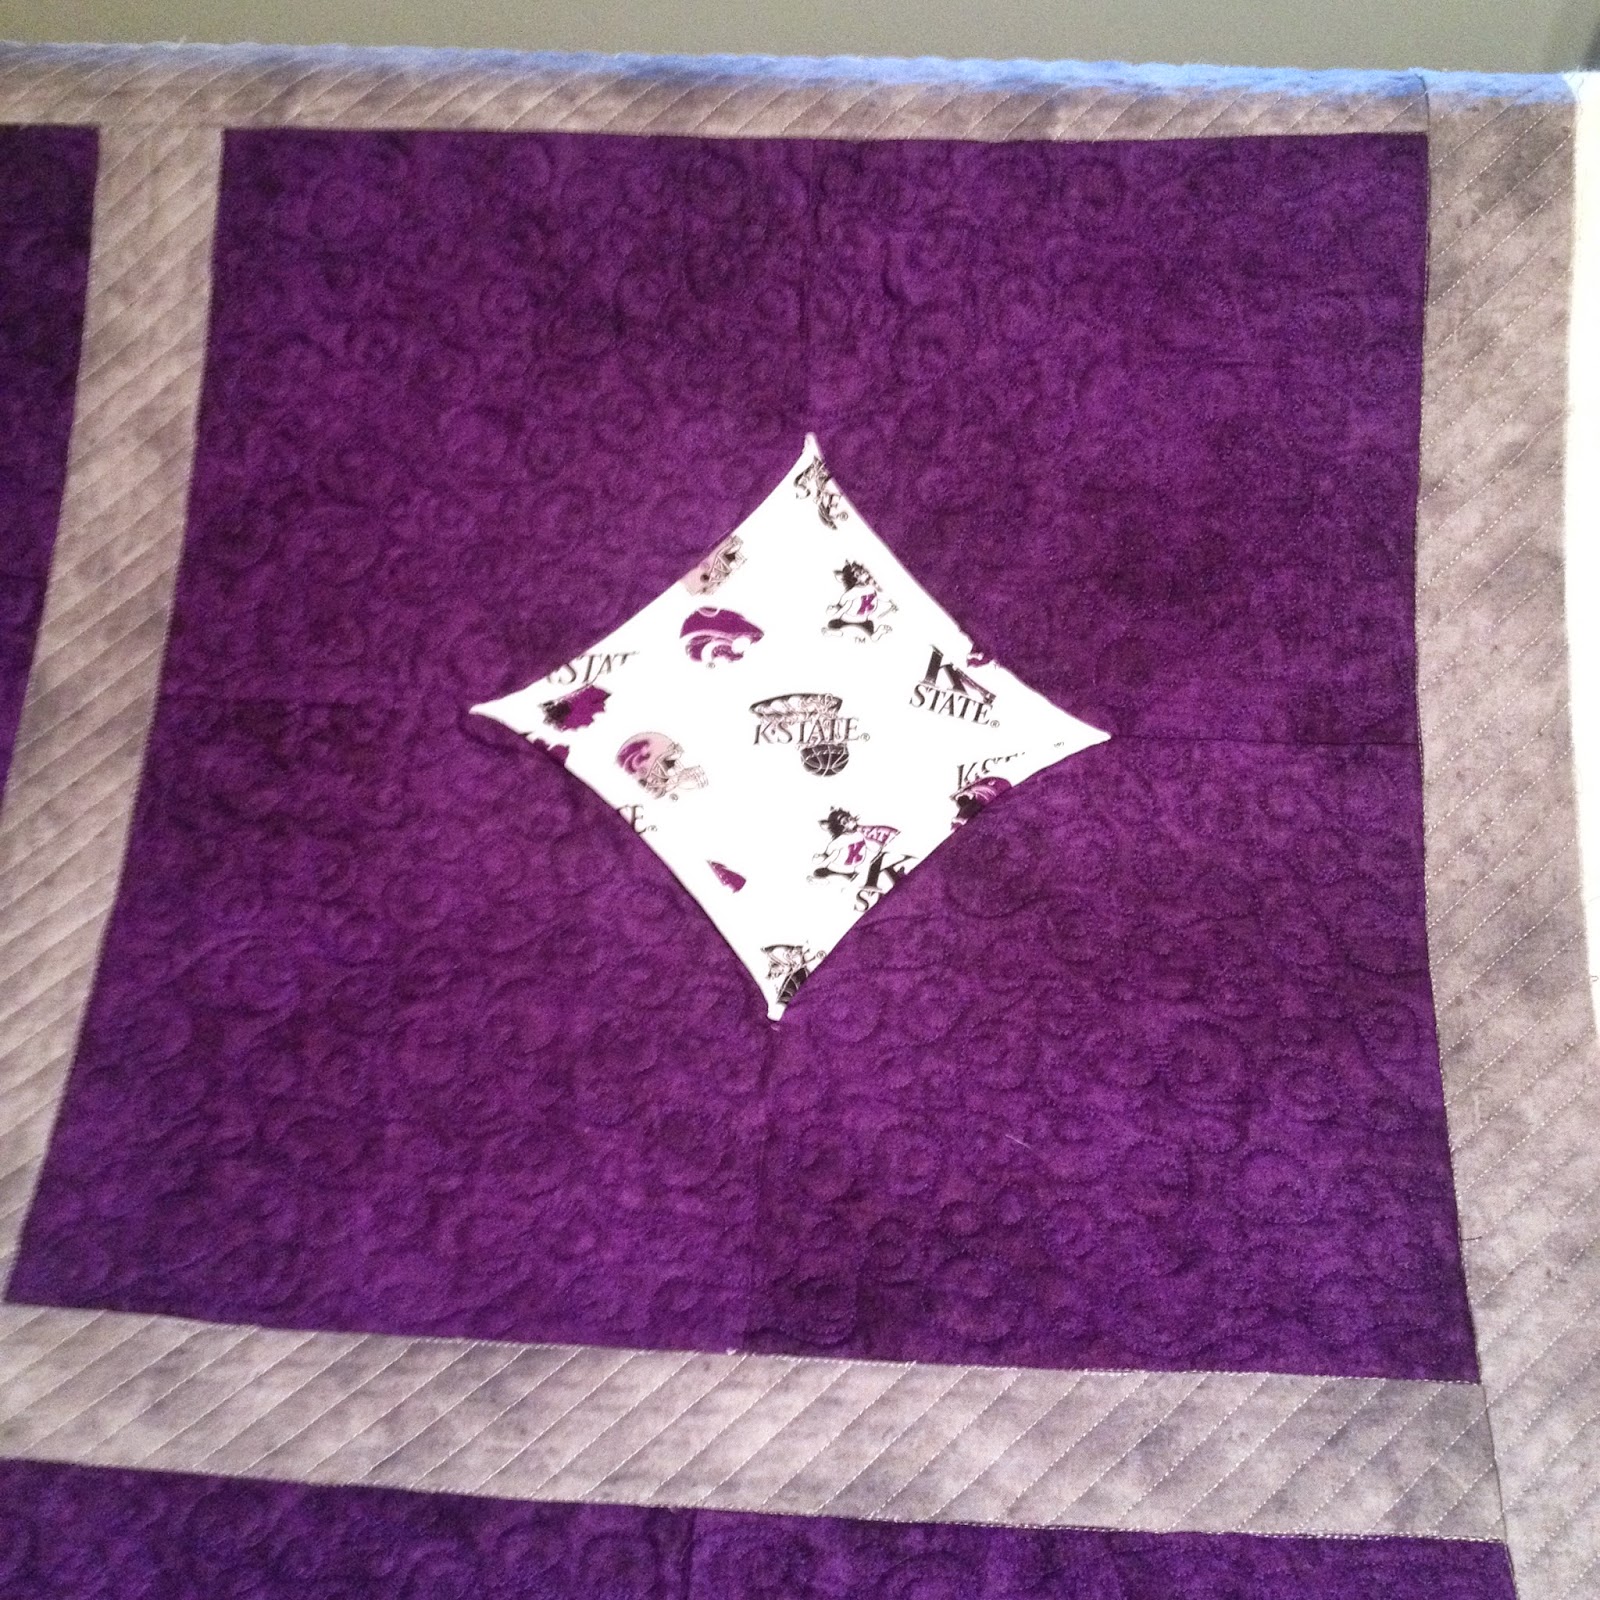
For the borders and sashings I decided I wanted something to balance out the free flowing motion of the bubble pattern and chose to do some ruler work.  I made 45 degree angles 1/2 inch apart all the the way around the quilt and all the sashings.  I then added a design and traced the middle diamond and called it good!
The sashings & borders which I used a ruler to make.
The finished quilt spread out on my longarm frame.


Monday, March 31, 2014

Latest Baby Quilt

I've been keeping quite busy with my competition quilt for MQS this week.  I'm working on a post about the craziness that was the competition quilt.  But in the meantime I wanted to share the quilt I just pulled off the machine. 
My sister-in-law keeps me practicing with baby quilts. The latest one she brought me is cute little farm animals.  I decided instead of using a pantogram I was instead going to use some custom designs I learned to do over spring break. Over spring break I took the class that came with my new longarm.  It was a great one day class that covered all the basics and free motion quilting designs.  Since up to that point I'd only used pantograms through my Pantovision I was very excited to take the class.  I was even more stoked after the class was over and I had 7 more new designs I could do free motion.  
With the quilt my sister-in-law brought me I immediately keyed into the fact that the animals alternated whether their fur was with a curly motif or a lined one.  I decided that I would use the curls I learned in my class in the background of the animals that had curly hair.  I went to work and was quite pleased with the way the background turned out.  I then out lined the animals.  
My curly block.
For the animals with the lined background I decided to get out my ruler and put diagonal lines in the background to fill it.  I easily filled in the background then outlined the animal.  
The lined background.  
Instead of filling in the sashings with designs I decided I wouldn't push my luck and instead just chose to stitch in the ditch along the lines of the printed quilt.  But for the border I got a little bit daring and put the curly motif into the border to frame in the quilt.  Note to self: It's best to continue to go around the quilt in the same direction the entire way.  In the future I think I will just go one direction around the quilt and deal with having to unroll my quilt after I've finished all the other designs than trying to have to work backwards and go the opposite direction with my curls.  I really enjoyed doing this quilt because it's really the first quilt I've worked on that I have had the opportunity to approach it with a mindset beyond a regular repeated pattern.  I was in charge of the design elements, simple as they were, I still kept the quilt flowing while highlighting some pattern elements from the quilt. 
The finished product!

 Hopefully my sister-in-law likes the quilt as much as I do and is forgiving of the directional mistakes in the border.  
I can tell I'm becoming a quilter because I like looking at the back as much as I like the front!


Wednesday, February 5, 2014

Snow Day Fun!

After finishing up my first Quilt of Valor volunteer project I decided it was time to put on a fun for me quilt that I had absolutely no expectations for this go around.  I chose my brown heart quilt I bought in a group off of eBay right after Christmas.  I chose a tan colored thread to match the tan heart fabric.  I quickly got it loaded on the machine and remember to put down a straight line of sewing so I would know where to line up my quilt.  On the QOV I didn't remember to do this step and luckily I was only off 1/4" by the time I got to the end of the quilt with my stitching. Lucky!!!
The brown heart quilt locked & loaded.
After my quilt was loaded I had to wait.  I do not have a heart pattern for quilting.  Dustan has figured out how to draw quilt patterns for my machine and upload them so I don't have to go and purchase them.  I will give him a rough sketch and he takes it and makes it happen.  Quit drooling, he's taken.  He was having a few glitches pop up so he was having to smooth those out.  Then I was ready to go.  I didn't even get out any practice material and practice quilting it.  I just started right on my loaded quilt!  Oooooo! Talk about daring and reckless.  There is something about when it's a design you've doodled many time during faculty meetings that makes it easier to just go for it.  (Yes, I'm a heavy doodler.  If I'm forced to sit for any length of time and expected to be quiet I get out scratch paper and doodle.)
Here's what a quilt design loaded on my Pantovision program looks like.  
Here's the pattern quilted.  Not too shabby!
We went to bed last night with a lot of snow on the ground and it was still coming down slowly.  We woke up to a foot of snow this morning.  That doesn't include the 3" we got several days before in a weekend snow.  I went out and pulled the first shift of shoveling.  Dustan took second shift and I left him all the drifts.  We had a 3' drift in front of our garage.  This was a snow storm for those with a pioneer heart.
Dustan and Happy out cleaning off the front walk.  Yes, that pile is every bit as big as it looks in the photo.  
After shoveling I went back to work on my quilt.  It went smoothly with no tension problems, batting shifting, or any of the other things that seemingly pop up.  I took a break at lunch time and a siesta, because when will I get another snow day in the near future where the day is completely mine?  I finished about 30 minutes before sunset.  I follow several blogs and I've seen some awesome pictures of quilts taken on the snow.  I thought this one might be a good candidate since it was such a dark color that would contrast well with the brilliant snow.  What do you think?
My finished heart quilt out on the snow.

Monday, January 6, 2014

Not Like I'd Planned It!

I had been itching since my Innova arrived to get started quilting "real quilts" not just leftover pieces of fabric I had lying around.  I started with my sister-in-law's baby quilt which quilted up quickly and I was feeling confident.
At the beginning of Christmas break I'd been perusing eBay in hopes of finding some quilt tops to work on. I found more than a few! EBay is a goldmine for unfinished quilt tops. I bid on a Christmas top and won it Christmas Eve for about $12 + s&h. It arrived a few days later and I was so excited. I had to fix a few seams due to misalignment and pleats but I was ready to tackle this baby!
I loaded her up on my frame one evening, decided I would float this top since it had worked so well for me on my one previous practice quilt, and tacked her down using 3 stitches per inch with my Innova.
My first eBay quilt loaded and ready!
Needless, to say this quilt did not go how I planned from the start.  When I first started I sized my pattern too small and the normal size of stars I was used to quilting were much smaller giving me fits. I did 3 passes across then stopped and took 2 days deciding what I was going to do. I could rip out all my quilting I'd done thus far and start over or I could enlarge my pattern and continue on from where I was currently. I chose the second option, enlarging my pattern and continuing on without looking back. After I put in my first pass of the larger pattern I went back and freehand quilted in some loopty loos and stars to bridge the gap.
Throughout I was having problems getting uniform stars. I would concentrate. I would relax. I would go fast. I would go slow. Whatever it was, I was struggling.  I struggled right down to the very last row I quilted.
An example of my rather wonky stars.
A particularly unattractive star.  Good grief!
Now  here is a good star, but of course, you don't notice it because it is on a solid piece of red fabric.
At some point I decided my shoes were the problem and I changed into my flip-flops in the midst of the coldest spell of weather our area has known in the last 20 years. That actually did seem to help and I am reconsidering naming my little enterprise The Flip Flop Quilter instead of Three Dog Night Quilting Co.
I took a picture of my flip flops. 
I tried smiling while I quilted. At one point I found myself leaning completely over the machine mere inches from the screen.  
I was never so happy as when I finally rolled the last of the quilt up and I had the end in sight.  I finished it off and pulled it off the frame as fast as I could.
Finally at the end.
So here is what it looks like on the front:
Looking at this now, this is a terrible photo. 
Here is the back:
Far away.
Up close.
Here are three things I learned this time around:
1. When you are aware you have a wonk-ily pieced quilt (as I should have realized when I was fixing the few seams I did) you really need to take the time to measure it out and see how square it is. Then make adjustments from there.
2. Related to number 1; wonky quilts shouldn't be floated. The really need to be attached securely to the quilt frame and rolled tightly just like the backing. I read this on a quilting blog about halfway through my project. Lesson learned.
3. I learned how to save a pattern on my Pantovision program so I don't have to try to remember the dimensions each time I go back to start another project.
I have 3 more quilts arriving from eBay any day now. I can't wait to try again!
I was cutting it close on thread at the end!


Friday, December 27, 2013

Let the Playing Begin

Part of getting a new technologically advanced toy is being will to just play with it. One of my biggest gripes is people who get a new iToy or such and then won't touch it or use it because they are afraid they might break it. You can't break it by hitting the wrong button.  I was born on the cusp of technology being available to everyone in their home. I've used a typewriter to write papers and then in college began using computer word processors to do them.  I've known both worlds.  So there are times when I'm hanging out in my online quilting groups when I find it rather frustrating to read about people who have a small problem but either 1. won't try looking under different menus to see if they can find what they are looking for or get themselves "unstuck" or 2. won't call the help number.  The Lord helps those who help themselves. The same goes for our new quilting technology. You can only get better by putting in the time with the machine, pushing various buttons to see what they do or don't do, and making the mistakes that take you sitting down with the manual for an hour to undo what you just did. Or in my case, my husband sits down with the manual and I go watch an episode of Big Bang Theory. Just keepin' it real here, folks.
What I'm getting at is you don't have to have expert skills to get started with your new longarm. I didn't get mine with the idea that I would sit down and be an amazing quilter from the start. I also may have been over ambitious in the amount of time I thought it would take me to learn how to use it. But I started and I didn't look back. 
Picture taken from the back of the machine. I'm practicing on some material I bought and then didn't use.
When I got started I went into it like I do most things, with a bull in a china closet type of enthusiasm. Dustan who happens to be more analytical did slow me down to measure when putting my first material onto the frame.  I started by free playing and drawing whatever came to mind. It was freeing and fun.
I sign my name better in quilting than I do with a pen and paper!
After a while I realized I was going to need to get to work on using my Pantovision patterns since that will be the bread and butter of this little operation.  Pantovision is a program that comes with my Innova that replaces the old way of putting patterns on quilts. In the old days a longarm quilter would have a paper pattern she'd tape down to the tabletop on her frame and follow it with a stylus to make the quilting design.  It required the quilter to stand behind the quilt frame and quilt from the back unable to see the quilting s/he was doing.  Pantovision is a program loaded onto a small tablet that is mounted on the front of my Innova that allows me to resize my pattern, change it, and repeat it as needed. Then you follow the pattern on the tablet by moving the quilting machine. The machine communicates with the program with encoders on the rolling cage of the quilting machine. 

The screen I'm looking at in the tablet loaded with my Pantovision.
I chose Pantovision over the old paper pattern way and I could easily see it as a way to quickly get up and running. I like the ability to adjust patterns in any manner that I choose. It allowed for neat storage for all  my patterns versus needing to find a storage system for the paper ones.  It was also a good choice since the room I have my Innova in has no space on the sides of the frame to walk behind. If I need to access the back of the machine I'm crawling under and through the frame. 

Thus I started working with my Pantovision. I found out real quick that following a pattern wasn't going to be quite as easy as I first told myself. I also found that the pre-loaded patterns that the Pantovision come with aren't all the friendliest to use for new quilters.  Some of them aren't very practical either. I why do I need two different versions of a gecko?  I put out a plea on my Yahoo group soliciting suggestions for easy to use patterns to practice to get the hang of this longarm quilting thing.  Luckily, the folks there are very nice and I had many helpful tips along with suggestions for easy to follow patterns within 24 hours. The best tip I received was practicing the leaf pattern due to the fact it had both curves and points. Another great tip was to stop when you came to a corner or point before proceeding around it.  All good things to know. 
Look at those wonky stars and meandering!
So I beg of you get in there and start pushing buttons. You have no idea what you might discover. 

Dustan decided since he built it, he should get to try it out.