Pages

Showing posts with label ruler work. Show all posts

Sunday, August 31, 2014

Chevrons! Chevrons! Chevrons!

By now you would think everyone would be over chevrons.  But it hasn't seemed to slow down.  Which is fine by me.  I don't have any cute clothes with a chevron pattern but I finally found a quilt pattern that is easy to make a chevron quilt.  Most chevron quilt patterns seem to like to use the half square triangle method for putting together a chevron quilt.  But I don't like them enough to make a couple hundred of them to piece a chevron quilt together.  Then I stumbled upon a picture of a stunning Halloween quilt on Pinterest.  It was a blog post by The Little Fabric Shop that used rectangles to piece a chevron quilt.  Much more up my alley!  Here is the link if you'd like to see the tutorial:  http://thelittlefabricshop.blogspot.com/2012/10/halloween-chevron-quilt-tutorial.html

My friend Andrea is having a baby soon.  She wanted to learn to quilt and somewhere along the line we came up with the idea that I could teach her how to quilt and make a quilt for her baby at the same time.  What is more heartfelt than quilt that you handmade for your precious baby?  So this summer we got to work.  I bought the fabric for the quilt at our local quilt shop.  She is having a little boy so she is doing the room in grey, turquoise and light blue and is using elephants as a theme.  I had a great time shopping!  I found this cute retro looking elephant print first.  It had the light grey background with the elephants.  I wasn't sure about the green but I thought what the heck!  I really hadn't had any luck finding any elephants up to that point so I decided I couldn't be too picky.  I then picked out my other fabrics and brought them home.  

The elephant fabric that was the inspiration for this quilt.
A closer view of some of the other fabrics we used.
 Andrea came over in mid-July and we spent the entire day sewing!  We cut our strips, laid them out, pieced them, cut them into their patches and resewed them together all the while chatting and catching up.  It was a full day of sewing!  We started around 9AM and finished at about 7ish that night.  We took some breaks in there and we had one little goof there at the end that we ended up ripping out. (I was getting in a hurry and I accidentally had Andrea sew the last row of chevrons opposite of what they should be so ripped it out.)  It was so much fun getting to have a sew day and catching up with Andrea.
Andrea working hard piecing her elephant baby quilt for her soon to arrive new son.
Andrea at the end of a long day holding up her finished quilt.  
I did the quilting for the elephant quilt on my longarm.  I used the focus elephant fabric for the backing and also for the binding since I had some leftover.  I had some leftover because I miscalculated on how much fabric I was going to need and didn't take in to consideration that the elephants were a directional print.  (I really shouldn't be telling all my secrets!)  I really loved this quilt and I had it hanging in my quilt studio until this week when I had to take it down and give it to Andrea.  That little boy is going to be arriving soon and he's going to need his quilt more than I am.  
Here's the finished quilt hanging in my quilt studio.  It looked like it belonged in there and really brightened my day.
Since the inspiration for Andrea's quilt was a Halloween quilt I decided that I really needed a chevron quilt with Halloween fabrics just like the tutorial. I had collected a few Halloween prints on my trips to quilt shops while on the Row by Row quilt challenge that has been going on this summer at quilt shops around the nation.  Then my aunt gave me two different Halloween prints that she had bought the month before my cousin was born in 1987.  I know this because the receipt was still in the bag!  Once I had those there was no stopping me and I quickly bought the rest of my fabrics and got started.  I had learned quite a bit from the baby quilt and I used that knowledge to make my quilt a little bit wider.  I also decided I wanted to  make it square as I had never done that before.
Here's my quilt before I added the borders.  I really like how bright it is and orange isn't a color I usually use.
After I finished I wanted a small black border to go around the outside of the quilt to kind of frame it.  I went to another local quilt shop and found the perfect black star fabric to use to frame it.  But I also found a beautiful lime green fabric and decided I needed it to make a very small border around the quilt before adding a little bit larger black border.  Buying fabric is indeed a slippery slope.  

Here's a close up of the two borders I added.  Most of the times I use borders to finish making my quilts big enough.  This is one time I think the borders really finished the quilt.
 Then I needed a backing fabric.  I thought I just wanted a black marble for the back.  I was wrong.  When I went to my longarm guild meeting in Wichita Dustan came along to bike.  He then graciously went along as I stopped at the Wichita quilt shops to peruse fabric and pick up my Row by Row patterns.  It's nice when he comes along because he navigates for me and I can just drive. It's also very nice because when I find fabric I like he's supportive of my habit.  But the best part of all is he does my quilting math!  Which in this case turned out to be a blessing because I would have been a 1/2 yard short of my backing fabric and 2 hours away from the quilt shop I had purchased it.  When I saw this jack-o-lantern fabric I knew I had to have it and use it for my Halloween quilt.
A close up of the backing fabric. They are pretty small.
 With my backing fabric in hand I was ready to longarm my quilt.  I used some orange Glide thread I bought back in the spring at MQS.  I decided to go with some ruler work quilting the echoes of the chevrons 1/4"  from the seams.  I then I did my first stitch in the ditch between the black and lime green border.  It turned out fine but I think if I'm going to do that I am still going to need a little more practice. I then added swirls in the black border using black thread.
You can see the quilting of the swirls, stitch in the ditch between the black and lime green border and my ruler work on the chevrons.
My finished quilt.
I've decided I'm not done with chevron quilts.  JoAnn's has a lot of Thanksgiving fabric and I have enough Christmas fabric in my stash for several quilts.  I'm also thinking it would be fun to make a two colored chevron quilt with one colored/print fabric and the other a solid white.  I usually don't consider myself a modern quilter even though I love modern quilts but if I keep making chevron quilts that might change!

Tuesday, April 29, 2014

Go Cats!

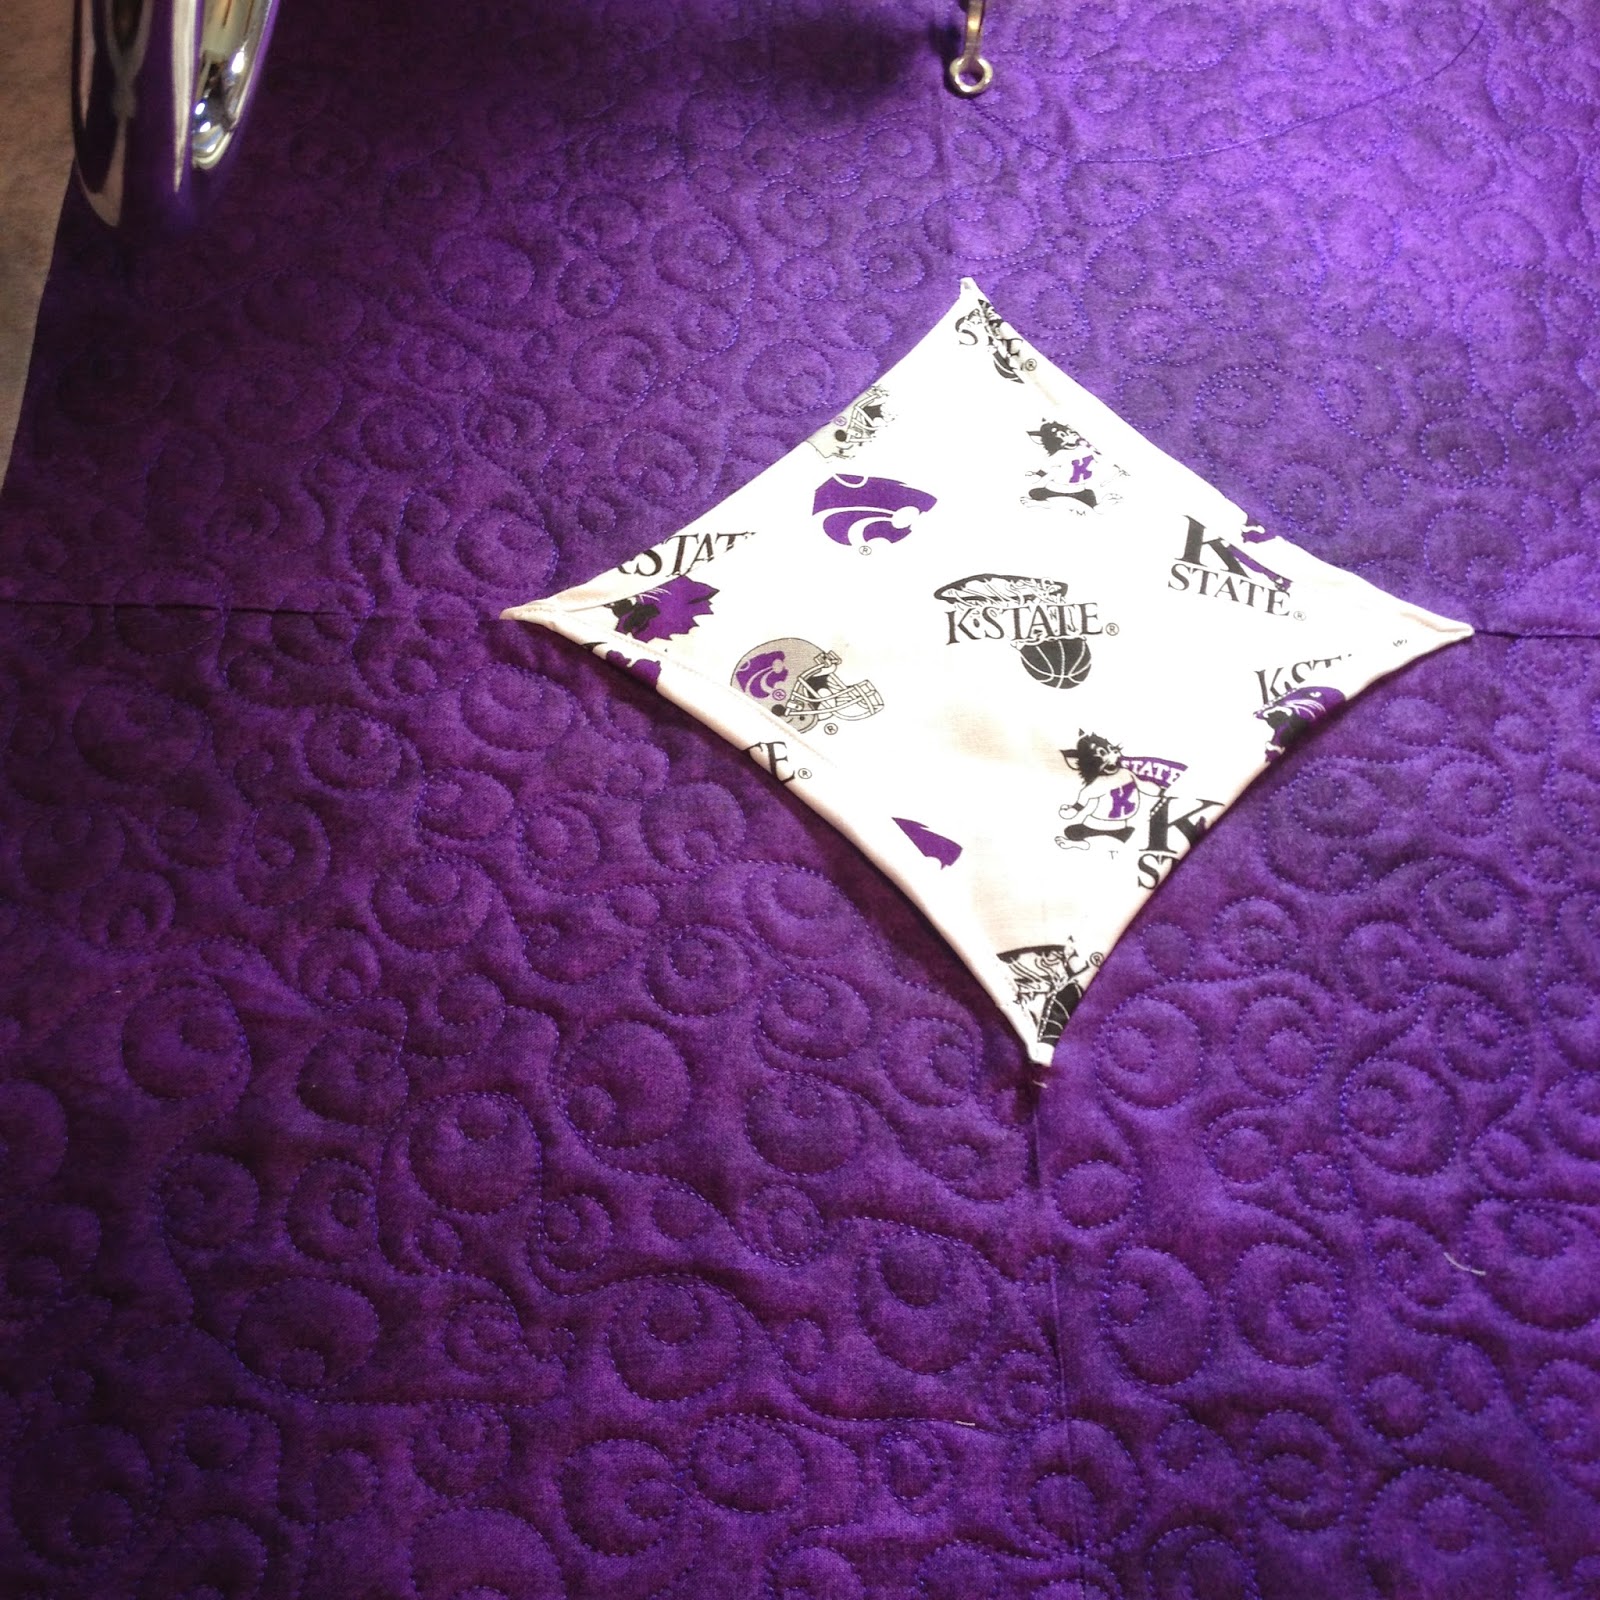
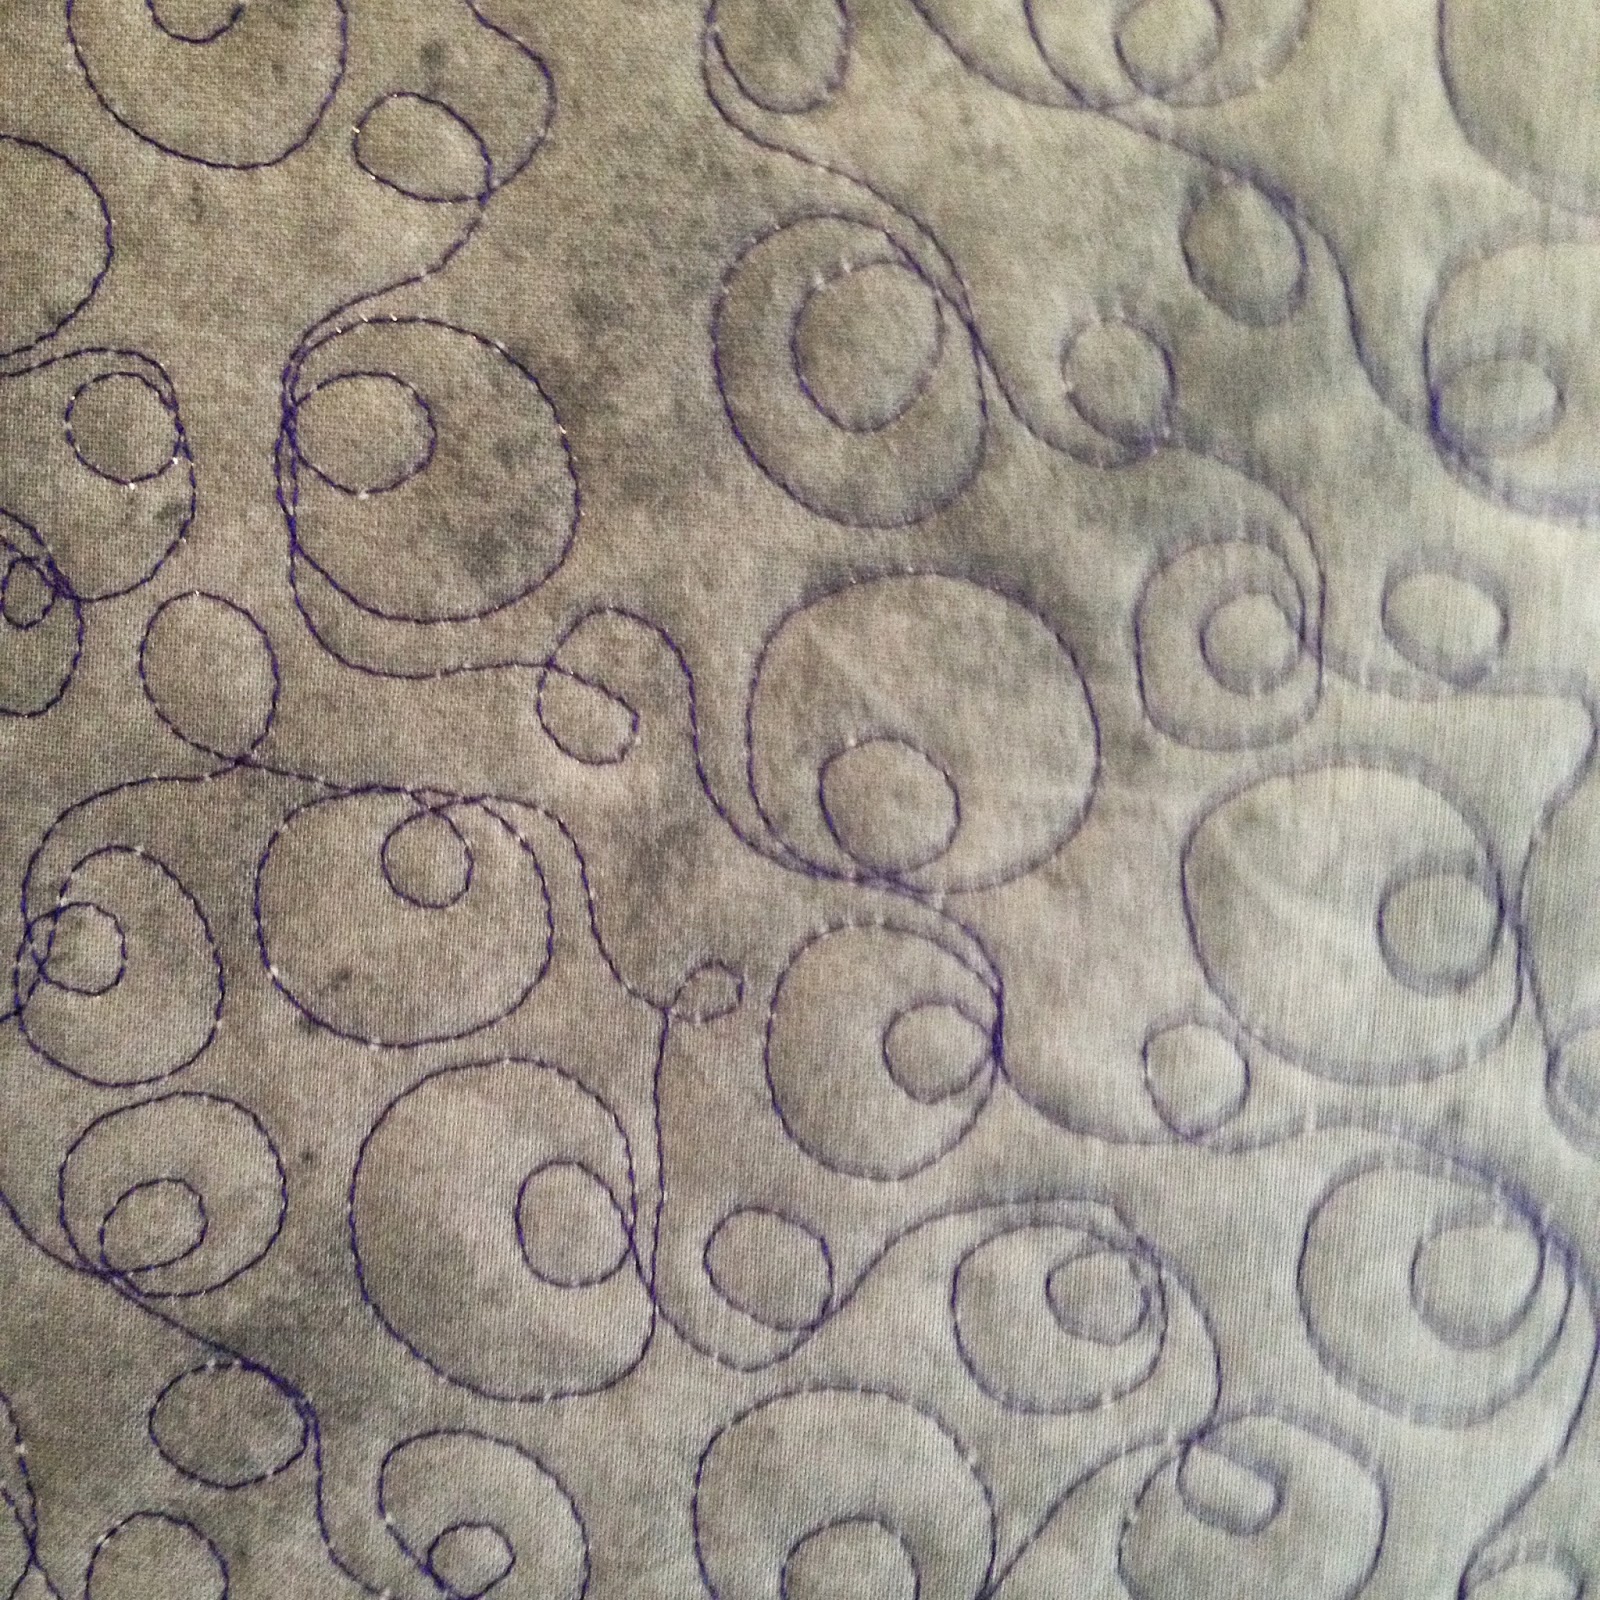
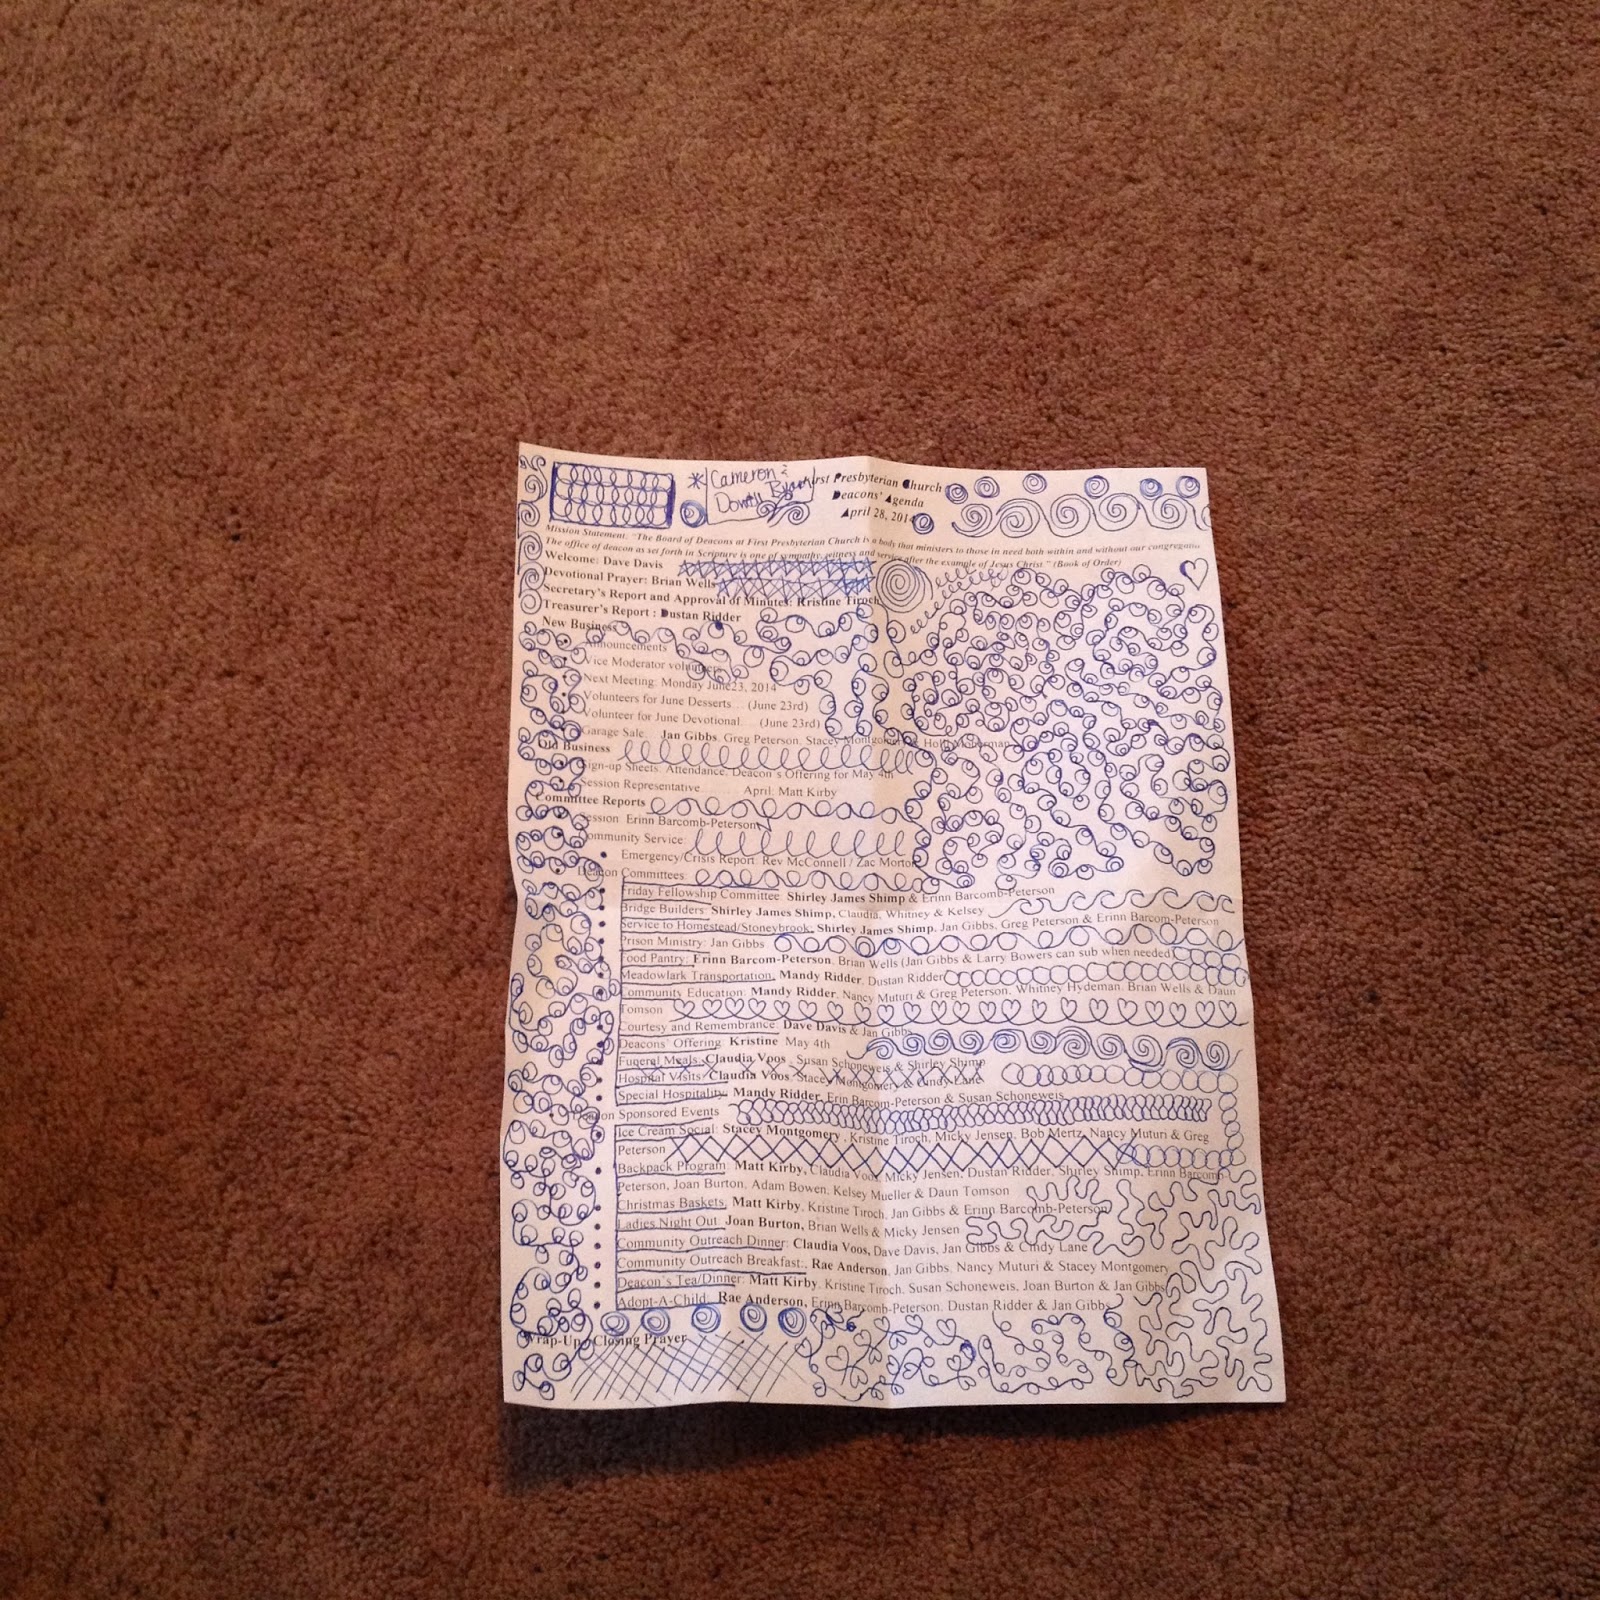
This past weekend I spent working on my husband's aunt Lisa's K-State Wildcat quilt.  Since Lisa is getting the auntie discount I felt a little more brave to try out my free-motion/custom stuff on her.  I've been in love with these bubble inside of bubbles I'd been seeing and decided why not just go for it?  While I had not practiced the bubble design on an actual piece of material I had doodled it a lot in my free time (or faculty meetings).  In all honesty I do believe my doodling habit has led to my longarming career.  Who knew countless hours of drawing meaningless doodles in my planner and calendar would lead to actual paying jobs as a longarmer?  
An example of my prolific doodling from an agenda from our church's deacons meeting last night.
So I went to work filling in each purple background with purple colored bubbles. 
The bubble pattern from the front.
The bubble pattern from the back.
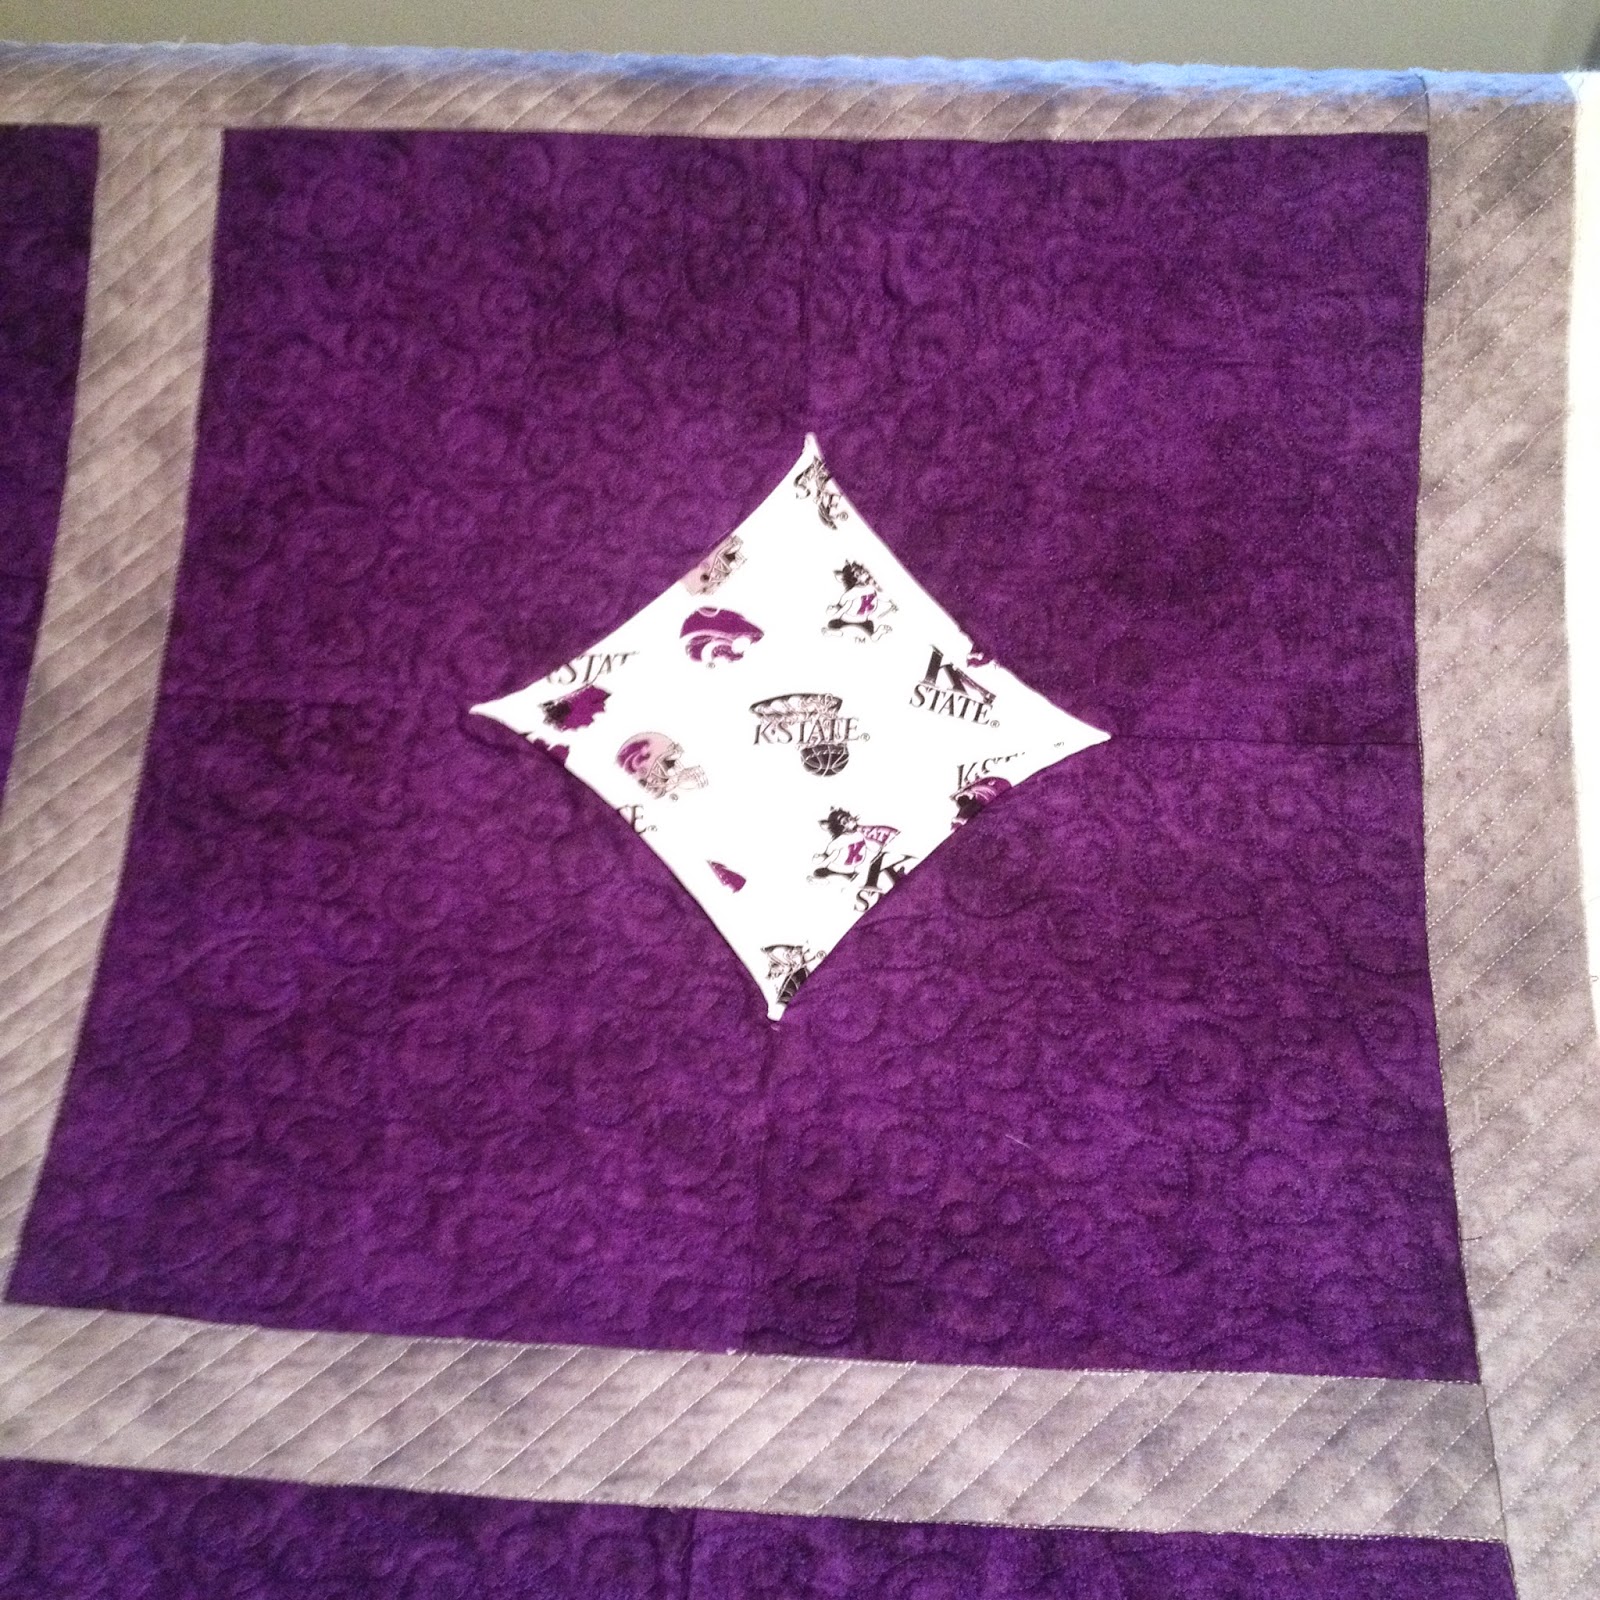
For the borders and sashings I decided I wanted something to balance out the free flowing motion of the bubble pattern and chose to do some ruler work.  I made 45 degree angles 1/2 inch apart all the the way around the quilt and all the sashings.  I then added a design and traced the middle diamond and called it good!
The sashings & borders which I used a ruler to make.
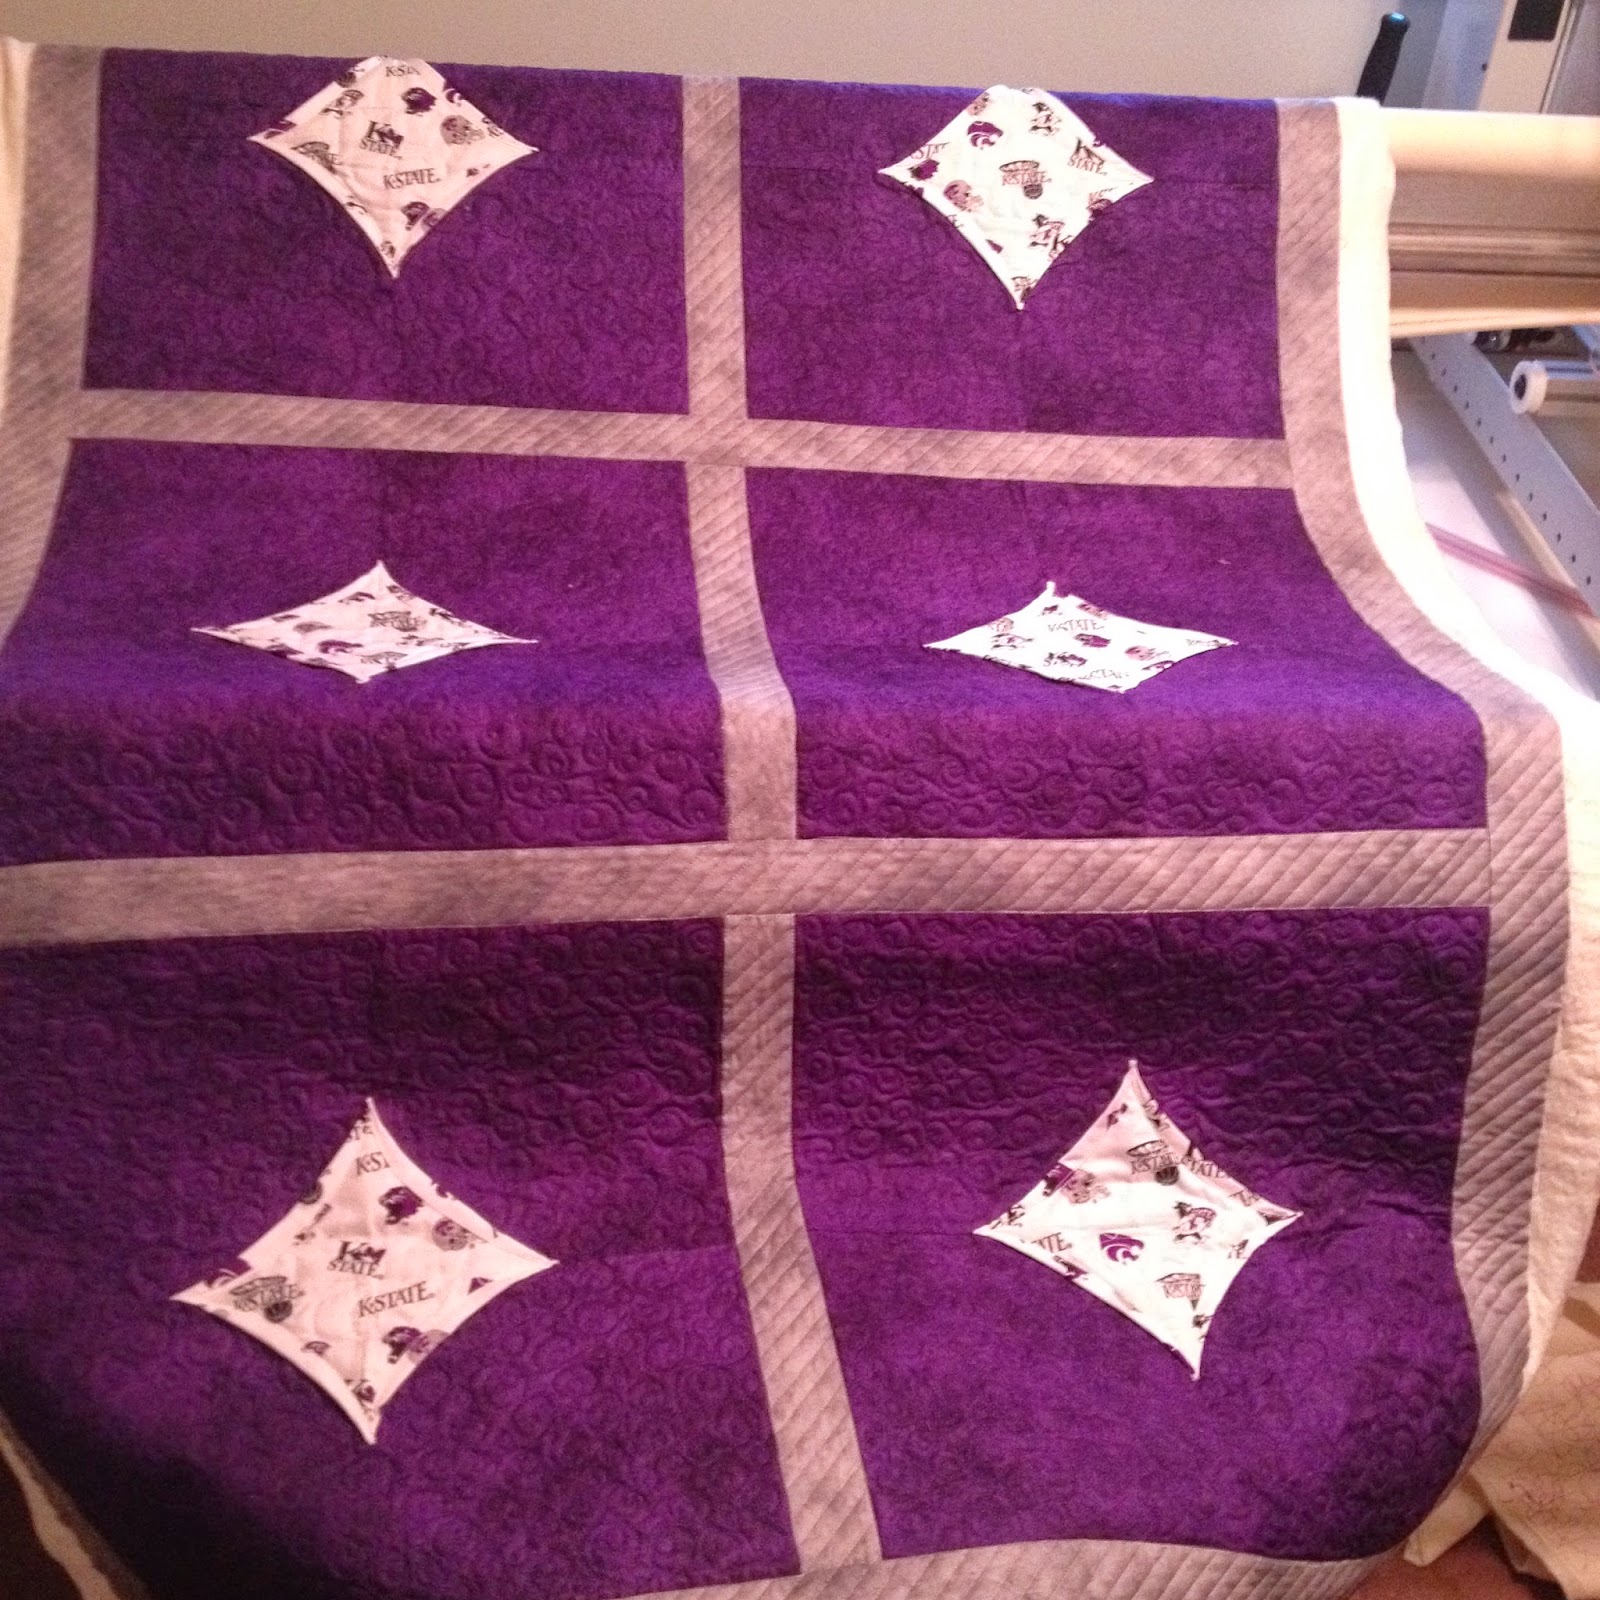
The finished quilt spread out on my longarm frame.


Monday, March 31, 2014

Latest Baby Quilt

I've been keeping quite busy with my competition quilt for MQS this week.  I'm working on a post about the craziness that was the competition quilt.  But in the meantime I wanted to share the quilt I just pulled off the machine. 
My sister-in-law keeps me practicing with baby quilts. The latest one she brought me is cute little farm animals.  I decided instead of using a pantogram I was instead going to use some custom designs I learned to do over spring break. Over spring break I took the class that came with my new longarm.  It was a great one day class that covered all the basics and free motion quilting designs.  Since up to that point I'd only used pantograms through my Pantovision I was very excited to take the class.  I was even more stoked after the class was over and I had 7 more new designs I could do free motion.  
With the quilt my sister-in-law brought me I immediately keyed into the fact that the animals alternated whether their fur was with a curly motif or a lined one.  I decided that I would use the curls I learned in my class in the background of the animals that had curly hair.  I went to work and was quite pleased with the way the background turned out.  I then out lined the animals.  
My curly block.
For the animals with the lined background I decided to get out my ruler and put diagonal lines in the background to fill it.  I easily filled in the background then outlined the animal.  
The lined background.  
Instead of filling in the sashings with designs I decided I wouldn't push my luck and instead just chose to stitch in the ditch along the lines of the printed quilt.  But for the border I got a little bit daring and put the curly motif into the border to frame in the quilt.  Note to self: It's best to continue to go around the quilt in the same direction the entire way.  In the future I think I will just go one direction around the quilt and deal with having to unroll my quilt after I've finished all the other designs than trying to have to work backwards and go the opposite direction with my curls.  I really enjoyed doing this quilt because it's really the first quilt I've worked on that I have had the opportunity to approach it with a mindset beyond a regular repeated pattern.  I was in charge of the design elements, simple as they were, I still kept the quilt flowing while highlighting some pattern elements from the quilt. 
The finished product!

 Hopefully my sister-in-law likes the quilt as much as I do and is forgiving of the directional mistakes in the border.  
I can tell I'm becoming a quilter because I like looking at the back as much as I like the front!


Sunday, January 19, 2014

What a Week


It was quite a week here at the hacienda.  Thursday morning I went to the dentist for a mild pain in my front tooth. The tooth had been knocked out & hanging on by a thread back in HS (1996) but they were able to save the tooth and put it back.  At that time they had said at some point I'd need a root canal.  Well that time came Thursday morning. After the root canal I came home and slept for 3 1/2 hours.
Afterwards I was feeling as good as new (that could be a stretch). I got up and put another of the cheater quilts my sister-in-law gave me to practice. I had gotten a new toy, a ruler, earlier in the week and I was eager to start practicing. My new ruler has a straight edge and curve edge.  So incorporated both into my quilt.  I don't have any pictures of me quilting, I had a root canal that morning for crying out loud. I wasn't taking any photos of myself and I was just out of it enough to forget to take any while it was on the frame. :)  I went back to work on Friday as good as new.  The kids always like a good story so during writing time I drew my picture for my story with lots of embellishments for their benefit, minus the needles of course!
My new ruler for making straight and
curve lines.
I used the curved side of the ruler to
 make the border here.
The finished quilt. It's the same design
as the previous one.
I used the ruler to stitch in the ditch for
 these blocks.


Another example of my stitch in the ditch. Basically I just sewed where the seams would be.

The weekend was filled with family. For Christmas we gave both of our families tickets to a K-State basketball game against West Virginia for this Saturday.  We had a few extra tickets so we also had some friends join us in the fun at the game.  My friend, Meaghan, who is a West Virginia fan went with us in her West Viriginia gear.  She is currently a student at K-State so really it was a win-win for her because she was going to be happy no matter who won! My bicycling friend of 10 years, Don, who is a KU fan also went along. He bought a K-State t-shirt just for the occasion which he promptly gave to me as soon as the game was over. I'm going to hold onto it for him in case he goes with us next year. My parents and brother went from my family. Dustan's parents, 2 of his brothers and grandma went from his side.  K-State won easily. We've found it is easier when we have family in that is easier for us to make meals here at the house instead of trying to seat that many people at a restaurant.  So for dinner on Saturday night we had chili and chicken noodle soup. We had veggie pizza and mini fruit pizzas. For fun I had set up the longarm machine with practice fabric and let the family and friends give longarming a try! What a hoot!  I really should have taken more pictures but I didn't.  Good times!
My dad trying out the new longarm machine.

Dustan's brothers tried out the gecko design on Pantovision. They both are really good at using the tablet to quilt the designs. They caught on quickly.