As part of my t-shirt quilt class I offer my longarming services at a discount for taking my class. All of my students took me up on this offer. So during our first Saturday class I spent quite a bit of time figuring measurements and telling the ladies how many yards of backing fabric and batting to buy. My normal quilt intake is that I quilt in the order that I receive the quilts. When I received all the quilts on the same day I stuck with that same way of doing things.
Scroll through to see all the different t-shirt quilts that were made and how they look after they were quilted. Enjoy!
 |
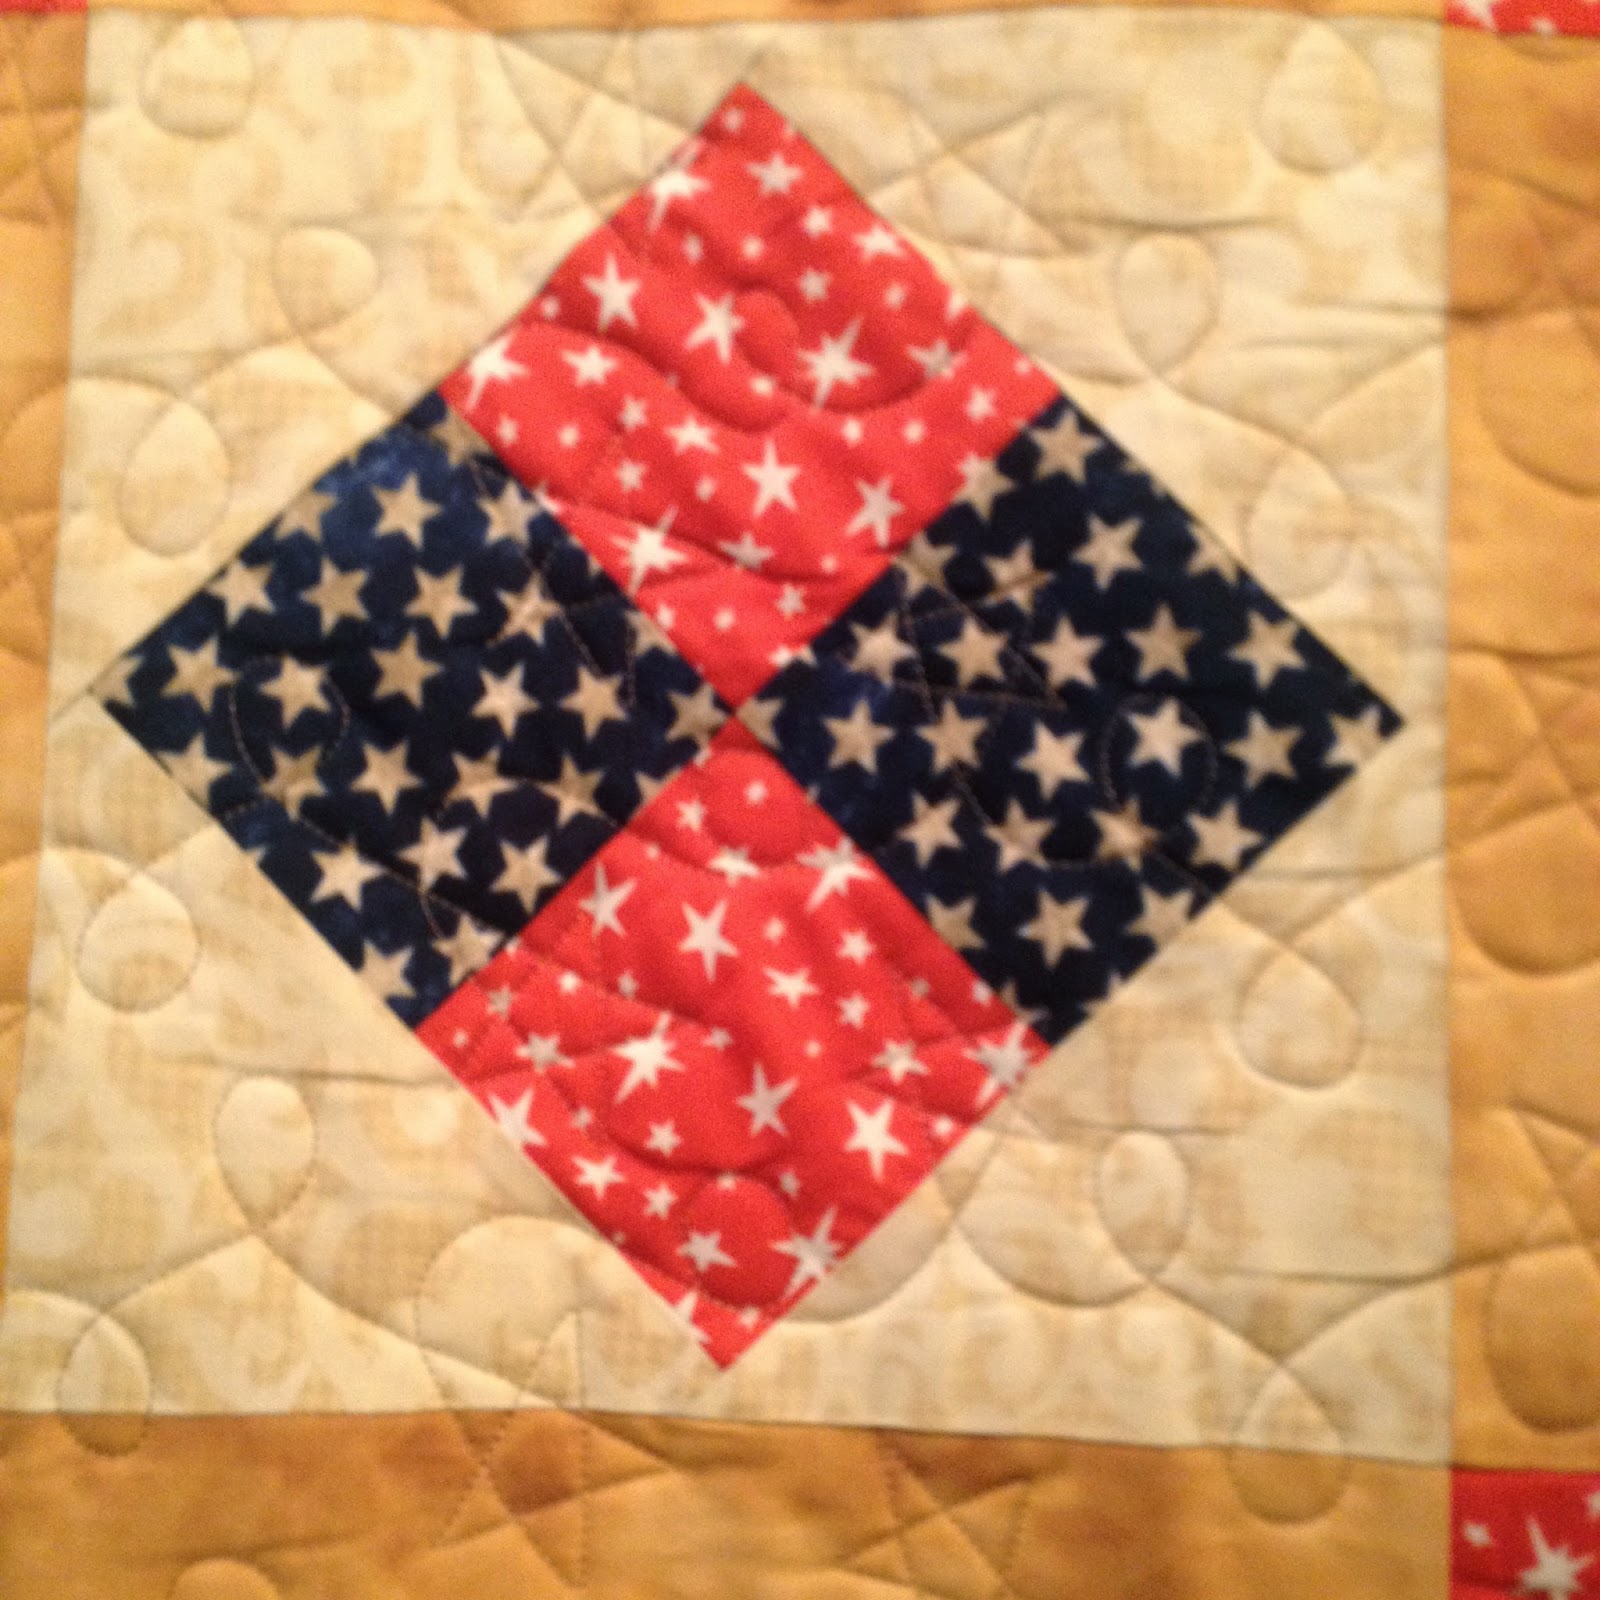
| Close up of the quilting. |
 |
| Finished quilting. |
 |
| Close up of the quilting. I actually really liked the quote on this tshirt. |
 |
| Finished Manhattan High quilt. |
 |
| I loved the colors on this quilt. It was bright and beautiful. I'm still looking for some of the purple border fabric for myself. She said she bought the last of it at JoAnn's and she wasn't kidding!--This picture doesn't want to move to hang out with its like pictures so here it rests. |
 |
| Finished Riley Co. HS quilt. He was very involved in sports. |
 |
| On this Riley Co. HS quilt I put different sporting balls in the sashing. Here's a baseball I drew freehand. |
 |
| The basketball I freehanded in the sashing. |
 |
| Football. |
 |
| This says Falcons. I wrote it with block lettering freehand with my quilting machine. |
 |
| The finished Pi Beta quilt. |
 |
| This quilt had some creative blocks to get all the tshirts included. |
 |
| A close up of the previous picture. There are actually 3 shirts that make this block up and we appliqued the K-State Proud shirt to the shadow border to make it have the wavy look. |
 |
| I'm really proud of this shirt. My quilting machine didn't balk once and going through 3 layers of interfacing, 4 layers of tshirt material and a layer of satin letter material all at once on the opening of the shirt. |
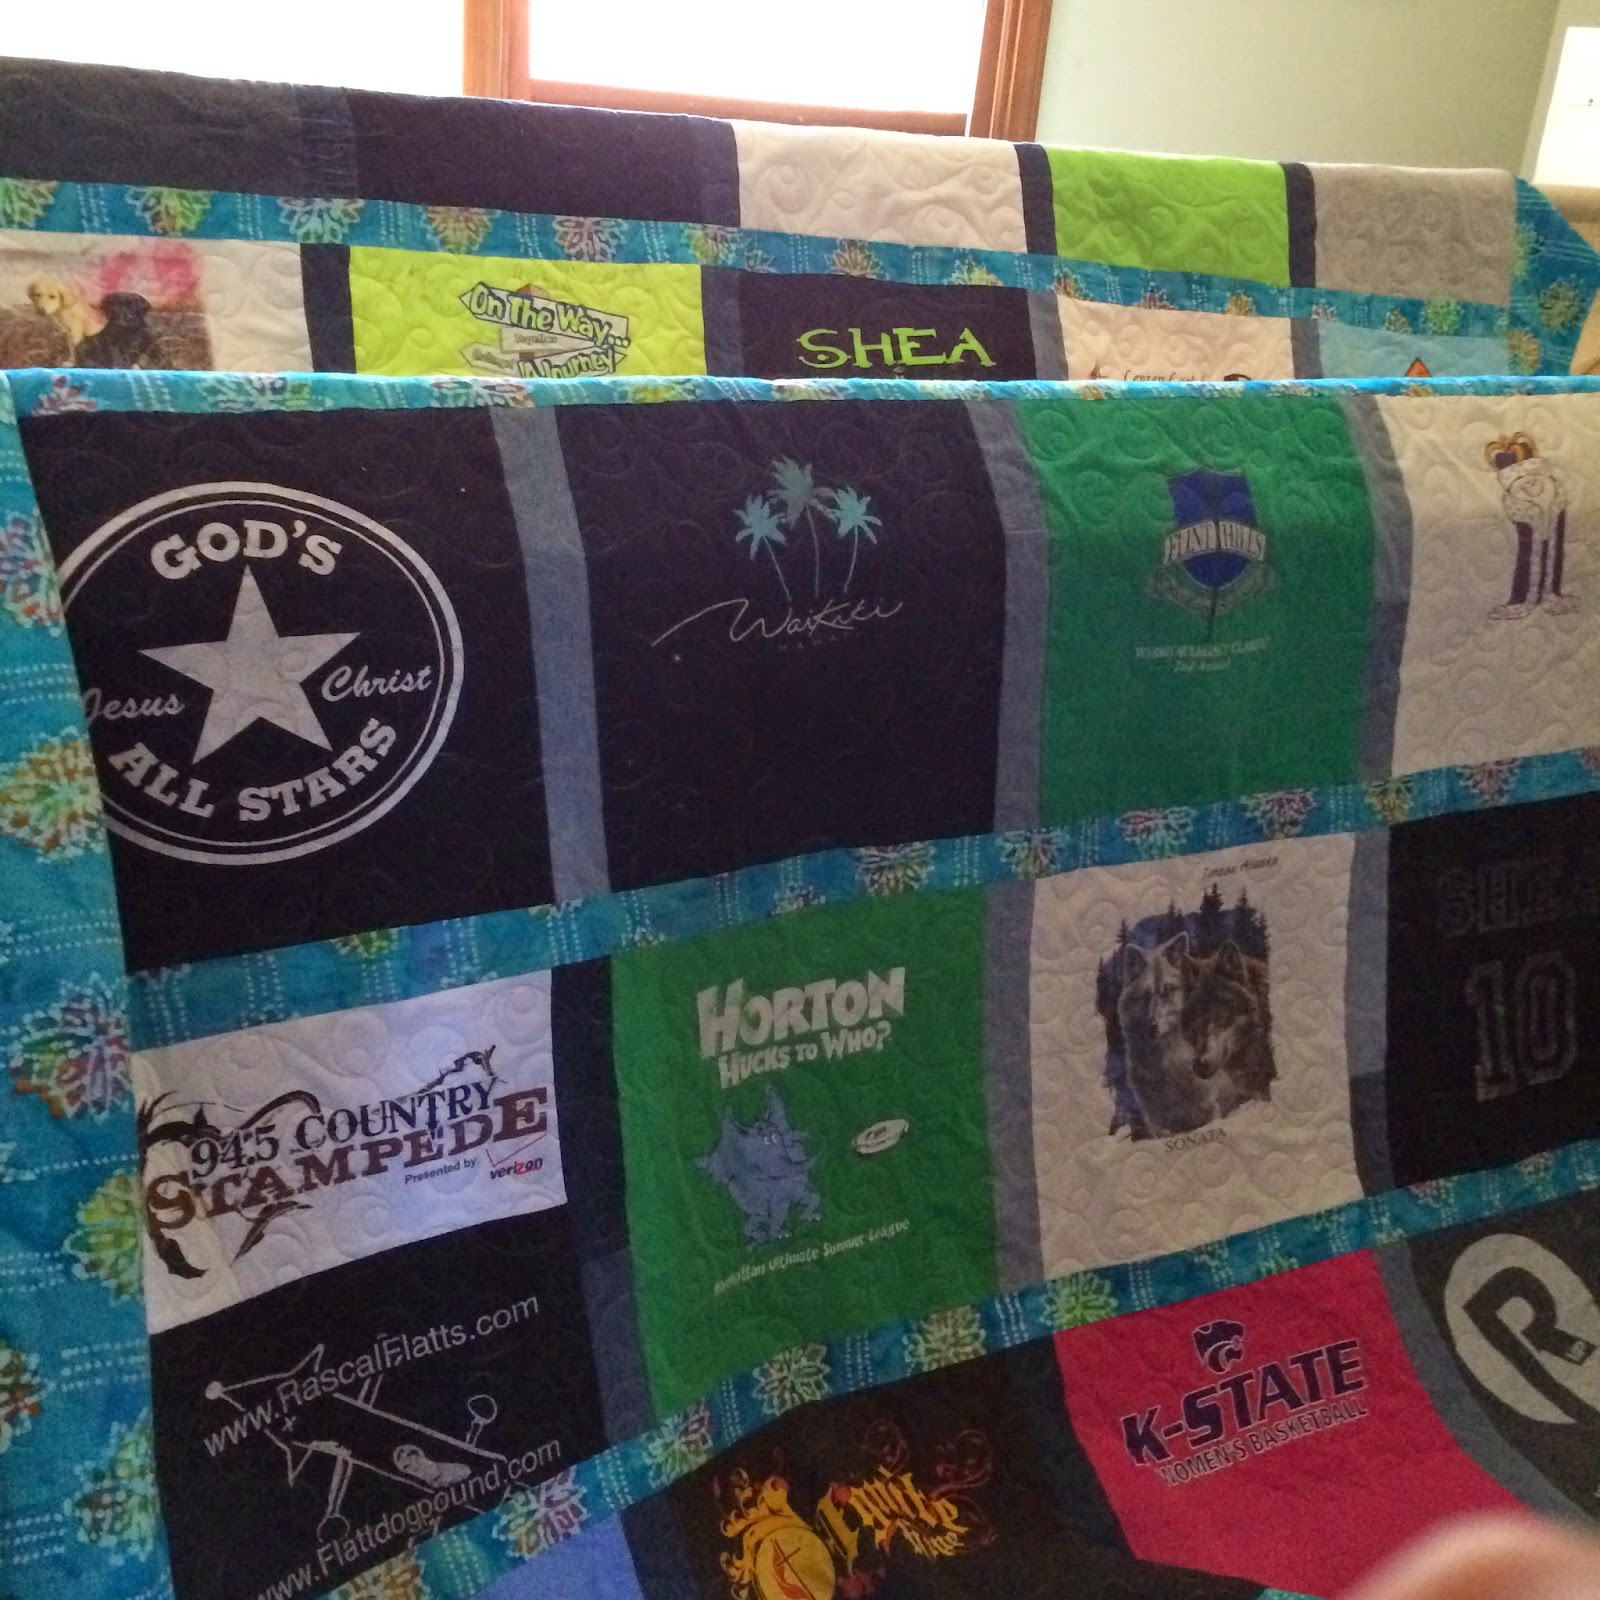 |
| This is the front side to a two-sided quilt. There are over 30 shirts on the front and another 30+ on the back. The vertical sashings are made with old jeans. The make of this quilt made this tshirt for her daughter. They adopted her when she was about 10 or 11. One of her first requests was that her mom make her a tshirt quilt. So this year is the 10th anniversary of her adoption so her mom who had been saving tshirts and jeans all these years made the daughter her tshirt quilt. |
 |
| Here's the backside of the humongous tshirt quilt. I worried a little about the tshirts lining up and quilting through the denim but it was smooth as a whistle. |