Pages

Sunday, July 6, 2014

T-Shirt Quilt

Part of my original business plan included making t-shirt quilts.  I put out a call for t-shirts and had several takers.  My second cousin in Arizona sent me her box right before the end of the school year hit the fan.  I had warned her that it would probably be a little while until I got to them-she may not have anticipated quite the entire month of June.
I started last Monday working on her t-shirts and finished up today.  She had cut some of the shirts already so I was unable to do my original design I had in place for t-shirt quilts.  What I ended up doing to accommodate all the different sizes of shirts was I cut all the shirts on 3 inch intervals.  I had 3"x3", 3"x6", 12"x12", 9"x12", etc t-shirts to work with to form a quilt.
The t-shirts on my improvised design wall.  
I laid all the cut t-shirts on my bed and went to work rearranging them until I had a pleasing square quilt.  I had a few gaps where there were not t-shirts that fit and no left over t-shirts to put in those places.  So in those spots I put squares and rectangle cuts of the border fabric.  I pieced them together having to use partial seams with several of the more unusual sized t-shirts.  Partial seams were not nearly as bad as I remember them being.  I then went to work on the border. Since I didn't need to put sashings into the quilt because of it's neat design I spent a little extra time making a very exciting border.  I assembled the pieces and added them onto the quilt.
Ready to go.
I loaded the quilt onto the longarm and got busy using a free motion design that I love.  My double bubble design is becoming my favorite design to quilt when I'm not using a pattern and just going free motion.  It's easy and relaxing.
Ready & waiting to get started on the longarm.
A close up of my double bubble design I like to free motion on the longarm.
I pulled the quilt off the longarm and added the binding.  I chose instead of hand sewing the binding down to machine sew it down this time.  It worked out well as I've never done that before and believe that will be my go-to binding strategy for t-shirt quilts.
The final product, it measures about 70 X 85 .

Tuesday, June 3, 2014

Bicycles!

It's that time of year when my summer hobbies kick in and take over some of my rest of the year hobbies.  My big summer hobby is bicycling.  I try to ride 100 miles each week during the summer months.  I'll be riding my bike for the 10th year on Biking Across Kansas (BAK).  I've met many wonderful and dear friends through BAK and I feel very fortunate to have them in my life.
A picture of me riding down the road.  I have one of those "funny" recumbent bikes.

This is the 3rd edition I've made of this quilt.  This one happens to be for my friend, Don. I don't think he reads my blog so he's not going to get a spoiler here.  My friend, Julie, and I picked up Don on our second BAK back in 2004 at an old ranch and he's been with our group ever since.  Don puts up with a lot.  He works as a funeral director and sometimes, ok most of the time, we refer to him as the undertaker.  I made this quilt top several years ago and then never got around to quilting it.  Back then I had to quilt it on my domestic sewing machine and doing a third bicycle quilt on my regular machine seemed too daunting so I put it away.  Shame on me.  But now that I have my new Innova I was looking forward to quilting that bicycle quilt and doing some custom designs on it.
I knew before I started I wanted to practice making swirls and the fabric in this quilt lent itself to swirls quite well.  So I decided I wanted to put the swirls in the border.
Close up of my swirls.
A little blurry but what the swirls look like on the back of the quilt.


A photo take a little further out of my swirls and you can see the triangles I quilted in the yellow border to accent the triangles on the border of the fabric.
There are alternating blocks that make up the quilt.  This is the block that is just a fabric square. If you look close you can see I quilted a circle in the middle and added lines to look like bicycle spokes.  
If you look close you can see the bicycle wheel I quilted in the middle.
 After I made the wheels I decided I may need more quilting to hold the batting in place. To match the swirls on the front fabric I when around the wheel and added these curls.  You can't hardly see them in the picture above.  Using varigated thread on multi-colored fabric like that was nearly impossible to quilt as I couldn't see where the heck I was going! Luckily the curls like this are very forgiving and you can see on the back they turned out alright.  You just can see them on the front.  Lesson learned.
Around the wheel I did these curls that I love to quilt.  
This is the bicycle block.  It sets off center.  I didn't want to do much quilting on this block because I wanted the bicycle to be the point of focus.  I ended up doing echo lines 1/4 inch from each seam. Then on the bicycyle I traced the inside of the bicycle triangle and then added an additional rectangle around the bicycle to stabilize the batting.  I tried outlining the bicycle but I didn't like the way it turned out.  Maybe if I had microhandles it would have turned out better.  But I like the simplicity of this block keeping the focus on the bicycles that I embroidered on my domestic machine.
One of the 6 bicycle blocks on the quilt.
 Here's what the finished quilt looked like. 

I love this quilt pattern and have the material to make myself one if I ever get around to it.
 I put the binding on tonight and hope to get this baby finished by Friday to give to my friend Don when I see him.  I think he's going to like it!

Monday, May 26, 2014

Speeding Up My Quilting Process

Today's post is a more technical post.  Part of doing quilting for Quilts of Valor (QOV) is trying to be quick on the turn around time.  Not my strong suit this past month with school wrapping up.  But with summer here I have a little bit more time to quilt.  I've found an easier way to get my QOV quilts done in less time and it has nothing to do with becoming faster on the quilting end (although that never hurts).
The Quilt of Valor I was working on when I took these pictures.  Isn't she beautiful?
Instead of using paper pantographs, which are long rolls of paper with the quilting pattern drawn on them, I use Pantovision. Pantovision is a program designed by ABM Innova.  I happen to love it because it makes the old fashioned roll paper patterns obsolete and digitizes everything instead of me trying to find a place to store the paper rolls.  Let's just say, I wasn't blessed in the organizational area of life, I'm treading water at best.  I'm a fan of anything that takes paper clutter out of my life.
To make my QOV quilting go smoother I've found a way that works for me.  What I've done is I have taken my most popular QOV patterns and saved them as QOVStars, QOVvines, etc so I I know that these are the patterns that I've used on previous QOV.  It is also helpful because most QOV quilts are about the same size usually within a few inches.  Then to make the process easier I've taken and resized all my patterns so I can easily get a set number of passes (usually 4) before I have to roll my quilt.  Knowing that I've done this I do not have to worry about checking before I start quilting if I have enough room on my final pass before rolling.  I know I'm good to go because I've set this pattern up so it fits without needing to check to make sure I'm not going to run out of room.  Nothing stinks worse than starting a pass of a pattern and then bumping into the back of your longarm and trying to pull it down to finish the pattern. It is also nice because I used to spend a lot of time moving my pattern on the screen up and down after I rolled it each time trying to figure out where I was again.
I haven't downloaded the latest Pantovision update so this is my "old fashioned" way of advancing my quilt. I load each quilt and quilt my first four rows.  My first row of the 4 rows is usually a partial row where I am only quilting in the parts that are on the quilt and the pattern is actually hanging off the top of the quilt on the batting.
Each time I start a new row I mark where I start on the batting with a dot.  After I complete the row I come back and line the sew head up with the dot.

 Then I check my screen to see how far off I am. Here I am only about a 1/2" off to the left.
 To fix it I scoot the pattern over with the arrow keys  to line it up. (I'm off just a tad to the north in the picture because I'm trying to do too many things with too little hands.)
 Once I'm lined up on the screen I go down to the next row and put my needle down in my starting place on the quilt.  I always start off the quilt on the batting and then sew my way onto the quilt.  I also mark with Sharpie.  It doesn't bleed through the batting and it will be cut away after I finish quilting.  Then I put my needle down back in the black dot and start sewing.  When I'm through I'll come back to my dot, adjust as necessary like before and go across again.
 Here you can see all 5 dots.  The dot at the very top is from the previous 4 rows that I did before I rolled the quilt top.  It is how I know far to roll my quilt which I explain in the bottom photo.  The next four dots are the four passes I made this time/roll. As long as I line up with the previous dot before I move down I'm good to go.  

 Below is a picture of me lining up the fourth row from the previous quilting before I rolled it to the top. It then becomes a measuring point which you can see on the sewing area but doesn't affect my quilting. What I do is after I finish my 4 passes I roll my quilt to the very top of the frame.  I stop when I have my sewing head pushed as far up to the quilt take up bar as possible and the black dot from the 4th row is now nestled inside the sewing head hole.  If you look closely in the picture you can see the dot and the take up bar where the quilt is rolled onto in the picture.  Since I'm lined up on that dot I can now move down and start quilting immediately without having to make any adjustments on my Pantovision screen.

Hopefully this gives you some new things to think about when you are quilting.  I've found it very helpful to have resized my patterns to fit a certain number of passes on my quilting area.  The time I save is definitely the time it took me to figure out how to resize my patterns to get 4 passes in each time before I rolled it to the next.
What have you done to make longarming easier for you?

Tuesday, May 20, 2014

Quilts, Quilts and Barn Quilts!

I've been busy finishing up the end of the school year as a kindergarten teacher.  It seems like the last days are the busiest.  I've been able to get a few quilts done as well.
This first quilt you have seen before.  It's the quilt I taught how to make in my Beginner's Quilting class I taught for UFM.  It's a simple log cabin design.  (If you'd like to learn I'm offering this class twice this summer through UFM.)  One of my participants had never made a quilt before and I think she did a great job.  I did the quilting for her.
The finished quilt.

A close up of one of the log cabin blocks.

The back, since now that I'm a quilter I like to check out the back as much as the front.
 My next quilt I did for a fellow Deacon at church.  I love this pattern and color choice.  I am a bright person so the colors spoke to me.  Originally we had agreed on a loopy pattern but after I did the double bubbles on the K-State quilt I knew this quilt needed the same pattern of quilting.
The finished quilt.
One of the blocks.
A close up of the back.
A closer look at the quilting on the front.  So I like looking at the front quilting, too!
The last quilt is another Quilt of Valor (QOV) quilt I did.  The neat thing I liked about this quilt is I am finally getting quicker in my quilting so I can finish one of these in an evening after work instead of dragging out over several evenings or a Saturday.  I loved the pattern on this quilt and I felt like I had just the perfect color of thread for quilting it.
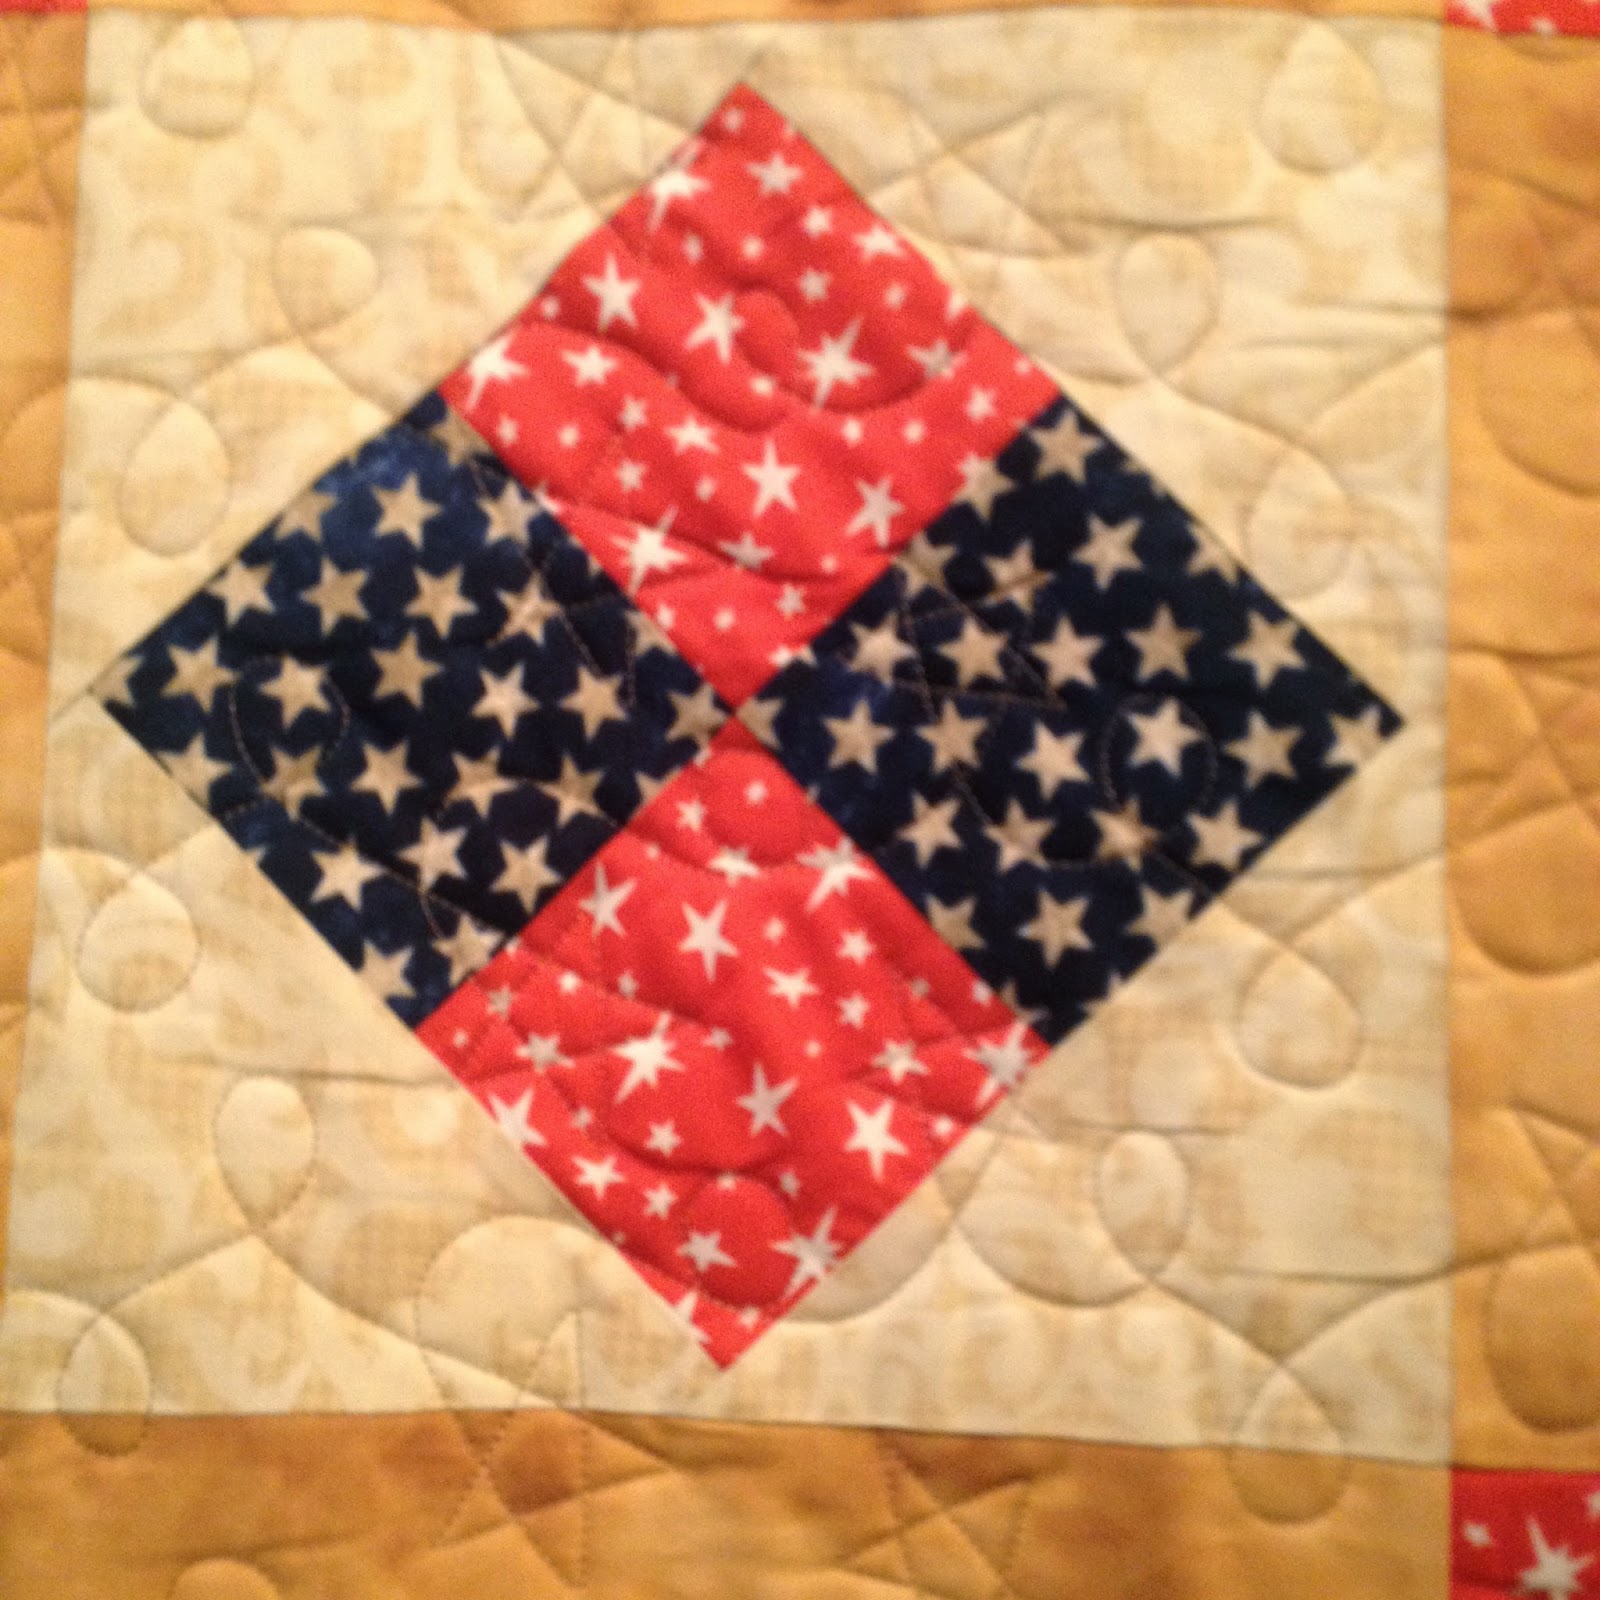
The block with my standard stars & loops that I use for a lot of my QOV quilts.
The finished quilt.
Lastly, here are some pictures from our visit to Dustan's family a few weekends ago.  They live in Wichita county, Kansas, which is not the county Wichita, KS is located.  Instead Wichita county is way out west about 40 miles from the Kansas-Colorado border.  Wichita county is having a quilt barn initiative.  The local eco-development is trying to get folks to put up a barn quilt on the local barns.  My in-laws have joined in and I think their barn turned out quite exquisite!  Everyone had an opinion on which quilt block should be used.  I picked my top three and I know this was one of my top three so I was happy.
The barn.

A closer look at the quilt block on the barn.
 Our dogs travel with us quite a bit.  Happy our Golden Retriever went along with us.  He was in love with the water sprinkler my mother-in-law had going in the yard.  He really liked it but I thought this picture was the funniest of them all since it looks like he is scared and running away for his life!
It's coming to get me!


Tuesday, April 29, 2014

Go Cats!

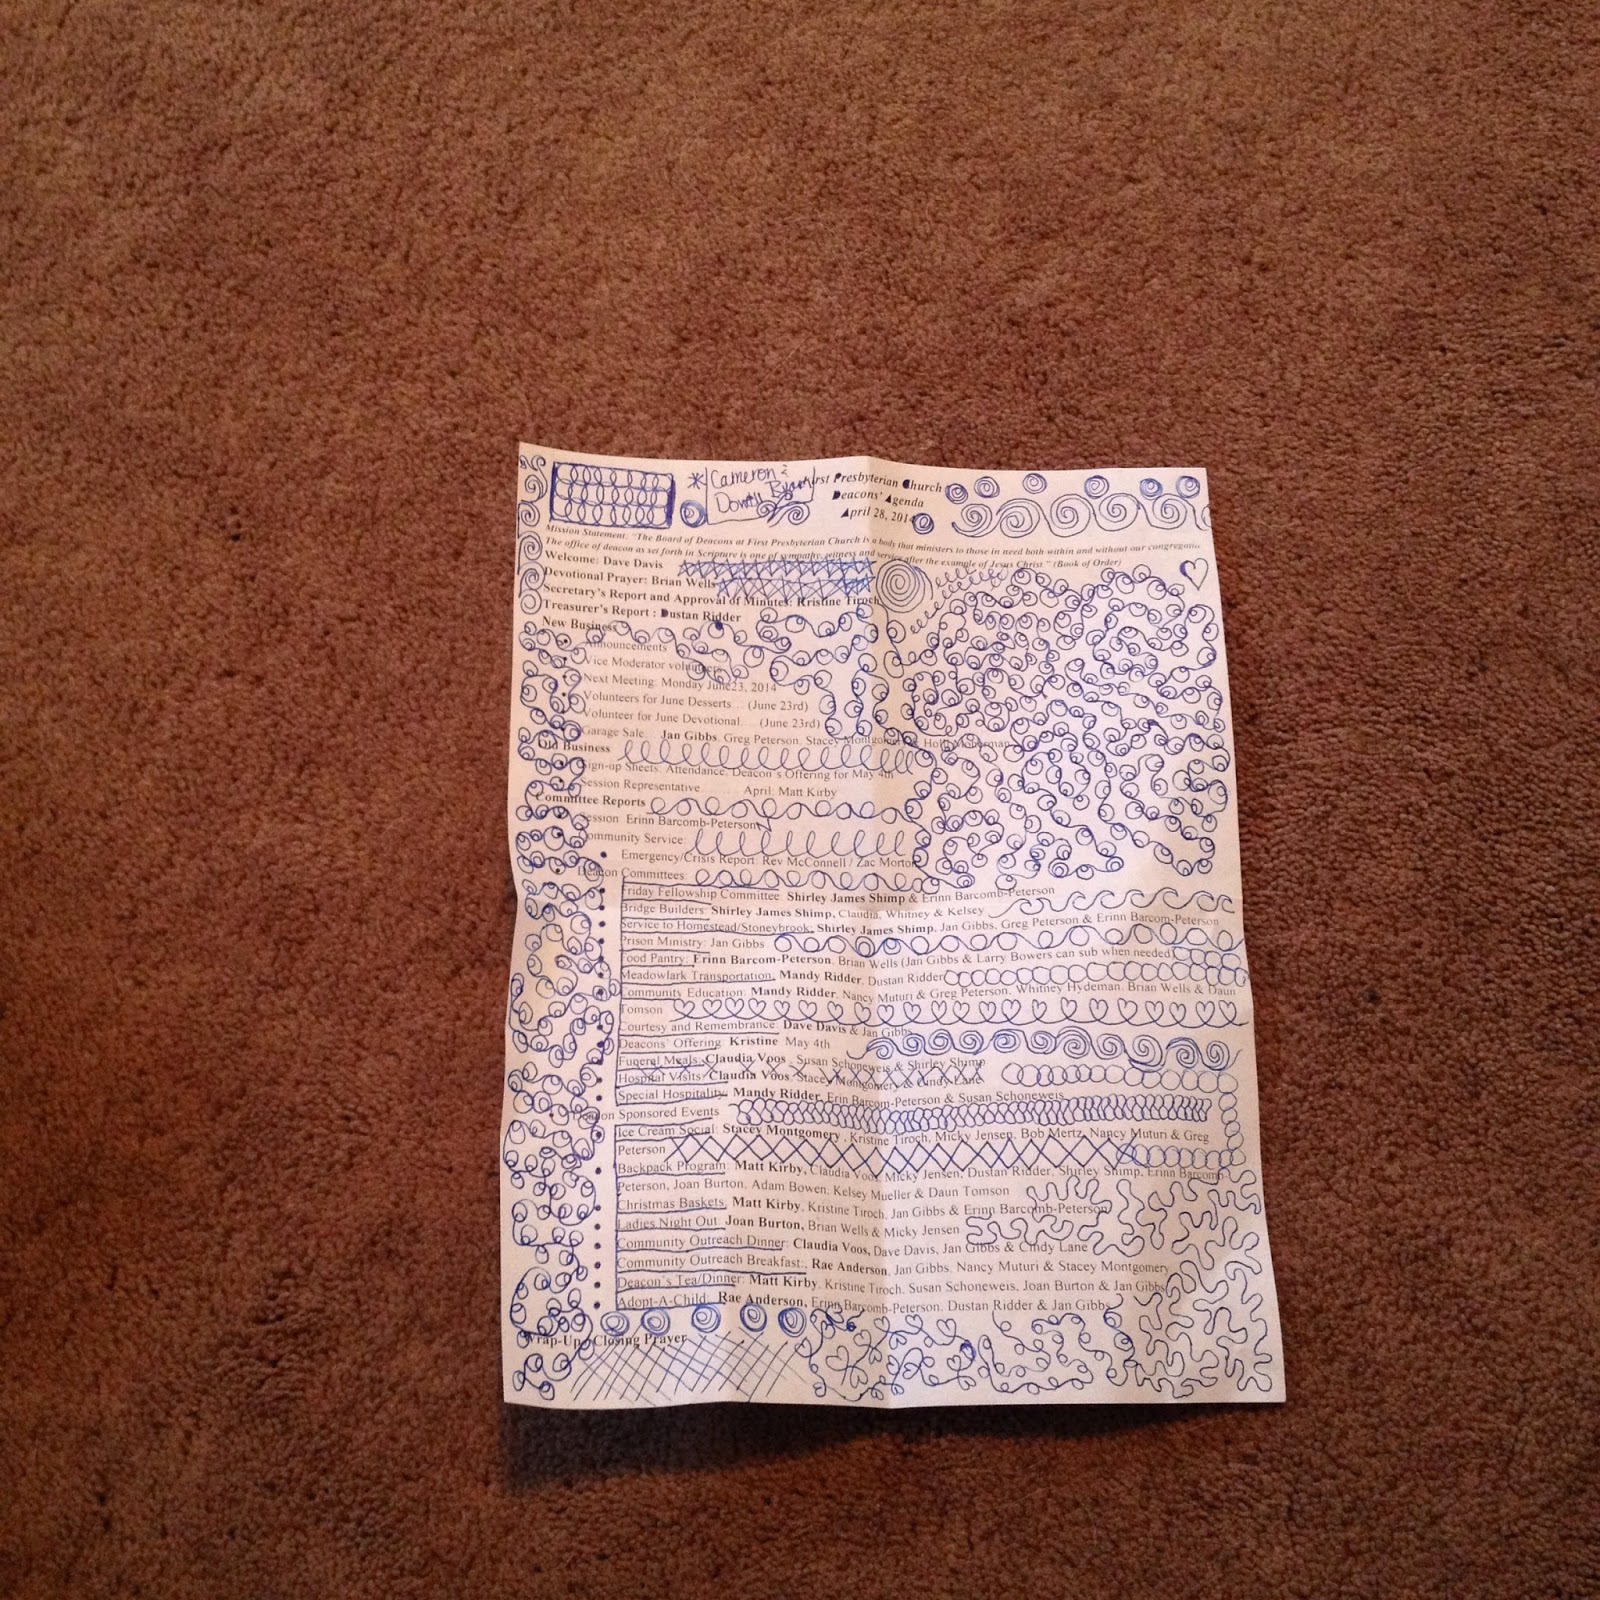
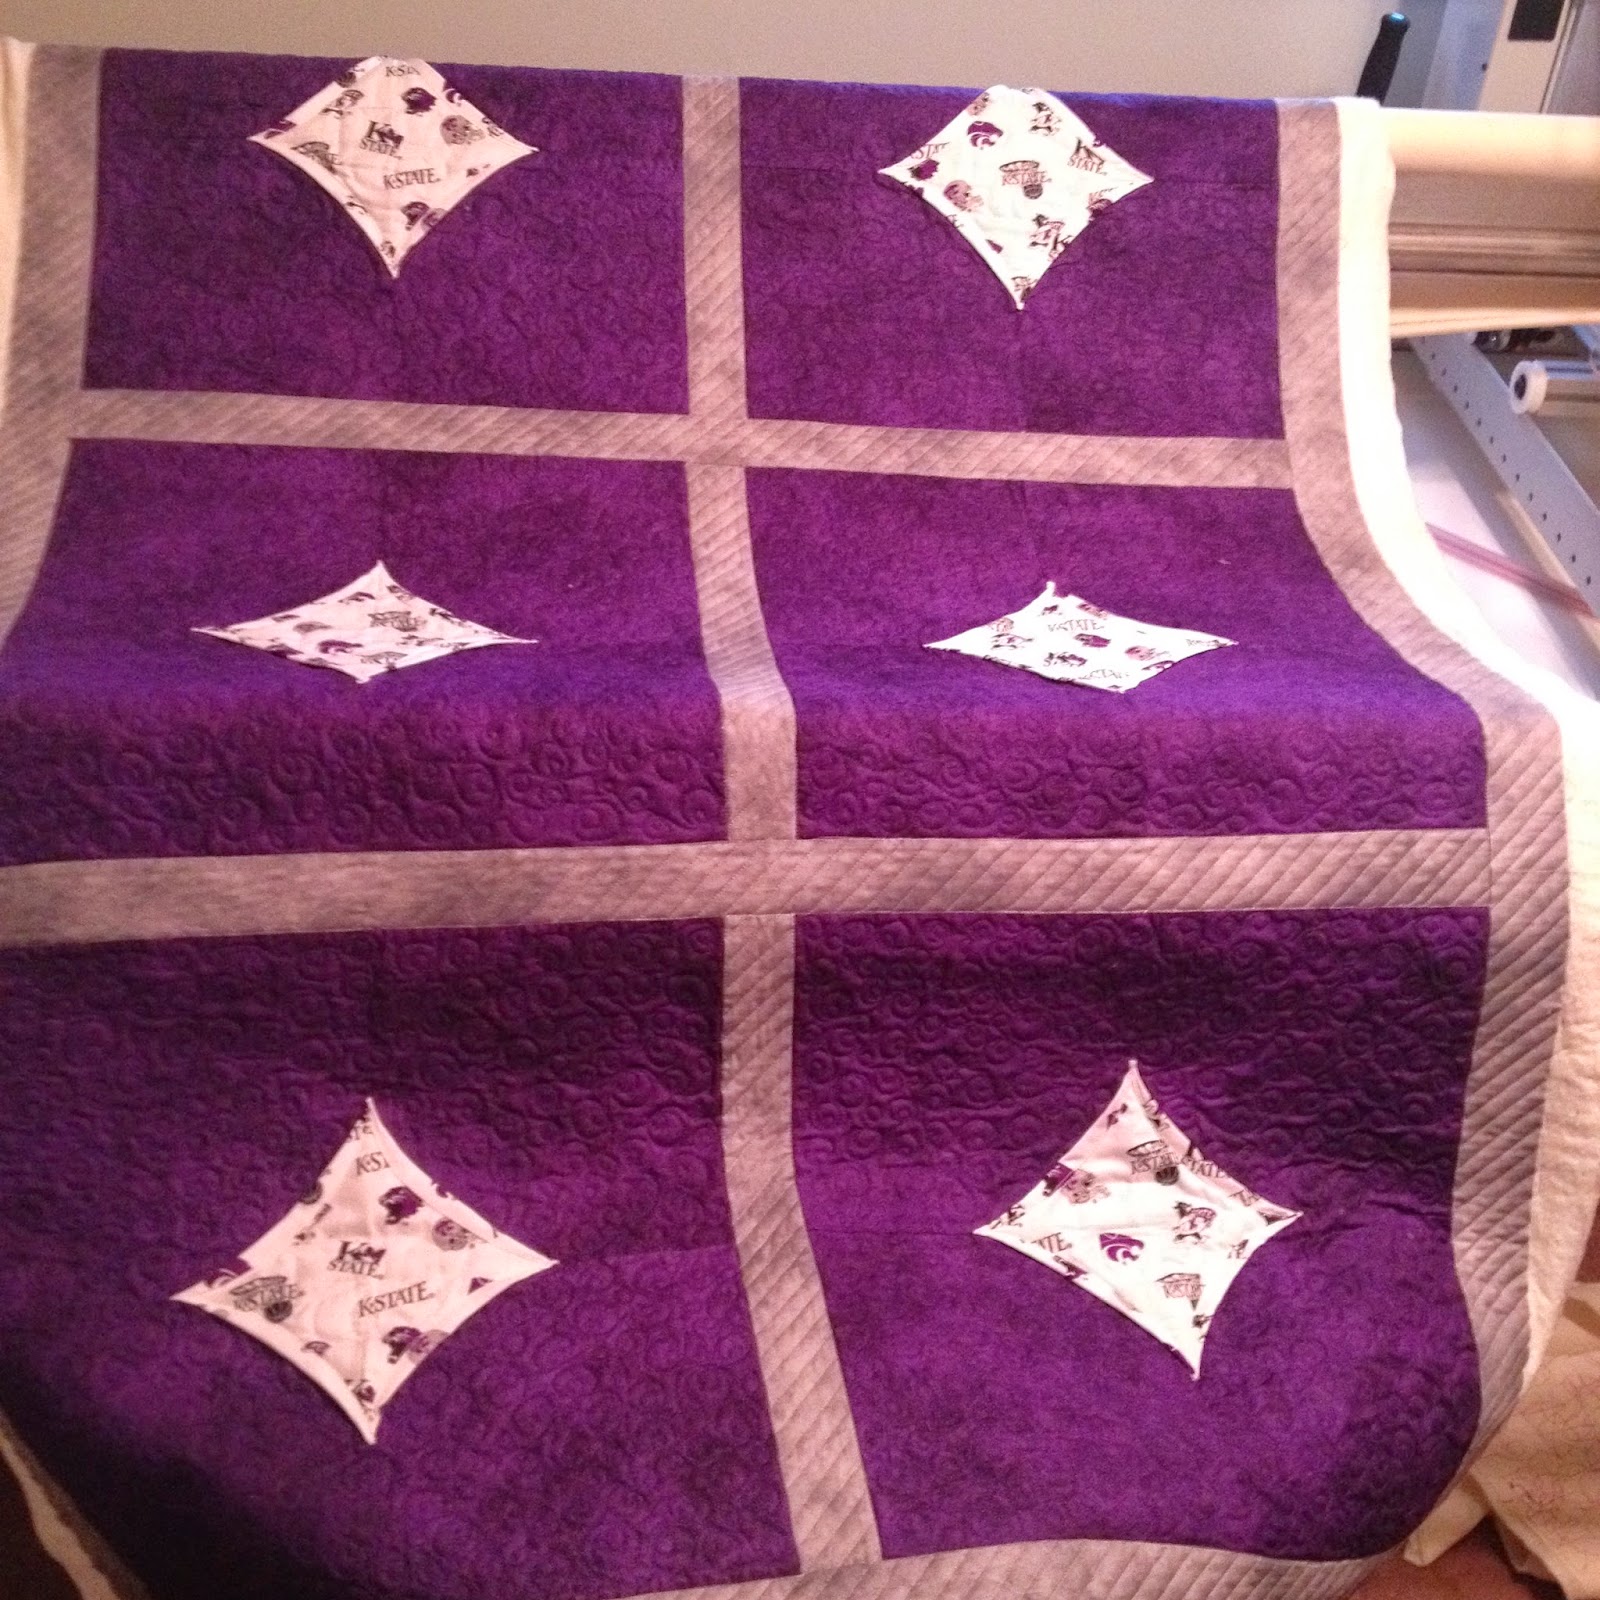
This past weekend I spent working on my husband's aunt Lisa's K-State Wildcat quilt.  Since Lisa is getting the auntie discount I felt a little more brave to try out my free-motion/custom stuff on her.  I've been in love with these bubble inside of bubbles I'd been seeing and decided why not just go for it?  While I had not practiced the bubble design on an actual piece of material I had doodled it a lot in my free time (or faculty meetings).  In all honesty I do believe my doodling habit has led to my longarming career.  Who knew countless hours of drawing meaningless doodles in my planner and calendar would lead to actual paying jobs as a longarmer?  
An example of my prolific doodling from an agenda from our church's deacons meeting last night.
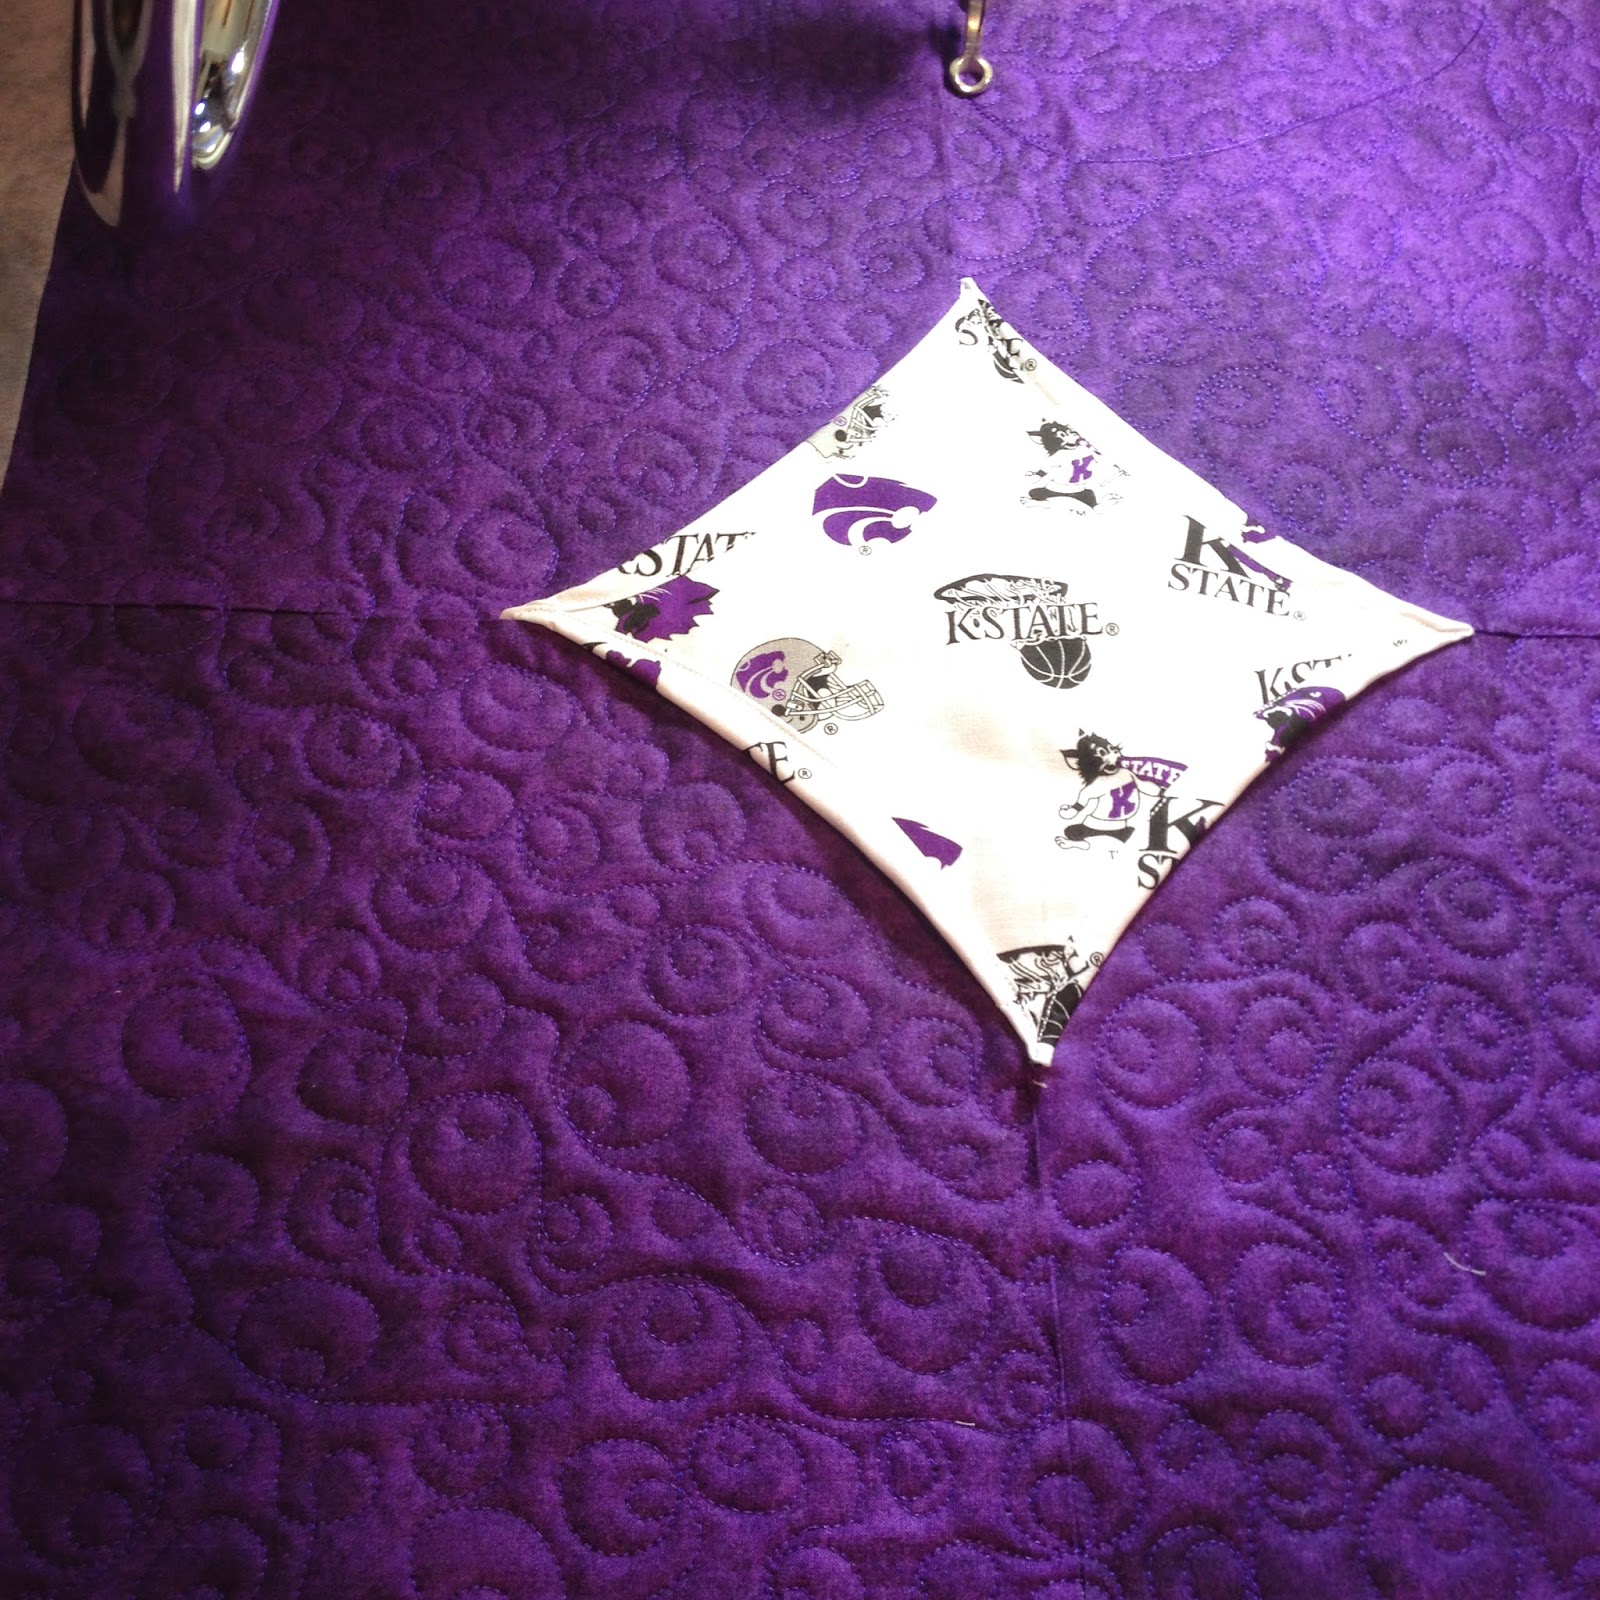
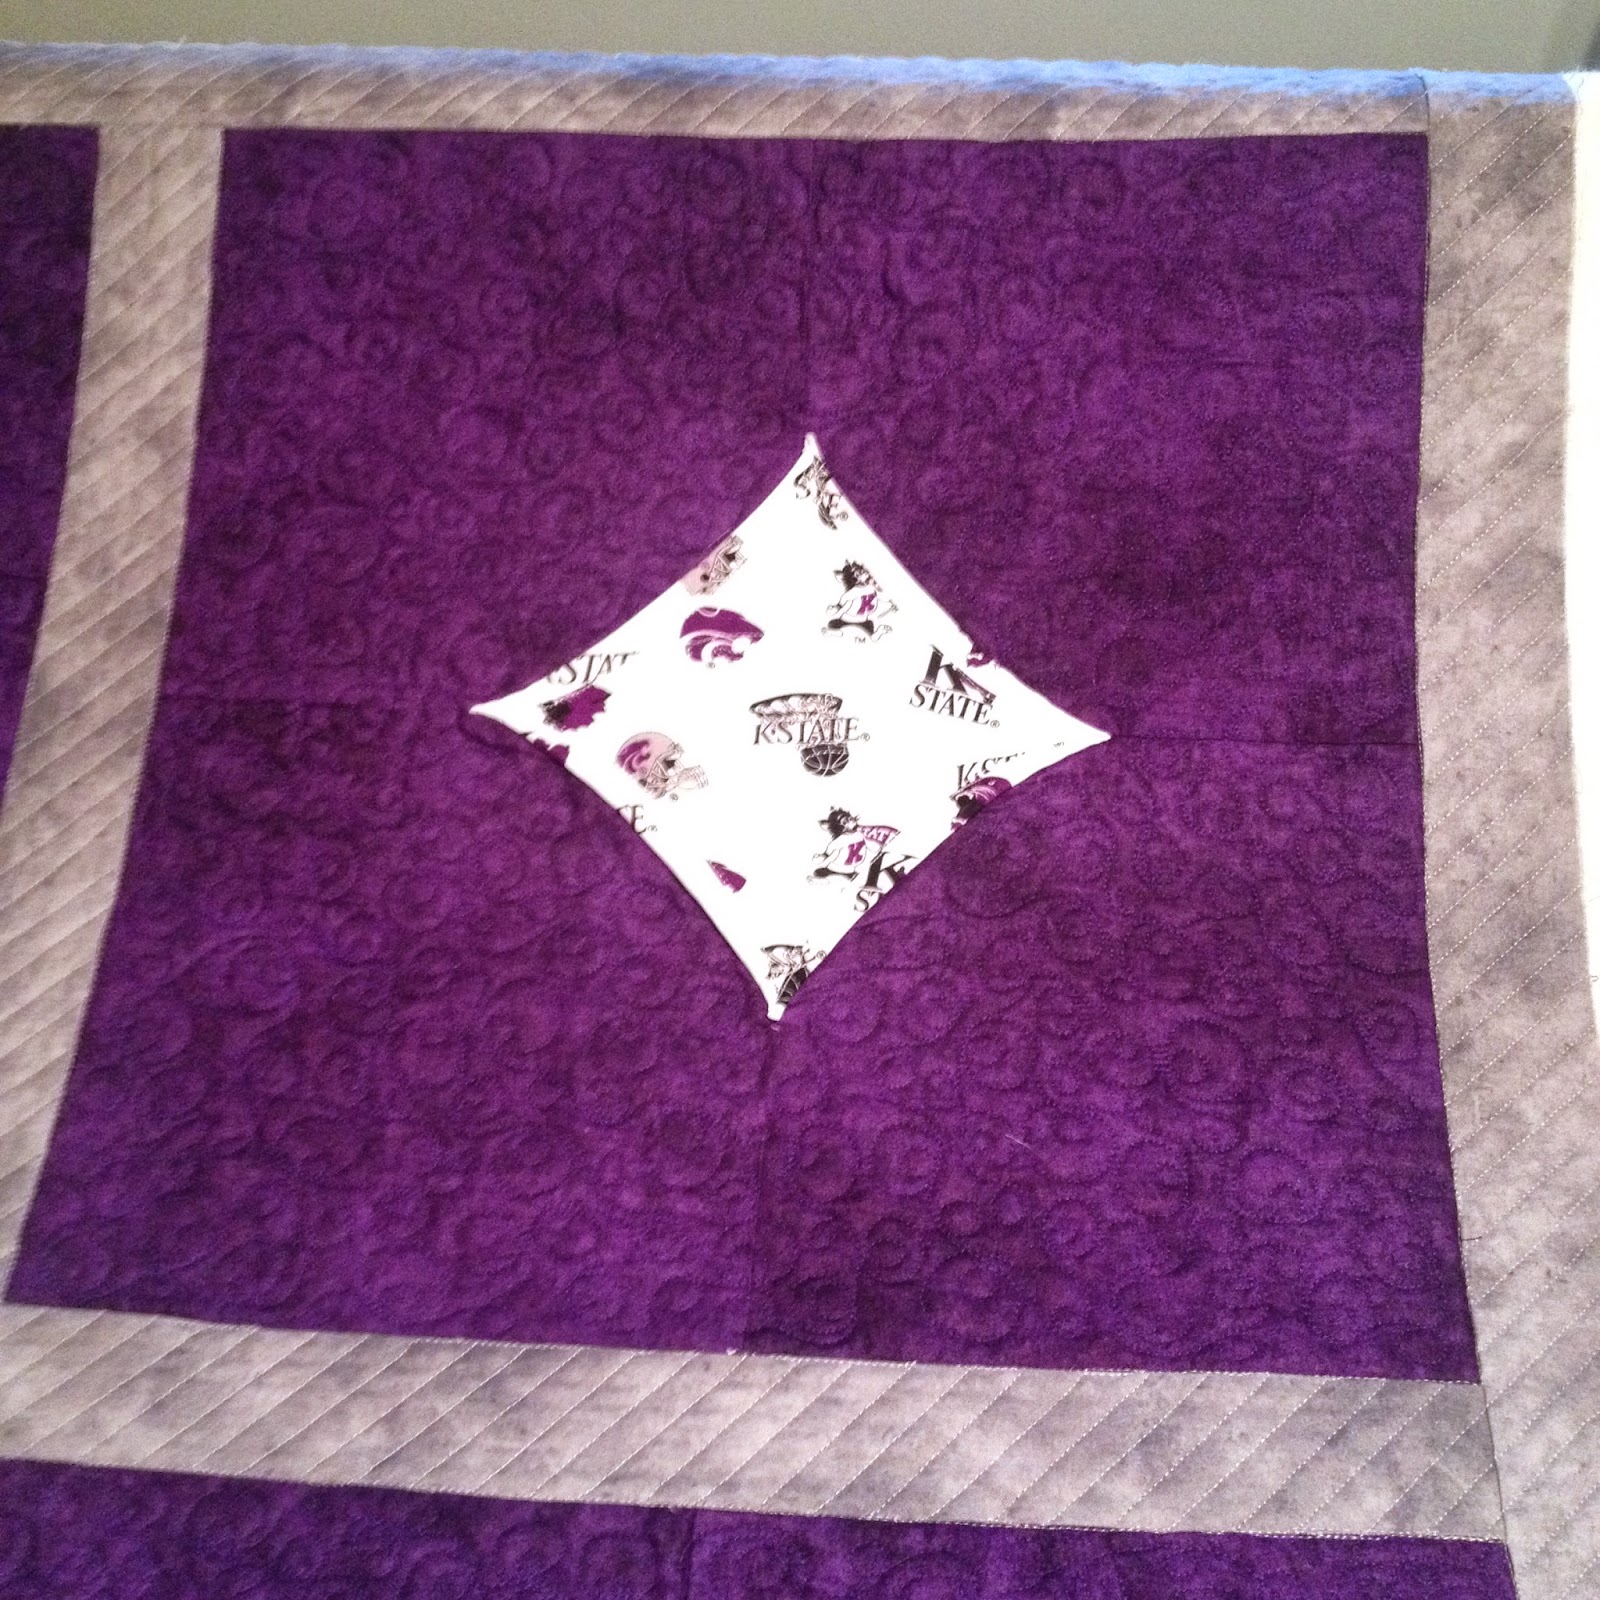
So I went to work filling in each purple background with purple colored bubbles. 
The bubble pattern from the front.
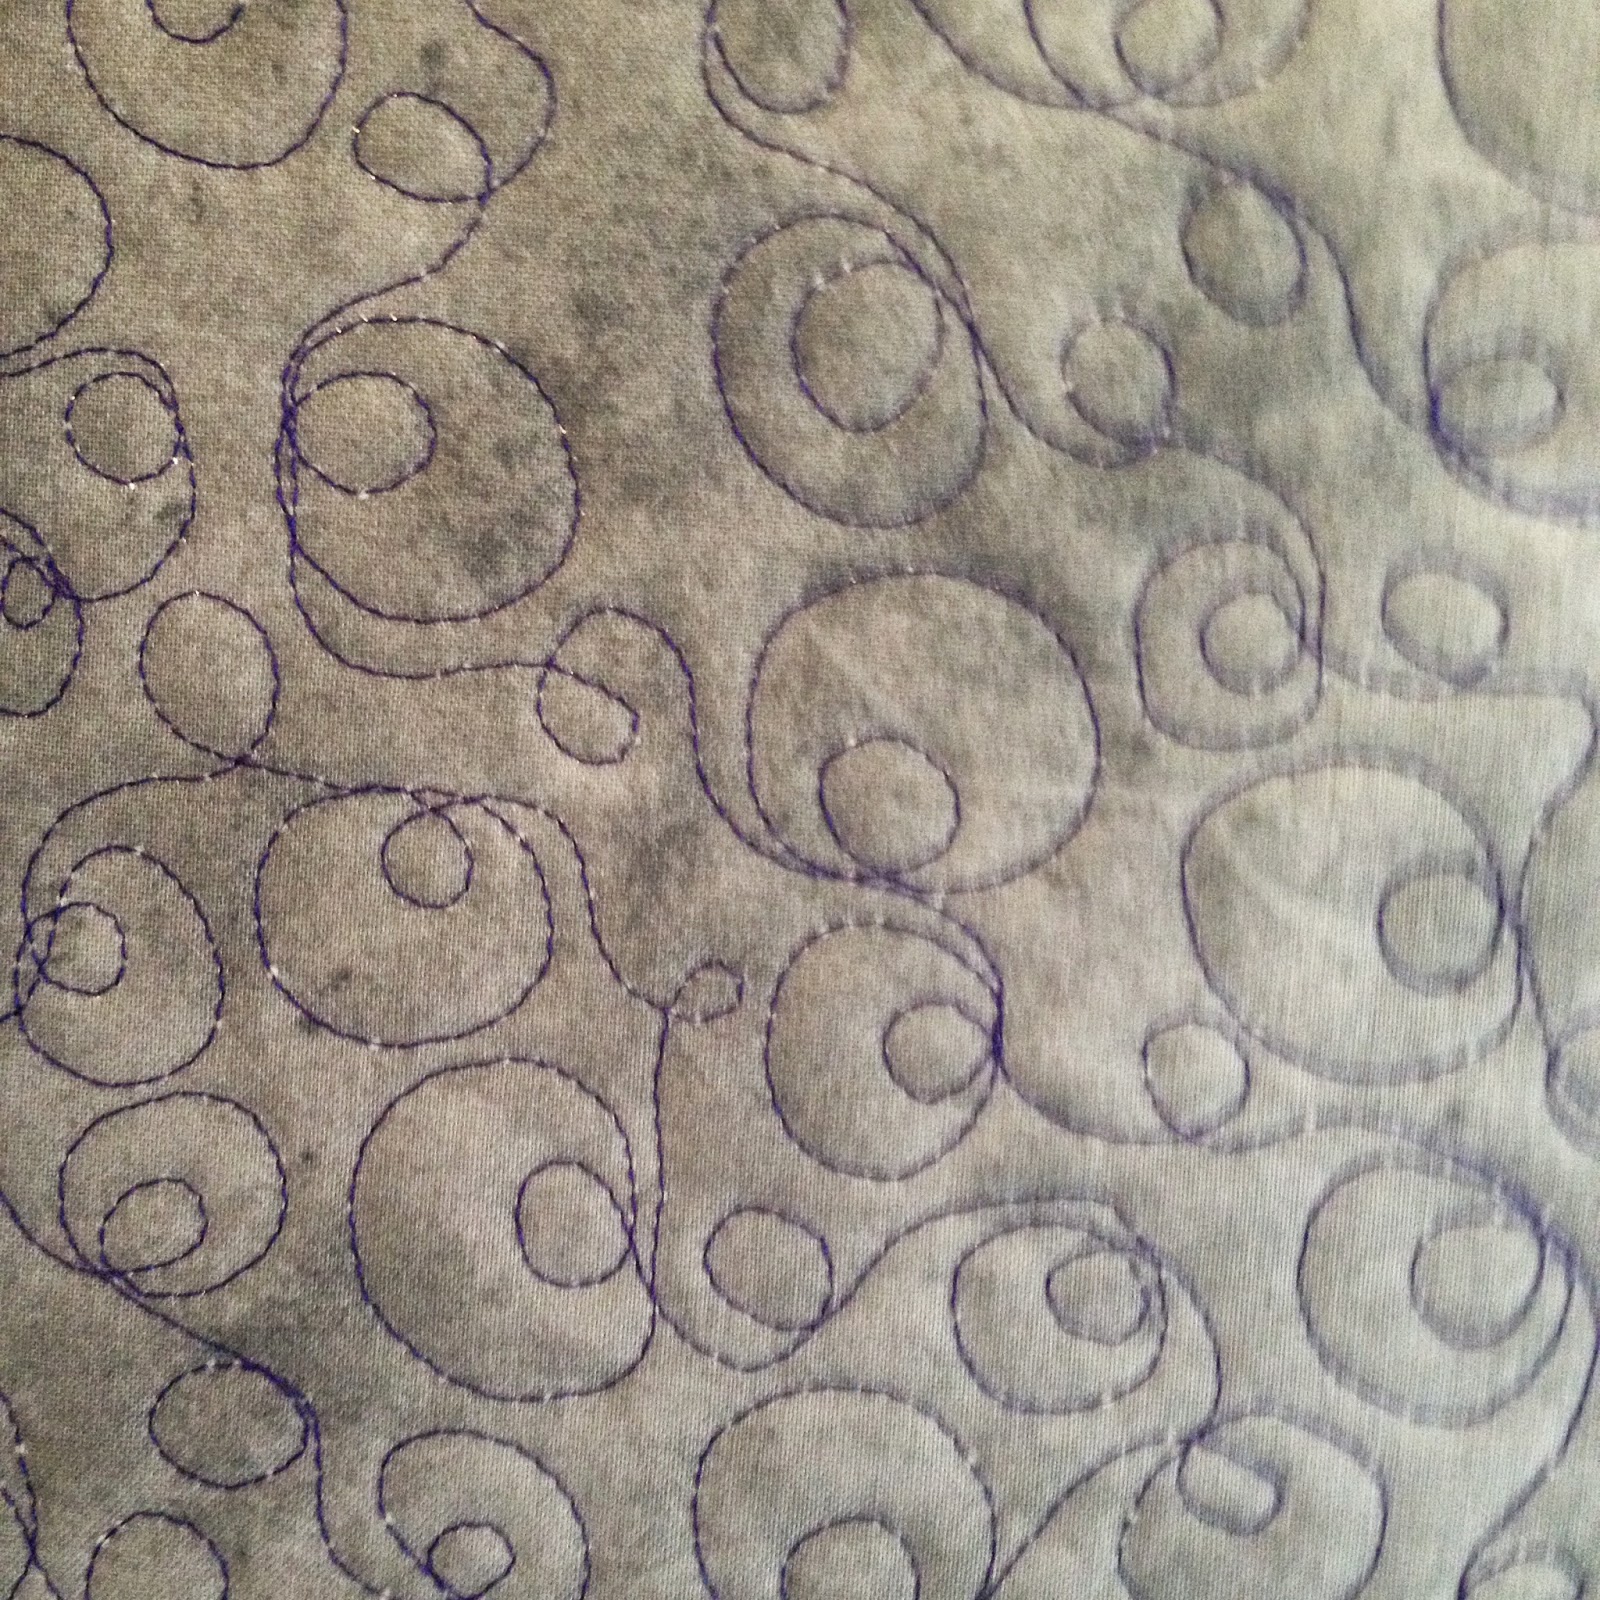
The bubble pattern from the back.
For the borders and sashings I decided I wanted something to balance out the free flowing motion of the bubble pattern and chose to do some ruler work.  I made 45 degree angles 1/2 inch apart all the the way around the quilt and all the sashings.  I then added a design and traced the middle diamond and called it good!
The sashings & borders which I used a ruler to make.
The finished quilt spread out on my longarm frame.


Monday, April 21, 2014

A Little of This & That

I've been keeping busy here at the hacienda.  I finished up my time at MQS (Machine Quilter's Showcase) by volunteering Saturday to help take down quilts.  It was a very intense process.  Volunteers were assigned to teams to work to take down quilts. My job, since I was young and tall was to get on the ladder and take the top post off the top rails to take the quilt off.
While waiting for our crew to catch up I had the lady assisting me take this photo of me pretending to take down the quilt.  I don't have gloves on because I wasn't actually allowed to touch the quilts just the poles.  Funny thing was right before this picture was taken I about tipped off the ladder.  I'm sure that's covered under the show's insurance, crazy blogger girl staging a photo accident!
After all the quilts were down I picked up my quilt and headed home.  While I was waiting for time to take down quilts I stopped by and visited the Quilts of Valor (QOV) booth and dropped off a quilt I had finished for them and picked up a couple more to quilt.  I found out while I was there that they had awarded one of the quilts I had quilted at the MQS show to a woman who was a Marine during the Vietnam War.
This is the quilt that was awarded at MQS.  I loved the colors and designs on this one.
My first quilt after MQS was another QOV quilt.  (Seriously, knew that quilting would have as many acronyms as teaching!?!)  It was a beauty made with batiks.  It was my first time quilting batiks and I'm happy to report that everything went fine.
The finished quilt.
Up close of the quilting on the latest QOV.  I used a leaf pattern to accentuate all the leaf designs in the fabric.
I then got this beautiful baby quilt finished.  I love the colors on it!
I just love the colors she picked for this quilt she made for her baby.  
Next up was a customer quilt. It's a large flannel quilt.  I appreciate the opportunity to be trusted with others quilts and I really enjoyed working on this one.  I loved the colors and block arrangements which gave me ideas for some quilts I have in the works myself.
The flannel quilt on the frame ready to go.
Close up of the quilting on the back.
Close up of the quilting on the front border.  I used variegated thread.
Then last Monday I went to my local quilt guild meeting.  I had a blast!  I showed my competition quilt at show & tell time.  Our speaker, Deanna Hodson, was outstanding.  I was so enthralled I forgot to take any pictures until she held up her last quilt.  Her program was called Everything Old is New Again.  Many of her quilts are made out of old lady hankies, table cloths and lace doilies.  She does amazing things with them and her quilts are just amazing.  It doesn't hurt that she uses a lot of pink and I happen to love pink. You can visit her website here: http://www.rosecottagequilts.com/
The photo of the last quilt Deanna showed us.  She was amazing!
Last week I also listened to an online quilt webinar with Angela Walters.  It was on the business of machine quilting.  It was a great webinar and she talked about not only working in your business but on your business. So many great take away tips and all for free!  If you haven't discovered this great resource I highly reccommend you vist the Handiquilters webinar page.  All the webinars are posted for your listening enjoyment and I've found that many of them are not brand specific to the type of machine you have.  A great resource: http://www.handiquilter.com/webinar/
I have several quilts waiting for me in my studio.  So I better get going!

Thursday, April 3, 2014

MQS

***If you'd like feel free to skip my analysis of my classes and go straight to the pictures of my quilt hanging at the show.  They are at the end of the post.***
I spent today at MQS (Machine Quilters Showcase).  It's a national quilt show for longarm quilters.  Along with the quilt show they have classes and a trade show going at the same time.  After securing time off from work I picked two classes that I thought I would gain the most from attending.  Last night I set my alarm clock for o'dark thirty and when it went off this morning I hopped out of bed like I was a kid on Christmas morning.  It should be noted I am NOT a morning person nor have I ever been a morning person so this was a rare occurrence in deed.  I got ready and on the road to Wichita a few minutes past 6 with what I thought would be plenty of time to spare.  It was not.  Ten miles after I left Manhattan I ran into dense fog.  I was taking the short cut through the country and kept getting stuck behind overly cautious drivers without a schedule to keep.  I also hadn't factored in rush hour traffic in Wichita.  Then to top it off I am a terrible map reader and had a challenge getting to the right location.  When it was all said and done I arrived nearly 15 minutes late to my first class.  I HATE to be late, it goes back to my childhood.
My first class was one of the featured MQS School of Business classes that were offered, Getting Down to Business.  I apologized profusely for being late then slunk to the back row.  The teacher for this class was Linda V. Taylor.  I have to tell you I was enthralled for the entire 1 hour and 45 minutes and wanted to tackler her husband, whom I was sitting next to,when he started giving her the time's up sign.  I took six full pages of notes.  She covered everything from setting up your business, advertising, pricing, patterns, business opportunities, thread, batting, how to deal with issues that come up in the process of quilting, and tools of the trade.  Amazing stuff! I really can't say enough good things about this class.  She stressed that time is money and if you aren't quilting you aren't making money.  When she owned her own shop she expected her employees to get three quilts done a day, she didn't specify size, which would play a big part into the equation.  She also said you should be able to load a quilt top in 20 minutes, possibly a few more if it's a king size quilt she said after a few ladies raised concerns about that.  I timed when I loaded my competition quilt and it took me 34 minutes to get it completely loaded and it is a king size quilt, so I don't think I'm doing too bad, especially since it was my first big quilt to load.  She told a story about one time when one of the quilts she did for a customer got a cricket quilted into it.  She said for five days she would take a hair dryer and dry the spot with the cricket.  On the 6th day all her employees gathered around and she put a sheet of fabric over the spot where the cricket lay and used a mallet and smashed it to smithereens.  It worked!  She spent a lot of time discussing you are a professional and you deserve to be paid like a professional.  It always amazes me how people don't think they are worth what they should be charging.  You own a sewing machine that is probably worth more than the car you drive!  Linda was blunt in this area.
My other class of the day was Show Off! by Renae Haddadin.  Renae is most famous to me because she is the inventor of Renae's Red Snappers which I use exclusively to attach my quilts to my frame.  Love them!  She also is the winner of Best of Show last year at the Paducah quilt show.  It's kind of a big deal.  I arrived 20 minutes early for class to make up for my earlier tardiness and got a front row seat! I was under the impression this was a class about fillers to use in everyday quilting.  It was actually fillers for show quilt quilting.  I could tell I was going to be over my head but since it was just a demonstration class I sat down with my notebook and started filling it up.  I actually learned quite a bit once my heart quit racing since no one in there knew I wasn't in the slightest ready for fillers for show quilts.  I learned how they  make those little pearls (I referred to them as lines of circles before this).  Renae stressed that the three most important things are scale, color, and complexity.  We also talked about negative space being just as important as the quilted space on a quilt.  She also discussed using channels in your quilting to form a small area of negative space to break up patterns.  She had tons of examples showing good and bad use of the different techniques she was demonstrating.
Renae drawing some different filler design options on the white board before she quilted them.
After my classes the rest of the day was devoted to the quilt show and trade show.  I first sought out some lunch since it was after 12:30 and I hadn't had time to grab breakfast.  I went into the show and found my quilt.  The pictures aren't that great but you can see it.  I had a passerby take my photo with me in front of my quilt.  I didn't win any ribbons but I still am pretty proud that I took a chance and entered my quilt.  I'm getting to the age I don't care what people think about me and I refuse to live my living with regrets so I did it.  Yes, it took up six full weeks of my life to get that thing done under the wire but I feel it was worth it.  Start living your life for you! No one else.
My competition quilt.
Posing in front of the quilt.
One more! I would like to note that I followed the rule book and placed my quilt sleeve 90 inches from the bottom of my quilt because the rules stated if you didn't they would hang your quilt.  I saw lots of quilts as big as mine that didn't have a quilt sleeve attached correctly to the rules and they still hung.  Grrr!  Next I'll know, that's one of those optional rules.
I then traipsed through the trade show.  I stopped by the Hunter Heirloom Quilting booth.  They were hopping!  I had asked Amy earlier if she could bring me specific color of  thread I am in need of to finish Quilt of Valor quilt I have and she had it.  Amazing memory! I was really impressed with the number of people trying out Innovas.  I stopped by the Fil-Tec thread booth as well and had a nice long talk with one of their sales representatives.  I also walked away with thread from there with a few more cones of thread.  Because thread to a longarmer is like fabric to a quilter! Haha!
It was a great day in Wichita and I look forward to heading back for a little bit more fun on Saturday when I pick up my quilt.  I plan on having my second Quilt of Valor finished up by then so I can drop off two finished quilts to them and maybe pick up a few more.  I'm getting more and more confident as I do them for the foundation so maybe soon I'll be brave enough to try out some custom designs on one.