Pages

Monday, September 22, 2014

Something Old, Something New

One of the reasons I love longarm quilting is the variety of quilts I get to quilt for others.  I have done small projects, large projects, new projects, projects that have been in the works for years.  Each quilt is beautiful and tells its own story.  It's fun when I take in a quilt to hear from the maker why they made their quilt and what it is going to be used for or to whom it is going to be given.  I love a good story so it always makes me happy when someone is finish up a quilt.
The quilt I'm sharing today came to me from a good friend, Carol, who I met 10+ years ago on our state bicycle ride, Biking Across Kansas.  Carol lived in the town next to mine so our paths would cross frequently over the years with bicycling and friends.  Carol is the fun loving gal everyone wants to hang out with because she has great stories and genuinely cares about you.
When Carol contacted me she told me about her quilt.  She had found an old quilt top in an antique store in a little town, Weston, Missouri, across the river from my hometown.  She thought it was beautiful and brought it home.  It needed a few repairs but who doesn't have many years of good living. It was small squares (approximately 2"X 2") of various fabric pieced together by hand. She wanted it quilted and thought it would make a good gift or look cute laid across a sofa or bed.  She was right this is going to look gorgeous where ever it is displayed.  On a different note if you happen to come across an old quilt like this in the future keep me in mind! I'm looking for my own special antique store find.
A variety of the various fabrics that made up this quilt
I brought it home and repaired the large gaping holes where the seams had come undone. Some were a much looser weave which caused the hand stitch to come out and need some repairs. The fabrics were a hodge podge of choices from different decades. The fabric itself had held together well and it was in good condition.  Although the quilt had originally been hand pieced I machine sewed the gaps back together with my machine.  The original piecer apparently had my impatience with hand sewing and had several places where she had gathers in the fabric from trying to match all the seams.  I left the original gathers in the quilt as it was part of what made it unique.

A close up of the quilting pattern I chose for this particular quilt.  
When I was ready to quilt I decided to use a plain white backing as that to me seemed the most authentic color backing choice that would have been used had this quilt been finished during its early years.  I did take some time in choosing a pattern to quilt on the quilt.  I knew I was going to pick a pantogram from my Pantovision software. The pattern I chose was due to to the fact that this quilt was old and even though I repair some seams the rest of the seams would benefit from the additional stability offered by a dense quilting pattern.  I chose the pattern and made it small enough that on nearly every seam it is crossed twice by quilting stitches and in some places it is crossed a third time.  This added stability will help the quilt handle use and provide needed structure.  Often times people think that machine quilting an old top takes away from all the hand work the original person did and that old tops should only be hand quilted.  My quick off handed remark always is that if the original piecer had wanted it hand quilted she would have got that done in her lifetime.  Since she didn't it's up to me to finish the best way I know how.  But the reasons I mentioned before about the machine quilting help preserve the quilt for more generations to enjoy.  

The finished quilt.  For whatever reason the lighting wasn't the greatest and it is a little washed out in the picture.  The above photos do a better job of showing off the bright colorfulness of this quilt.  
I finished this quilt for Carol by adding the binding and hand sewing it down using a blind stitch on the back.  This past weekend it was used as a wedding gift.  Hopefully the new couple will love the something old passed down to them on their new journey through life together!

Tuesday, September 16, 2014

Quilting Field Trip

This summer I packed myself up and took a quilting field trip.  We live approximately two hours from Lincoln, NE, home of the University of Nebraska-Lincoln.  There they have the International Quilt Study Center and Museum.  I had been planning on going for several summers and one morning I woke up early in July and decided this was the day.
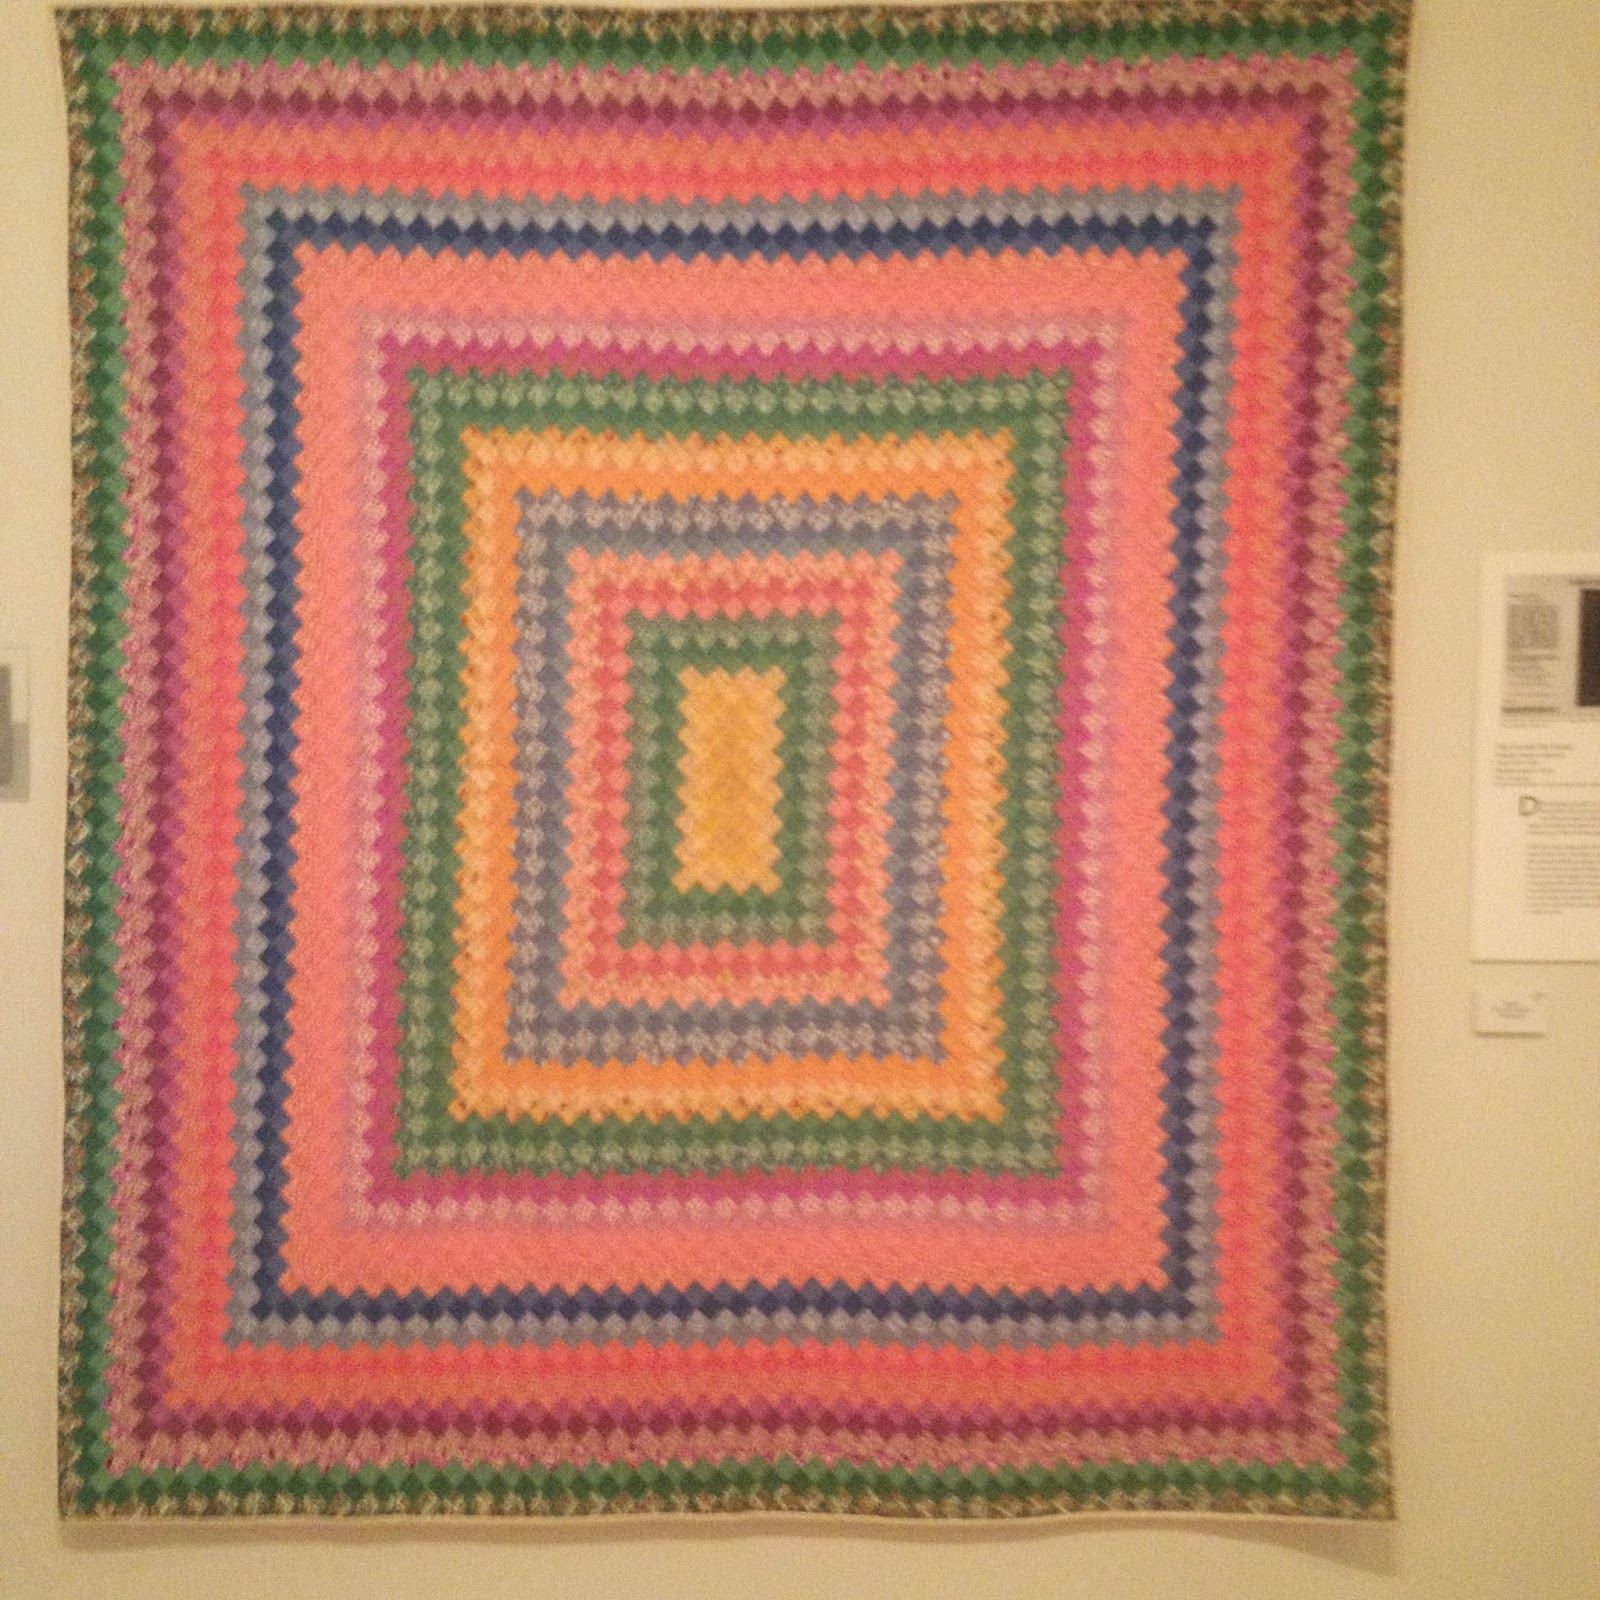
When I got their I was excited.  I paid my entry fee and hit the elevator.  The first exhibit I went to happened to be the one I found most interesting.  It was called Modern Marvels.  It was all about quilts made from kits from 1915 to 1950.  In my nativity I believed that quilt kits were a relatively new phenomenon and were from the the times of the modern quilt revival at the bicentennial.  I was wrong!  Something I'm always a sucker for in a quilt shop has been marketed to ladies for the last century in magazines.  I believe I took a picture of every quilt they had on display in the quilt kit display.
They also had a log cabin quilt exhibit going on along with a toy sewing machine exhibit.  They were both interesting but I fell in love with the quilt kits exhibit. So enjoy the photos below I took of the quilts.  I didn't put all my pictures in this post.  Just almost all of them.
Ombre before ombre was cool.

Snowflakes on a green background.

Look at those itty bitty stitches!

This is what a quilt kit looked like when it was mailed to you.  Now days they make you cut your own fabric in a kit.

Around the world.

From 1932.  

I could have spent all day looking at this quilt.

A close up of the scalloped border with the hot pink binding.  I also like the touch of hot pink on each flower petal.

This one was called daisy chain from 1936.

A close up of the delicate and fine stitching.

Another example of a quilt kit for a lone star quilt.


A close up of the double wedding ring ombre quilt.

Sunday, August 31, 2014

Chevrons! Chevrons! Chevrons!

By now you would think everyone would be over chevrons.  But it hasn't seemed to slow down.  Which is fine by me.  I don't have any cute clothes with a chevron pattern but I finally found a quilt pattern that is easy to make a chevron quilt.  Most chevron quilt patterns seem to like to use the half square triangle method for putting together a chevron quilt.  But I don't like them enough to make a couple hundred of them to piece a chevron quilt together.  Then I stumbled upon a picture of a stunning Halloween quilt on Pinterest.  It was a blog post by The Little Fabric Shop that used rectangles to piece a chevron quilt.  Much more up my alley!  Here is the link if you'd like to see the tutorial:  http://thelittlefabricshop.blogspot.com/2012/10/halloween-chevron-quilt-tutorial.html

My friend Andrea is having a baby soon.  She wanted to learn to quilt and somewhere along the line we came up with the idea that I could teach her how to quilt and make a quilt for her baby at the same time.  What is more heartfelt than quilt that you handmade for your precious baby?  So this summer we got to work.  I bought the fabric for the quilt at our local quilt shop.  She is having a little boy so she is doing the room in grey, turquoise and light blue and is using elephants as a theme.  I had a great time shopping!  I found this cute retro looking elephant print first.  It had the light grey background with the elephants.  I wasn't sure about the green but I thought what the heck!  I really hadn't had any luck finding any elephants up to that point so I decided I couldn't be too picky.  I then picked out my other fabrics and brought them home.  

The elephant fabric that was the inspiration for this quilt.
A closer view of some of the other fabrics we used.
 Andrea came over in mid-July and we spent the entire day sewing!  We cut our strips, laid them out, pieced them, cut them into their patches and resewed them together all the while chatting and catching up.  It was a full day of sewing!  We started around 9AM and finished at about 7ish that night.  We took some breaks in there and we had one little goof there at the end that we ended up ripping out. (I was getting in a hurry and I accidentally had Andrea sew the last row of chevrons opposite of what they should be so ripped it out.)  It was so much fun getting to have a sew day and catching up with Andrea.
Andrea working hard piecing her elephant baby quilt for her soon to arrive new son.
Andrea at the end of a long day holding up her finished quilt.  
I did the quilting for the elephant quilt on my longarm.  I used the focus elephant fabric for the backing and also for the binding since I had some leftover.  I had some leftover because I miscalculated on how much fabric I was going to need and didn't take in to consideration that the elephants were a directional print.  (I really shouldn't be telling all my secrets!)  I really loved this quilt and I had it hanging in my quilt studio until this week when I had to take it down and give it to Andrea.  That little boy is going to be arriving soon and he's going to need his quilt more than I am.  
Here's the finished quilt hanging in my quilt studio.  It looked like it belonged in there and really brightened my day.
Since the inspiration for Andrea's quilt was a Halloween quilt I decided that I really needed a chevron quilt with Halloween fabrics just like the tutorial. I had collected a few Halloween prints on my trips to quilt shops while on the Row by Row quilt challenge that has been going on this summer at quilt shops around the nation.  Then my aunt gave me two different Halloween prints that she had bought the month before my cousin was born in 1987.  I know this because the receipt was still in the bag!  Once I had those there was no stopping me and I quickly bought the rest of my fabrics and got started.  I had learned quite a bit from the baby quilt and I used that knowledge to make my quilt a little bit wider.  I also decided I wanted to  make it square as I had never done that before.
Here's my quilt before I added the borders.  I really like how bright it is and orange isn't a color I usually use.
After I finished I wanted a small black border to go around the outside of the quilt to kind of frame it.  I went to another local quilt shop and found the perfect black star fabric to use to frame it.  But I also found a beautiful lime green fabric and decided I needed it to make a very small border around the quilt before adding a little bit larger black border.  Buying fabric is indeed a slippery slope.  

Here's a close up of the two borders I added.  Most of the times I use borders to finish making my quilts big enough.  This is one time I think the borders really finished the quilt.
 Then I needed a backing fabric.  I thought I just wanted a black marble for the back.  I was wrong.  When I went to my longarm guild meeting in Wichita Dustan came along to bike.  He then graciously went along as I stopped at the Wichita quilt shops to peruse fabric and pick up my Row by Row patterns.  It's nice when he comes along because he navigates for me and I can just drive. It's also very nice because when I find fabric I like he's supportive of my habit.  But the best part of all is he does my quilting math!  Which in this case turned out to be a blessing because I would have been a 1/2 yard short of my backing fabric and 2 hours away from the quilt shop I had purchased it.  When I saw this jack-o-lantern fabric I knew I had to have it and use it for my Halloween quilt.
A close up of the backing fabric. They are pretty small.
 With my backing fabric in hand I was ready to longarm my quilt.  I used some orange Glide thread I bought back in the spring at MQS.  I decided to go with some ruler work quilting the echoes of the chevrons 1/4"  from the seams.  I then I did my first stitch in the ditch between the black and lime green border.  It turned out fine but I think if I'm going to do that I am still going to need a little more practice. I then added swirls in the black border using black thread.
You can see the quilting of the swirls, stitch in the ditch between the black and lime green border and my ruler work on the chevrons.
My finished quilt.
I've decided I'm not done with chevron quilts.  JoAnn's has a lot of Thanksgiving fabric and I have enough Christmas fabric in my stash for several quilts.  I'm also thinking it would be fun to make a two colored chevron quilt with one colored/print fabric and the other a solid white.  I usually don't consider myself a modern quilter even though I love modern quilts but if I keep making chevron quilts that might change!

Monday, August 18, 2014

New Quilts

I've been working on some volunteer quilts.  I have four to show you today.
The first two quilts are for MQS (Machine Quilters Showcase).  At their show they have a room set up where people can go piece quilts and longarm the quilts.  Once the show is over they have more quilts left that need to be longarmed and my longarm quilt guild does these as a service project throughout the year.  I took two home to work on at our June meeting and turned them in this past Saturday when I was there for our August meeting.

A strip quilt for MQS that I longarm quilted.
A close up of the quilt pattern I used and the geisha inspired fabric that was in the quilt that I found interesting.
The second MQS quilt on the frame ready to be quilted.

The finished MQS quilt.

A close up of the quilt pattern I used on this quilt.

The next two quilts are my Quilts of Valor (QOV) quilts I volunteer to longarm quilt for the foundation.  I also picked them up when I picked up my MQS quilts in June in Wichita.  I returned them this past Saturday to Wichita and dropped them off in exchange for two new quilts to longarm.  With K-State football starting in two weeks I will be lucky as my contact for QOV has season tickets to football and basketball games so she will be coming this direction and we can exchange quilts when she's here for game day!


This was a beautifully put together QOV quilt I longarm quilted.
A close up of the quilting on it. 
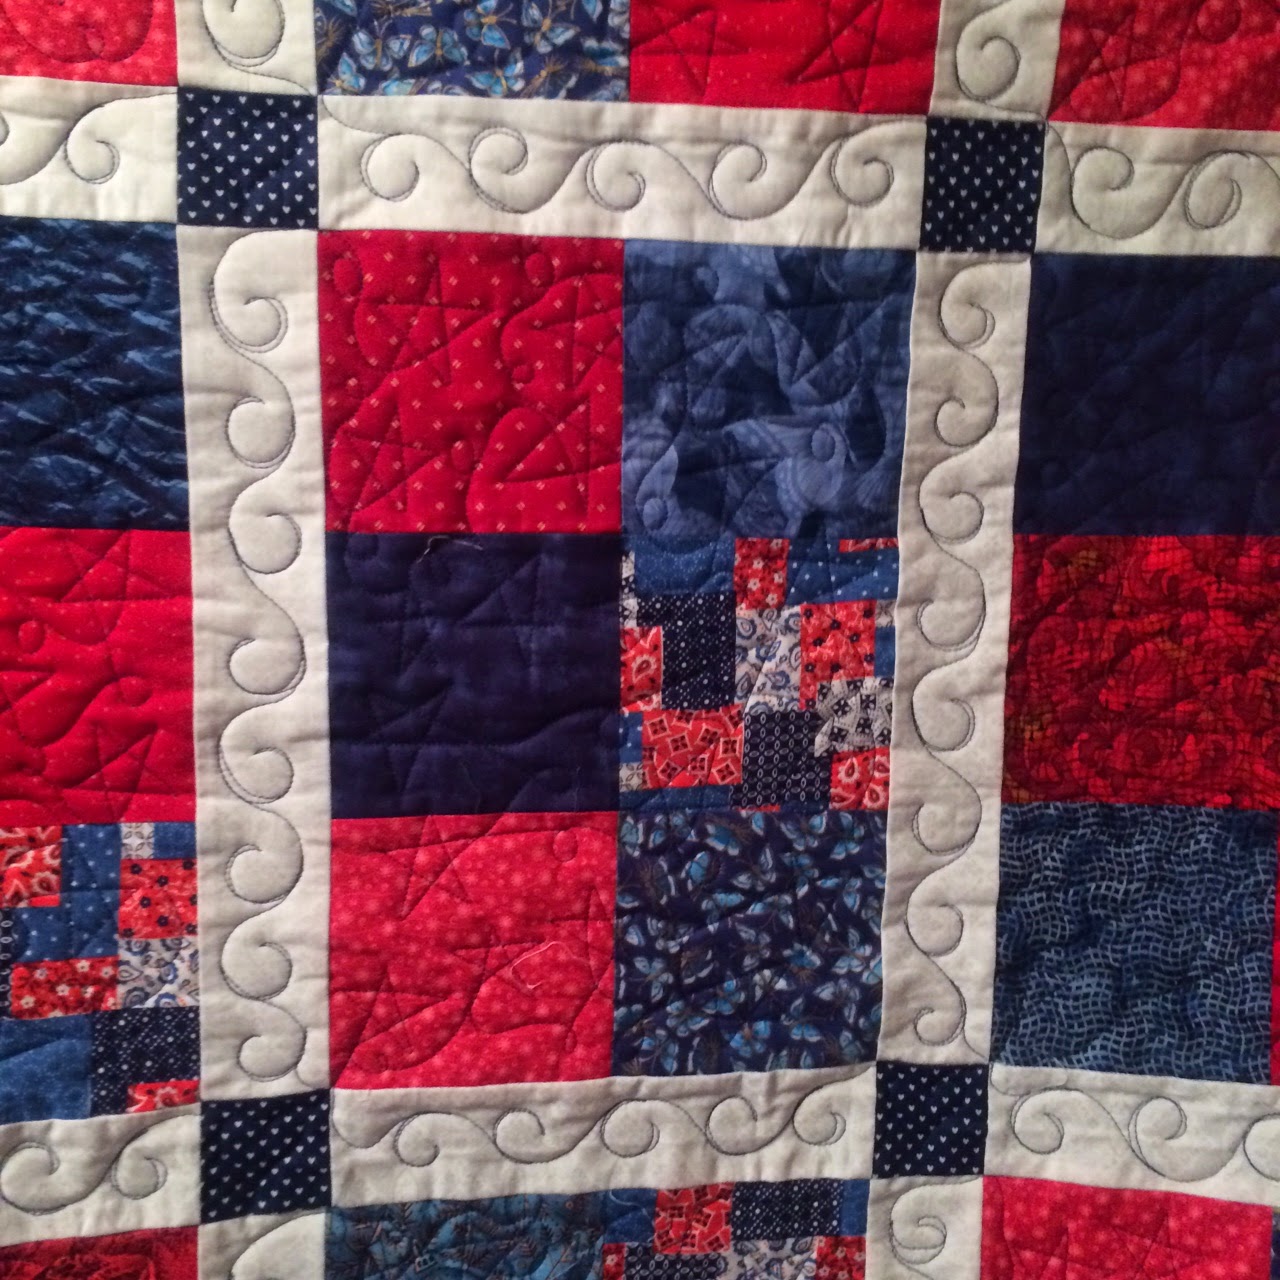
The second QOV quilt I longarm quilted.  On this quilt I did all custom work instead of using a pantograph like I normally do for my volunteer quilts.  
A close up of one of the custom blocks.  You can't see them but the cornerstones are small white hearts on navy fabric so I put a heart in each cornerstone of the quilt.


Sunday, July 6, 2014

T-Shirt Quilt

Part of my original business plan included making t-shirt quilts.  I put out a call for t-shirts and had several takers.  My second cousin in Arizona sent me her box right before the end of the school year hit the fan.  I had warned her that it would probably be a little while until I got to them-she may not have anticipated quite the entire month of June.
I started last Monday working on her t-shirts and finished up today.  She had cut some of the shirts already so I was unable to do my original design I had in place for t-shirt quilts.  What I ended up doing to accommodate all the different sizes of shirts was I cut all the shirts on 3 inch intervals.  I had 3"x3", 3"x6", 12"x12", 9"x12", etc t-shirts to work with to form a quilt.
The t-shirts on my improvised design wall.  
I laid all the cut t-shirts on my bed and went to work rearranging them until I had a pleasing square quilt.  I had a few gaps where there were not t-shirts that fit and no left over t-shirts to put in those places.  So in those spots I put squares and rectangle cuts of the border fabric.  I pieced them together having to use partial seams with several of the more unusual sized t-shirts.  Partial seams were not nearly as bad as I remember them being.  I then went to work on the border. Since I didn't need to put sashings into the quilt because of it's neat design I spent a little extra time making a very exciting border.  I assembled the pieces and added them onto the quilt.
Ready to go.
I loaded the quilt onto the longarm and got busy using a free motion design that I love.  My double bubble design is becoming my favorite design to quilt when I'm not using a pattern and just going free motion.  It's easy and relaxing.
Ready & waiting to get started on the longarm.
A close up of my double bubble design I like to free motion on the longarm.
I pulled the quilt off the longarm and added the binding.  I chose instead of hand sewing the binding down to machine sew it down this time.  It worked out well as I've never done that before and believe that will be my go-to binding strategy for t-shirt quilts.
The final product, it measures about 70 X 85 .

Tuesday, June 3, 2014

Bicycles!

It's that time of year when my summer hobbies kick in and take over some of my rest of the year hobbies.  My big summer hobby is bicycling.  I try to ride 100 miles each week during the summer months.  I'll be riding my bike for the 10th year on Biking Across Kansas (BAK).  I've met many wonderful and dear friends through BAK and I feel very fortunate to have them in my life.
A picture of me riding down the road.  I have one of those "funny" recumbent bikes.

This is the 3rd edition I've made of this quilt.  This one happens to be for my friend, Don. I don't think he reads my blog so he's not going to get a spoiler here.  My friend, Julie, and I picked up Don on our second BAK back in 2004 at an old ranch and he's been with our group ever since.  Don puts up with a lot.  He works as a funeral director and sometimes, ok most of the time, we refer to him as the undertaker.  I made this quilt top several years ago and then never got around to quilting it.  Back then I had to quilt it on my domestic sewing machine and doing a third bicycle quilt on my regular machine seemed too daunting so I put it away.  Shame on me.  But now that I have my new Innova I was looking forward to quilting that bicycle quilt and doing some custom designs on it.
I knew before I started I wanted to practice making swirls and the fabric in this quilt lent itself to swirls quite well.  So I decided I wanted to put the swirls in the border.
Close up of my swirls.
A little blurry but what the swirls look like on the back of the quilt.


A photo take a little further out of my swirls and you can see the triangles I quilted in the yellow border to accent the triangles on the border of the fabric.
There are alternating blocks that make up the quilt.  This is the block that is just a fabric square. If you look close you can see I quilted a circle in the middle and added lines to look like bicycle spokes.  
If you look close you can see the bicycle wheel I quilted in the middle.
 After I made the wheels I decided I may need more quilting to hold the batting in place. To match the swirls on the front fabric I when around the wheel and added these curls.  You can't hardly see them in the picture above.  Using varigated thread on multi-colored fabric like that was nearly impossible to quilt as I couldn't see where the heck I was going! Luckily the curls like this are very forgiving and you can see on the back they turned out alright.  You just can see them on the front.  Lesson learned.
Around the wheel I did these curls that I love to quilt.  
This is the bicycle block.  It sets off center.  I didn't want to do much quilting on this block because I wanted the bicycle to be the point of focus.  I ended up doing echo lines 1/4 inch from each seam. Then on the bicycyle I traced the inside of the bicycle triangle and then added an additional rectangle around the bicycle to stabilize the batting.  I tried outlining the bicycle but I didn't like the way it turned out.  Maybe if I had microhandles it would have turned out better.  But I like the simplicity of this block keeping the focus on the bicycles that I embroidered on my domestic machine.
One of the 6 bicycle blocks on the quilt.
 Here's what the finished quilt looked like. 

I love this quilt pattern and have the material to make myself one if I ever get around to it.
 I put the binding on tonight and hope to get this baby finished by Friday to give to my friend Don when I see him.  I think he's going to like it!

Monday, May 26, 2014

Speeding Up My Quilting Process

Today's post is a more technical post.  Part of doing quilting for Quilts of Valor (QOV) is trying to be quick on the turn around time.  Not my strong suit this past month with school wrapping up.  But with summer here I have a little bit more time to quilt.  I've found an easier way to get my QOV quilts done in less time and it has nothing to do with becoming faster on the quilting end (although that never hurts).
The Quilt of Valor I was working on when I took these pictures.  Isn't she beautiful?
Instead of using paper pantographs, which are long rolls of paper with the quilting pattern drawn on them, I use Pantovision. Pantovision is a program designed by ABM Innova.  I happen to love it because it makes the old fashioned roll paper patterns obsolete and digitizes everything instead of me trying to find a place to store the paper rolls.  Let's just say, I wasn't blessed in the organizational area of life, I'm treading water at best.  I'm a fan of anything that takes paper clutter out of my life.
To make my QOV quilting go smoother I've found a way that works for me.  What I've done is I have taken my most popular QOV patterns and saved them as QOVStars, QOVvines, etc so I I know that these are the patterns that I've used on previous QOV.  It is also helpful because most QOV quilts are about the same size usually within a few inches.  Then to make the process easier I've taken and resized all my patterns so I can easily get a set number of passes (usually 4) before I have to roll my quilt.  Knowing that I've done this I do not have to worry about checking before I start quilting if I have enough room on my final pass before rolling.  I know I'm good to go because I've set this pattern up so it fits without needing to check to make sure I'm not going to run out of room.  Nothing stinks worse than starting a pass of a pattern and then bumping into the back of your longarm and trying to pull it down to finish the pattern. It is also nice because I used to spend a lot of time moving my pattern on the screen up and down after I rolled it each time trying to figure out where I was again.
I haven't downloaded the latest Pantovision update so this is my "old fashioned" way of advancing my quilt. I load each quilt and quilt my first four rows.  My first row of the 4 rows is usually a partial row where I am only quilting in the parts that are on the quilt and the pattern is actually hanging off the top of the quilt on the batting.
Each time I start a new row I mark where I start on the batting with a dot.  After I complete the row I come back and line the sew head up with the dot.

 Then I check my screen to see how far off I am. Here I am only about a 1/2" off to the left.
 To fix it I scoot the pattern over with the arrow keys  to line it up. (I'm off just a tad to the north in the picture because I'm trying to do too many things with too little hands.)
 Once I'm lined up on the screen I go down to the next row and put my needle down in my starting place on the quilt.  I always start off the quilt on the batting and then sew my way onto the quilt.  I also mark with Sharpie.  It doesn't bleed through the batting and it will be cut away after I finish quilting.  Then I put my needle down back in the black dot and start sewing.  When I'm through I'll come back to my dot, adjust as necessary like before and go across again.
 Here you can see all 5 dots.  The dot at the very top is from the previous 4 rows that I did before I rolled the quilt top.  It is how I know far to roll my quilt which I explain in the bottom photo.  The next four dots are the four passes I made this time/roll. As long as I line up with the previous dot before I move down I'm good to go.  

 Below is a picture of me lining up the fourth row from the previous quilting before I rolled it to the top. It then becomes a measuring point which you can see on the sewing area but doesn't affect my quilting. What I do is after I finish my 4 passes I roll my quilt to the very top of the frame.  I stop when I have my sewing head pushed as far up to the quilt take up bar as possible and the black dot from the 4th row is now nestled inside the sewing head hole.  If you look closely in the picture you can see the dot and the take up bar where the quilt is rolled onto in the picture.  Since I'm lined up on that dot I can now move down and start quilting immediately without having to make any adjustments on my Pantovision screen.

Hopefully this gives you some new things to think about when you are quilting.  I've found it very helpful to have resized my patterns to fit a certain number of passes on my quilting area.  The time I save is definitely the time it took me to figure out how to resize my patterns to get 4 passes in each time before I rolled it to the next.
What have you done to make longarming easier for you?